Showing posts with label Copics. Show all posts

Monday, February 17, 2020

Socially Acceptable Chemical Dependence | Sweet Sentiment Stamps

Hello!

I have something fun to share with you today.  My friend Jammie, at Sweet Sentiment has come out with a new Coffee Planner Stamp Set.  This adorable set features numerous images and snarky sentiments that would be perfect for your planner - if you're into that - if not, they are still great for caffeine themed cards, gift card envelopes, and other little coffee treats!

handmade card, ink blending, copic coloring, sweet sentiment stamps, coffee, chemical dependence, distress oxide inks, distress ink blending

For the card today, I stamped three of the little images using Amalgam ink, and colored them in with  Copic markers.  I filled in the glass portion of the glasses with Nuvo drops in Morning Dew (clear), and set those aside to dry while I worked on the card front.

I taped off a 1.5" strip of the card front, and then taped off a portion at the top.  I blended Ground Espresso Distress Oxide up from the bottom of my card front, and then added Vintage Photo.  Once I had those colors blended, I took unmasked the top portion of that strip, and blended Antique Linen over that.  A light splattering of water was added, before I pulled up the tape I used as a mask.  This left an effect like we were peeking inside a glass of coffee with the foam on top.  I then stamped the sentiment in the lower corner, using Dark Roast Ink.

handmade card, ink blending, copic coloring, sweet sentiment stamps, coffee, chemical dependence, distress oxide inks, distress ink blending
Once the Nuvo drops were completely dry, I used a black pen to add some words to the coffee cups, before attaching them to the card front with foam squares.  The card front was matted on Dark Roast card stock, before being adhered to a top folding white card.

In addition to this adorable set, the March coloring class is now available! See Jammie's finished card with the March Stamp Set below.  I have my stamp set, and will be coloring it up in the next couple days.  Watch my Instagram to see the finished card!


Thanks for stopping by!


Supplies Used**:
Use this easy list to find the products I used in my projects. (Contains affiliate links - where I earn a commission from purchases made from my links, at no cost to you. Your support helps me keep this blog going, and continue to create - Thank you! Affiliates and disclosures can be found here.) Please note, when possible, I try to offer multiple sources for the items I use. Products with two or more logos - underneath, or on the side, give you options of where to purchase, in case the item has sold out at one shop. To visit the first store, click on the photo of the item. To visit the second (or greater) source, click the logo for the second shop - you will still be taken directly to the product. 

**If a particular item I used was out of stock when I was preparing my post, or the item I used was discontinued, I have provided a link to a similar item - that is available - when a substitution would not affect the card design.

Friday, January 24, 2020

Creating for Creativation | Picket Fence Studios January Release

Have you ever had something happen, that, at the time, you had no idea the impact that it would have?  A few months ago, I was asked to do a few ink blended panels, using the Life Changing Blender Brushes from Picket Fence Studios.  Being someone who likes to push myself, I decided to see just how far I could go, creating with the two brushes I had.  I created a few backgrounds, and snapped a photo of each, just so I had reference about what ink colors I had used for the panel.  No pretty photos - just a quick snap with my cell phone.  


(ETA: I've had many questions about how I did the Blended Backgrounds.  I created another Under the Sea background, and made a video, showing you how I achieved these Blending Brush Paintings.  I hope this helps those who wanted to know how to begin creating backgrounds like these.) 


And off the backgrounds went.  Suddenly, a few days later, I was creating more cards for display at Creativation, which was super exciting. I sent those off just weeks ago, and suddenly found that i was GOING to Phoenix for the show for the first time!  It was a whirlwind and so exciting!


I shared some photos on my Instagram stories (see the "Creativation" tab in the Hightlights), but I wanted to pop in today, and share the card projects that I made to be part of the Picket Fence Studios booth.  There are a lot of photos on this post, and it would be difficult to give full directions for so many cards, so I have linked the stamp sets below each photo, and included what coloring mediums used on those cards that have coloring.  All of the stamp and dies will also be listed and linked at the bottom of the post.

And now I will stop rambling, so you can see the pretty photos!

Using "Pain In My Ass" Stamp Set

Using "A Bride's Bouquet" Stamp Set
Coloring Medium: Prismacolor Pencils

Using "Swallowtail Beauty" Stamp, and "Seriously Absolutely Always" Stamp Set
Coloring Medium: PanPastel

Using "Eat, Sleep, Yoga" Stamp Set, and coordinating dies
Coloring Medium: Copic Markers, and Prismacolor Pencils

Using "Beauty and Song" Stamp Set
Coloring Medium: Fun Stampers Journey Color Splash pencils

Using "Glass Window Rainbow" Die, and "Seriously Absolutely Always" Stamp Set

Using  "Girls of All Seasons" Stamp Set, and coordinating dies,
and "Boys of All Seasons" Stamp Set and coordinating dies
Coloring Medium: Copic Markers and Prismacolor Pencils

Using "Peach and Piper Checking the Post" Stamp Set, and coordinating die
and "Loads of Mail" Stamp
Coloring Medium: Copic Markers and Prismacolor Pencils

Using "Walk Crawl or Run" Stamp Set
Coloring Medium: Copic Markers and Prismacolor Pencils

Using Eiko Girl Stamp, and coordinating die
Coloring Medium: Copic Markers and Prismacolor Pencils

I think the last two cards are absolutely my favorites, but it is so hard to choose!  Which is your favorite? 

Thanks for stopping by!


Supplies Used**:
Use this easy list to find the products I used in my projects. (Contains affiliate links - where I earn a commission from purchases made from my links, at no cost to you. Your support helps me keep this blog going, and continue to create - Thank you! Affiliates and disclosures can be found here.) Please note, when possible, I try to offer multiple sources for the items I use. Products with two or more logos - underneath, or on the side, give you options of where to purchase, in case the item has sold out at one shop. To visit the first store, click on the photo of the item. To visit the second (or greater) source, click the logo for the second shop - you will still be taken directly to the product. 
**If a particular item I used was out of stock when I was preparing my post, or the item I used was discontinued, I have provided a link to a similar item - that is available - when a substitution would not affect the card design.

Saturday, December 7, 2019

Sweet Sentiment December Coloring Class

I had the opportunity this month, to take the December coloring class for Sweet Sentiment.   Jammie colors beautiful images with Copic markers, and does a coloring class each month.  There are even previous months classes available, if you want to take several.  As part of the December class, you get a kit with a full size stamp set, some embellishments, a list of all the Copic markers used in the project - along with the Spectrum Noir conversions - and a step by step video tutorial on how she has colored the image.  The stamp set is exclusive to Sweet Sentiment - the first in a new line.    


I started coloring images for cards nearly a decade ago.  I quickly learned that it was a bit more difficult than I originally thought.  Trying to get the perfect color combo, and even just achieving a smooth blend takes practice. I'm still learning, and I find that I pick up new things to try, nearly every time I work along with a coloring tutorial, or just watch an artist work through a project.  New techniques, new color combos, there's always more to learn.  In this coloring tutorial, I found that Jammie explained things very well - including the whys of things, which always sucks me in - the class was thorough enough to be great for beginners, but not at all overly simplified.  I was hesitant at the darkest shading color she used for skin, but was pleasantly surprised by how well it worked.  I loved the technique she used to "blush" the image as well.

Get the December Class kit here
I will also tell you, that I didn't have all the marker colors Jammie used in her coloring (I'm not sharing the colors used, because they are part of the class).  In fact, I only had about half.  But, I was able to do some swatching and testing, and find similar blends in the colors I did have.  Not having the specific colors just meant getting creative, it didn't stop the finished image from being adorable, or from learning the techniques. 


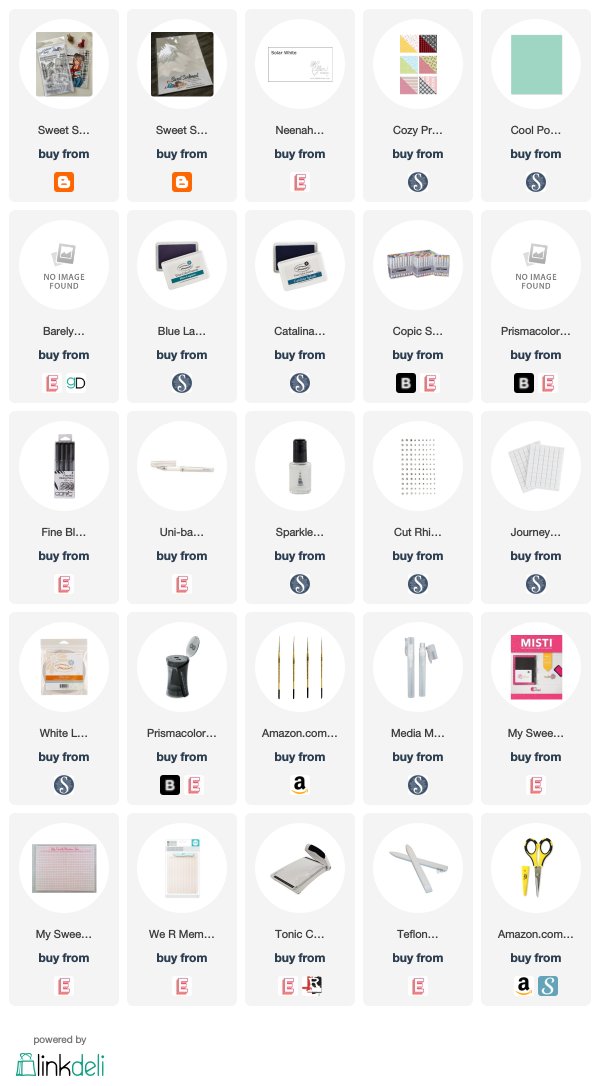
I stamped the image onto Sweet Sentiment Coloring paper, in Barely There Amalgam ink.  Then I colored the image along with the video tutorial.  Once colored, I fussy cut the image and added her to a background created from Cozy Prints papers.  The sentiment came from the stamp set, and was stamped in Blue Lagoon ink onto Cool Pool card stock.  I added  the card front it to a white top fold card base.  I added a few rhinestones around the sentiment, and a little Sparkle Silk was water colored onto the gift.

Lately, I've been experimenting more with under painting (adding a layer of color for vibrancy) with Copics, and then finishing off the details with pencils.  I wanted to try this way of coloring with this image.  I found that I was incorporating a few of the techniques, and new uses for a color I would never have considered for that use, from the video into the pencil coloring.  Pencils do result in a "softer" image,   


For this card, I stamped and colored the image onto a card front sized piece of Sweet Sentiment coloring paper.  Again, this was under painted with Copics, using some of the colors from the same batch I used in the first piece, then the I added details and shading with my Prismacolor pencils,  I added a circle to the background, colored the same as the image  and the lots and lots of white dots were added with my gel pen.  The sentiment was stamped in Catalina Splash ink, and then the card front was matted with white card stock, and then attached to a top folding white card base.

I had a lot of fun with this December class.  Even if you have done Copic coloring for some time, I always encourage learning more.  (Plus you get that super cute stamp set with this class!)   You never know when you're going to find a technique that takes your coloring up a notch!

Thanks for stopping by!


Supplies Used**:
Use this easy list to find the products I used in my projects. (Contains affiliate links - where I earn a commission from purchases made from my links, at no cost to you. Your support helps me keep this blog going, and continue to create - Thank you! Affiliates and disclosures can be found here.) Please note, when possible, I try to offer multiple sources for the items I use. Products with two or more logos - underneath, or on the side, give you options of where to purchase, in case the item has sold out at one shop. To visit the first store, click on the photo of the item. To visit the second (or greater) source, click the logo for the second shop - you will still be taken directly to the product. 
**If a particular item I used was out of stock when I was preparing my post, or the item I used was discontinued, I have provided a link to a similar item - that is available - when a substitution would not affect the card design.

Friday, June 21, 2019

Always There

Hello!

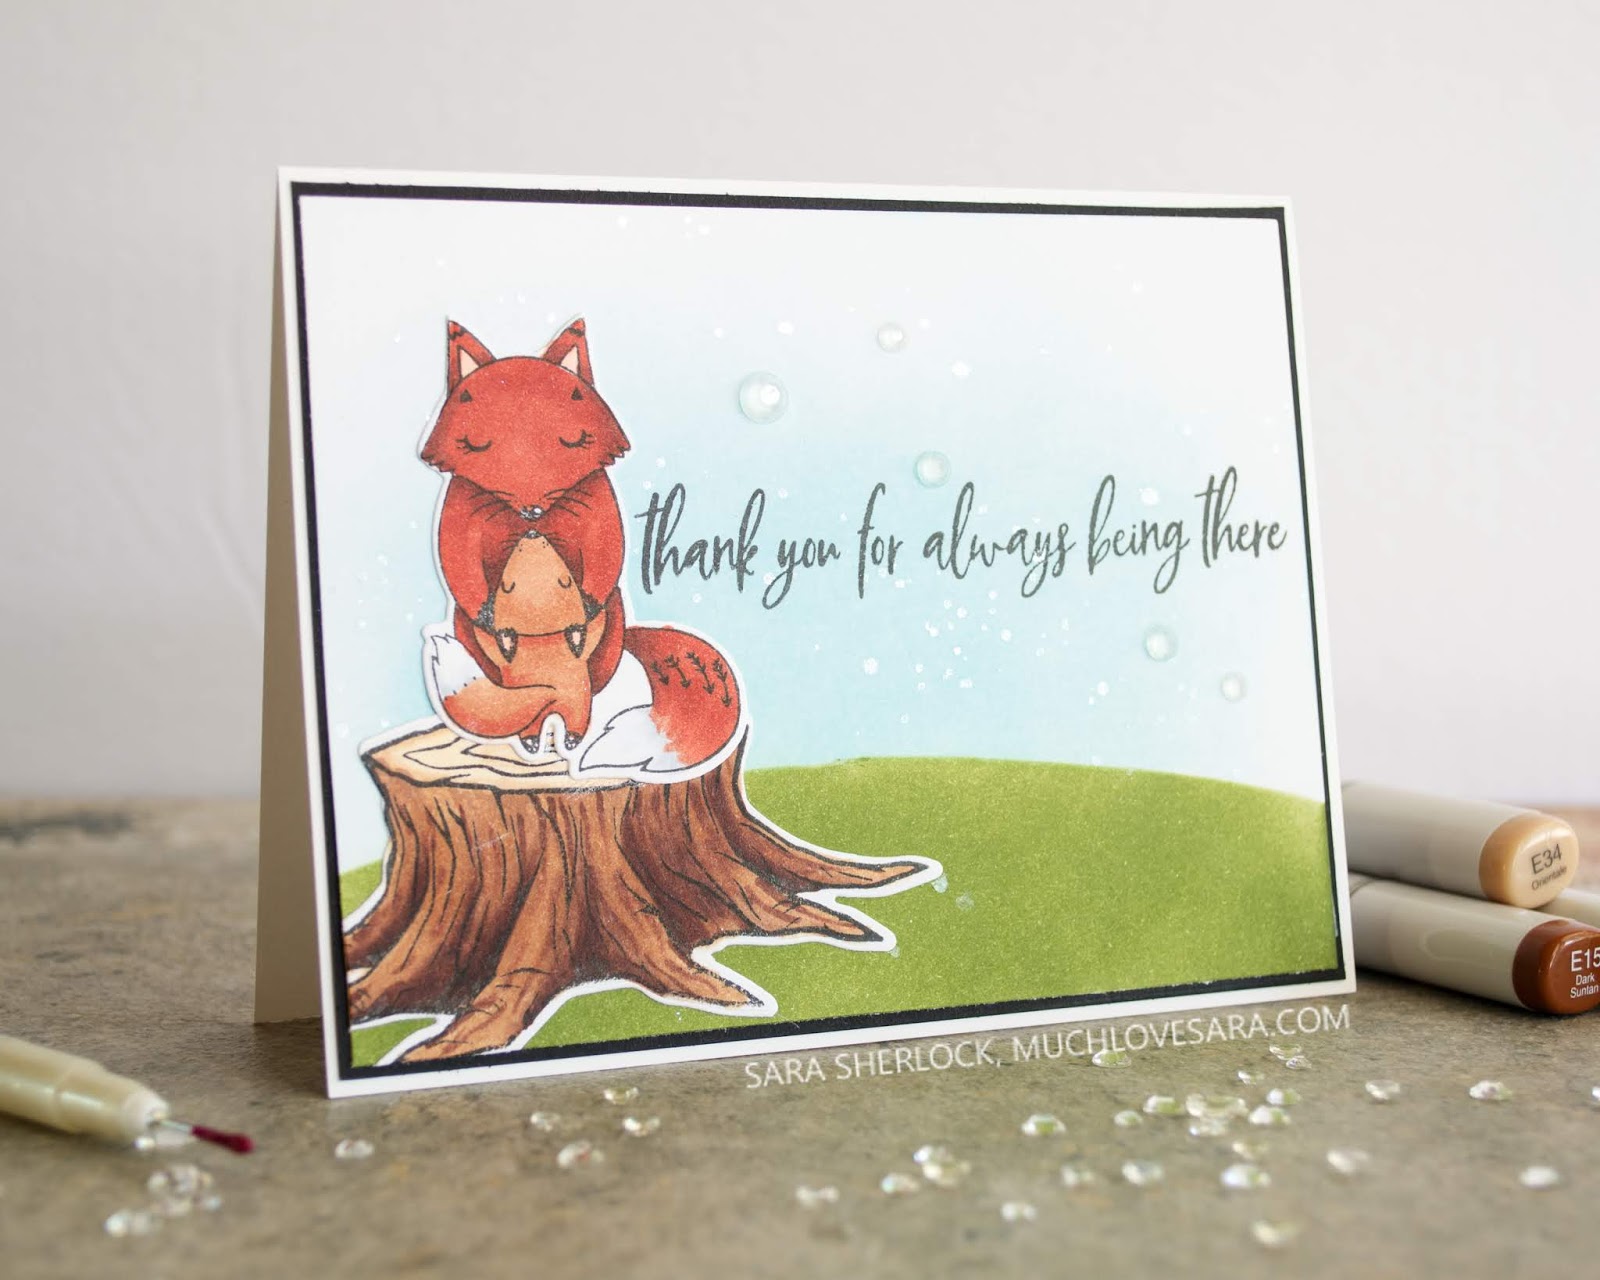
If you hadn't noticed yet, Thank You cards are kinda my jam.  I make, and send, far more thank you cards, than anything else.  So, I tend to be drawn to images and sentiments that express that.  Today's card features Picket Fence Studio's stamp and die set "Stand in the Sunshine".   I love scripty sentiments, so of course the sentiment drew me in, but the adorable foxes (and owls in the set) are also super fun to work with.  

This super cute thank you card was created using the Picket Fence Studios Stand in the Sunshine stamp and dies.

I began by cutting a template from some type paper.  I folded my paper in half, and cut an arch in the paper.  I was then able to use both side of the template for my ink blending.  I started by blending the green ink on my card front, using the top portion of the template to block off the rest of the card front.  Once I was satisfied with the ink, I removed the template, and used the other half to block off the "hill", to ink the blue sky.  Using the Nuvo shimmer pen, I primed the pen on a scrap piece of paper, making sure the brush was full, then tapped a splattering of shimmer onto the card front. I set that panel aside, while I stamped and colored in my images on another piece of card stock.

This super cute thank you card was created using the Picket Fence Studios Stand in the Sunshine stamp and dies.

Copic Colors Used: 
0, C3, R02, E50, E34, E13,E15, E18, E25, E08, E29 

Once the image was colored, I die cut the images, and attached them using a small bit of glue. I placed them onto the card front, in order to place my sentiment, then removed them while stamping.  Then I adhered them onto the card front, and trimmed off the overhanging pieces.  The card front was matted onto a piece of black licorice card stock, and then mounted onto a white card base.  To finish off the card front, I added some sparkling clear gems.  

This super cute thank you card was created using the Picket Fence Studios Stand in the Sunshine stamp and dies.

I love this cute card!  It's perfect for giving to a parent, grandparent, aunt or uncle, or even for a grandkid.

Thanks for stopping by!

Supplies Used:
Use this easy list to find the products I used in my projects. (Contains affiliate links - where I earn a commission from purchases made from my links, at no cost to you. Your support helps me keep this blog going, and continue to create - Thank you! Affiliates and disclosures can be found here.) 

Tuesday, May 28, 2019

So Kind

Hello!

Months ago, my friend Becky Roberts, sent me over to check out this brand called The Stamp Market.  They have this perfect combination of elegant, cute, and beautifully simple stamps that I instantly adored.  And they have a bunch of really beautiful background stamps that help you to create the perfect backdrop for your cards in any color you want!  I recently placed an order that included a few of these stamps, and have to say, I'm even happier with them in person - and I've added several more to my wish list!

Please note: this post contains affiliate links - where I earn a commission
from purchases made from my links, at no cost to you. Your support helps me
keep this blog going, and continue to create - Thank you!

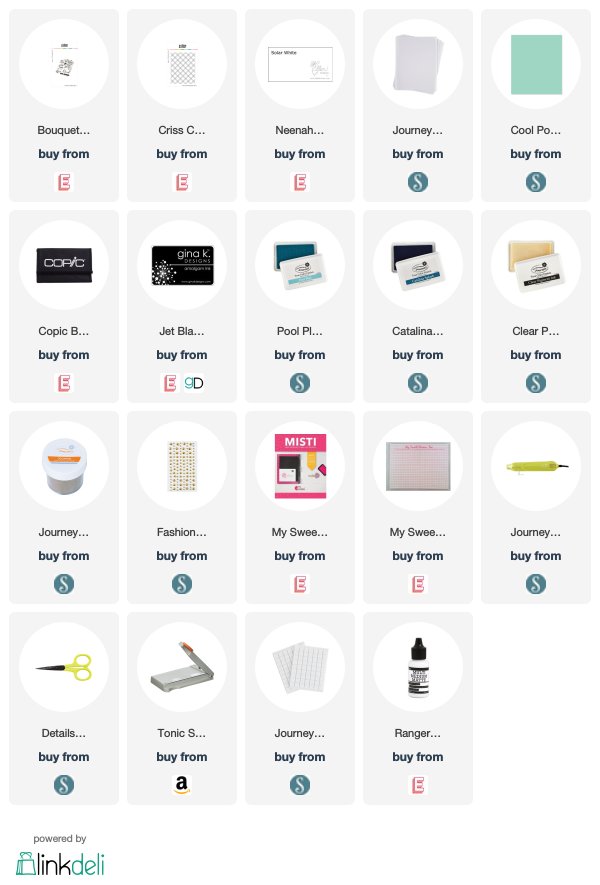
Fun Thank You card featuring the Criss Cross Background stamp set, and then Bouquet of Kindness stamp set - both from The Stamp Market.

Today's card features two of The Stamp Market's stamp sets.  The Criss Cross Background Stamp, and the Bouquet of Kindness Stamp Set.  I love the contrast of a warm peachy-coral tone, and a cool blue, so that is the color palette I chose to work with on this card.

I began by stamping my background with Pool Play ink, onto a card front sized piece of card stock.  I then stamped my floral image onto white card stock, using the black amalgam ink (This is my new favorite ink for Copic coloring - I didn't even try to stay away from the edge with my markers, and no smears!)  I colored the image in with Copic markers, and then fussy cut the image - there is a coordinating die, but I don't mind a little fussy cutting!

Copic Colors Used:
YG03, YG17, YG67, YG99
E50, R01, R22, R24, E08
E13, E29, E37


Fun Thank You card featuring the Criss Cross Background stamp set, and then Bouquet of Kindness stamp set - both from The Stamp Market.

I stamped the "So Kind" sentiment in Catalina Splash ink, onto Pool Play card stock.  Then, I stamped and heat embossed the "You've Been" sentiment stamp, onto a strip of vellum.  I layered my elements together onto the card front, making sure that the fussy cut leaves tucked under and over the Pool Play strip.  I attached the card front to my card base with foam squares, and then added a few scattered Fashion Gold pieces to carry the gold from the embossing into another element.

Fun Thank You card featuring the Criss Cross Background stamp set, and then Bouquet of Kindness stamp set - both from The Stamp Market.

I hope you enjoyed this card.  Be sure to check out The Stamp Market - you might just fall in LOVE with their backgrounds like I did (That Woodgrain!  That Jumbo Plaid!), and their other stamp sets too!

Thanks for stopping by!


Supplies Used:
Use this easy list to find the products I used in my projects. (Contains affiliate links - where I earn a commission from purchases made from my links, at no cost to you. Your support helps me keep this blog going, and continue to create - Thank you! Affiliates and disclosures can be found here.) 

Friday, November 9, 2018

thanks + giving

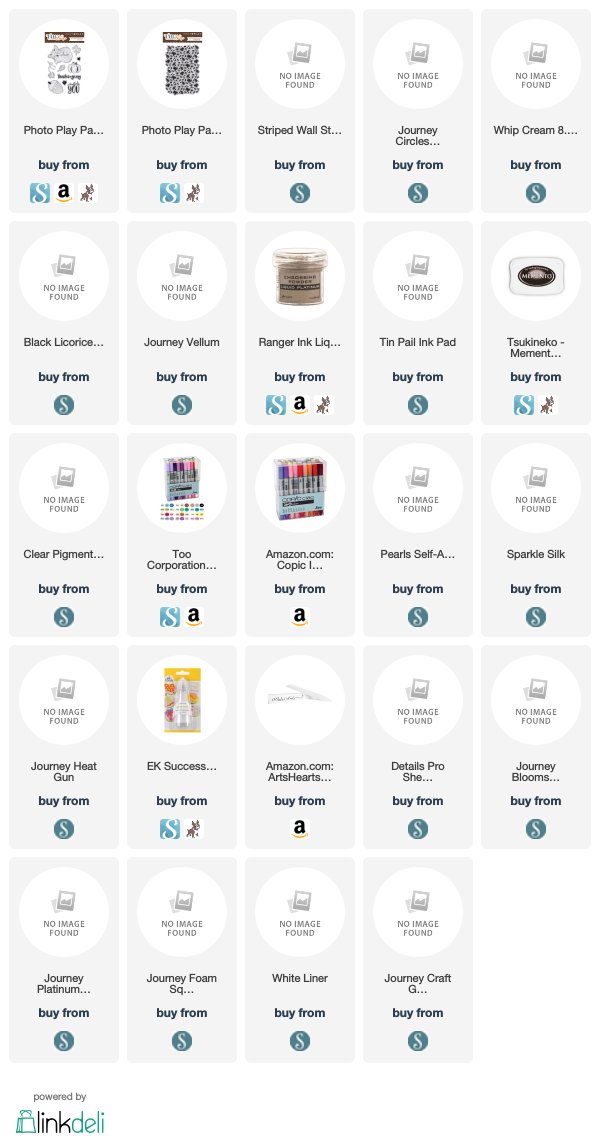
I'm having a stripey "thing" right now.  (Can you tell from the recent blog refresh?)  I wanted to incorporate that into a card, and today's card is the result of that.  This card was created with two different stamp sets from the Fall Breeze collection from Photoplay Paper - the background 2 stamp, and the clear acrylic stamp set.  I also used the Striped Wall background stamp from Fun Stampers Journey.   


I began by stamping a Whip Cream card front with the Striped Wall stamp, and Tin Pail ink.  Then, I stamped the Background 2 stamp in Clear Pigment Ink, onto vellum.  I heat embossed that using the Liquid Platinum embossing powder.  Then I die cut the embossed vellum into a circle shape.  I also heat embossed the sentiment onto a strip of Black Licorice card stock, with the same embossing powder. 


I stamped a few leaves, multiple times, and then copic colored them to mimic fall colors.  I fussy cut the leaves out to tuck behind the sentiment panel. 

Copic Colors used:
E33, Y17, YR07, E08, R59. G99, C3

I attached the vellum circle to the stripe background with White Liner, and then sprinkled the card front with Sparkle Silk.  I adhered my leaves down with craft glue, then attached the sentiment strip with foam squares.  I attached the card front to the Black Licorice card base with White Liner, and then attached a few scattered pearls. 


I really liked how this card turned out.   I hope it inspired you as well!

Thanks for stopping by!


Supplies Used:

Use this easy list to find the products I used in my projects. (Contains affiliate links - where I earn a commission from purchases made from my links, at no cost to you. Your support helps me keep this blog going, and continue to create - Thank you! Affiliates and disclosures can be found here.) 

Wednesday, November 7, 2018

Sleepy Thankful | Video

Hello!  I've been so excited to pull my Copic markers out again.  It's been a long time since I used them regularly, and boy do I feel rusty with them!  Coloring has always been a good stress relief for me, and I love spending some time coloring an adorable stamped image like the little sleepy fox on today's card.  

This adorable little fox from Photoplay Paper's Fall Breeze collection, was colored with Copic markers.  Created by Sara Sherlock | Muchlovesara.com

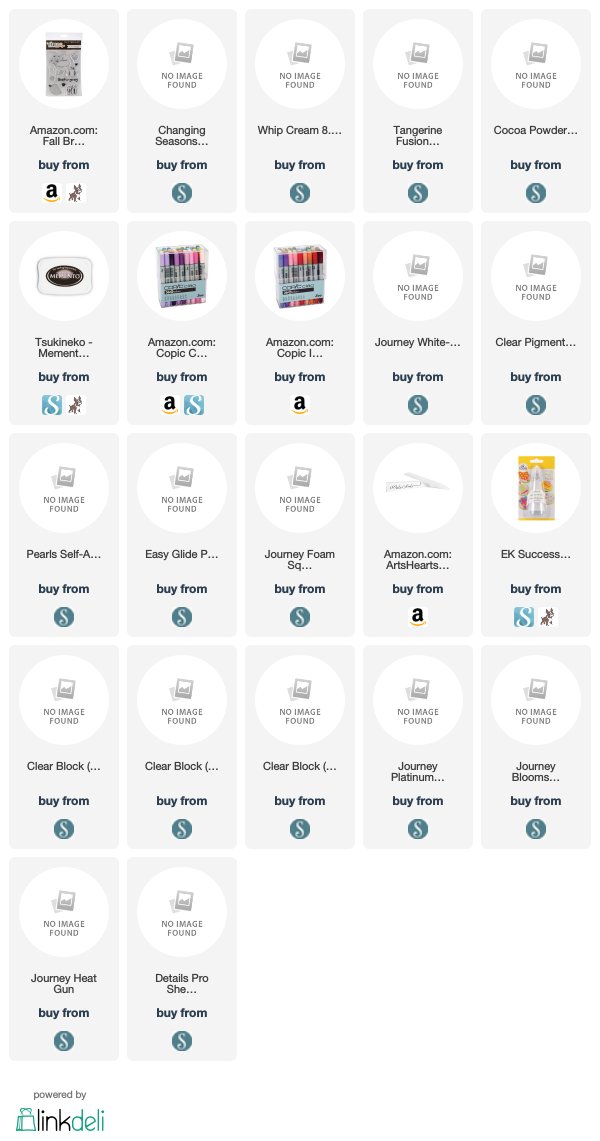
Today's card features a stamp set from Photo Play Paper's Fall Breeze collection, along with the Changing Seasons Embossing Folder from FSJ.  (affiliate links - please see disclosure, and full product list below).


I started my card with a piece of Whip Cream card stock cut to 5.25" x 4".  I stamped the little fox, and then masked his head off to stamp the pumpkin.  Then I went to work coloring him with my Copic markers (colors listed below, for techniques, please see the video above).  

This adorable little fox from Photoplay Paper's Fall Breeze collection, was colored with Copic markers.  Created by Sara Sherlock | Muchlovesara.com

Copic Colors Used

Fox: E33, E08, E47, E51, C3, 0, R02, RV42
Pumpkin: Y00, YR02, E08, E35, E37
Background: BG93, G99, E35, E37. E29, 0

This adorable little fox from Photoplay Paper's Fall Breeze collection, was colored with Copic markers.  Created by Sara Sherlock | Muchlovesara.com

Once my image was colored in, I heat embossed my sentiment onto a strip of Tangerine Fusion card stock that was 1.5" wide.  I cut a slit in the center, and then trimmed from the corners up to create the fishtail for the banner.  Before adhering, I decided that my panel needed a bit more texture, so I partially embossed it with the embossing folder.  I put the card front into the embossing folder, and then ran it through a few different directions to emboss the top and right side of the card front.  Then, I used the blunt end of my bone folder to smooth the embossing as it approached the image.  The result is embossing that "fades" into the card stock.

This adorable little fox from Photoplay Paper's Fall Breeze collection, was colored with Copic markers.  Created by Sara Sherlock | Muchlovesara.com

I attached my sentiment panel to the card front with foam squares, and then attached the card front to a Cocoa Powder card base.  A few scattered pearls added some dimension and shine.

This adorable little fox from Photoplay Paper's Fall Breeze collection, was colored with Copic markers.  Created by Sara Sherlock | Muchlovesara.com


Thanks for stopping by!


Supplies Used:

Use this easy list to find the products I used in my projects. (Contains affiliate links - where I earn a commission from purchases made from my links, at no cost to you. Your support helps me keep this blog going, and continue to create - Thank you! Affiliates and disclosures can be found here.)