Showing posts with label Striped Wall Stamp. Show all posts

Friday, November 9, 2018

thanks + giving

I'm having a stripey "thing" right now.  (Can you tell from the recent blog refresh?)  I wanted to incorporate that into a card, and today's card is the result of that.  This card was created with two different stamp sets from the Fall Breeze collection from Photoplay Paper - the background 2 stamp, and the clear acrylic stamp set.  I also used the Striped Wall background stamp from Fun Stampers Journey.   


I began by stamping a Whip Cream card front with the Striped Wall stamp, and Tin Pail ink.  Then, I stamped the Background 2 stamp in Clear Pigment Ink, onto vellum.  I heat embossed that using the Liquid Platinum embossing powder.  Then I die cut the embossed vellum into a circle shape.  I also heat embossed the sentiment onto a strip of Black Licorice card stock, with the same embossing powder. 


I stamped a few leaves, multiple times, and then copic colored them to mimic fall colors.  I fussy cut the leaves out to tuck behind the sentiment panel. 

Copic Colors used:
E33, Y17, YR07, E08, R59. G99, C3

I attached the vellum circle to the stripe background with White Liner, and then sprinkled the card front with Sparkle Silk.  I adhered my leaves down with craft glue, then attached the sentiment strip with foam squares.  I attached the card front to the Black Licorice card base with White Liner, and then attached a few scattered pearls. 


I really liked how this card turned out.   I hope it inspired you as well!

Thanks for stopping by!


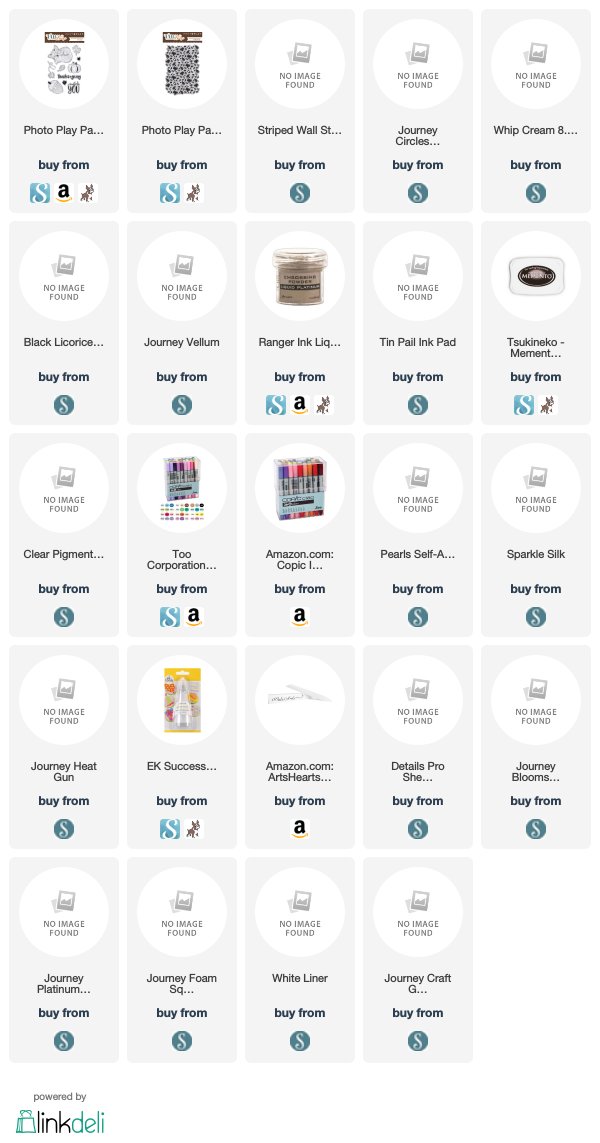
Supplies Used:

Use this easy list to find the products I used in my projects. (Contains affiliate links - where I earn a commission from purchases made from my links, at no cost to you. Your support helps me keep this blog going, and continue to create - Thank you! Affiliates and disclosures can be found here.) 
Monday, January 22, 2018

Golden Hugs & Kisses

I'm a huge fan of heat embossing.  Big surprise, I know., but I just love the way you can stamp something, and magically add a metallic sheen to it.  Usually, you see embossing used for a sentiment, or a line image.  For today's card, I chose to emboss the striped background of the card to add to the golden sheen from my sticker sentiment.  

This handmade card features a stamped and heat embossed golden striped background, along with a beautiful gold mirror Lovely Words Card Stock sticker for for the sentiment.  Perfect for a Valentine or anniversary card for your sweetheart.

One of the great things with the striped wall stamp, is that is pretty easy to line up to stamp twice and cover the whole background with horizontal stripe.  Just line the stamp up straight on your gridded block, and stamp near the top of your card front.  Than use the side edge of the stamp to line up the top stripe with the bottom stripe that you stamped the first time. 

This handmade card features a stamped and heat embossed golden striped background, along with a beautiful gold mirror Lovely Words Card Stock sticker for for the sentiment.  Perfect for a Valentine or anniversary card for your sweetheart.

A vellum circle, a few banner strips, and some punched hearts decorated the card.  Don't you absolutely love the Lovely Words Card Stock Stickers  They are GORGEOUS in person!  I'm definitely going to be stocking up. 

This handmade card features a stamped and heat embossed golden striped background, along with a beautiful gold mirror Lovely Words Card Stock sticker for for the sentiment.  Perfect for a Valentine or anniversary card for your sweetheart.


Thanks for stopping by!


Much love,                                                                             


Fun Stampers Journey Supplies Used:

Stamps: Striped Wall Stamp SS-0180

Inks: Clear Pigment Ink IP-0102, Gold Embossing Powder IP-0101

Papers: Whip Cream 8.5" x 11" Card Stock CS-0040, Candy Apple 8.5" x 11" Card Stock CS-0007, Black Licorice 8.5" x 11" Card Stock CS-0003, Journey Vellum PP-0044

Embellishments: Lovely Words Card stock Stickers AC-0349

Tools: Journey Circles Dies DI- 0039, Journey Platinum Machine TO-0090,  Journey Blooms Paper Trimmer TO-0039, Crease Tool TO-0040, Detail Pro Shears (4.5") TO-0063, Love Is Punch Cartridge TO-0006, Punch Handle TO-0031, Clear Block J TO-0079

Adhesives: White Liner AD-0001, Journey Craft Glue AD-0111, Journey Foam Squares - Small AD-0084

Wednesday, August 9, 2017

You Are Enough: Never Give Up


If you have followed me for any length of time, you know that I am OBSESSED with heat embossing.  It's one of my go-to techniques when I'm working on a design, to add a bit of pop & shine.  When I was working out what projects, I wanted to make for the final round of the Designer Showcase Opportunity, I wanted to go with some things that truly "fit" me, and what I love to do.  So, a card with heat embossing was a must!

For this card, I chose to stamp the Branch ATS along the edge of the card panel, then heat emboss this in silver.  I then brought a little color in, by blending in the lighter blue from the Party Pop PanPastels, just over the embossed branches.  This gave a soft background to those areas.    

Handmade card, created with Fun Stampers Journey products.  Combining stamp sets is fun, and easy - mix and match to create your own unique background and sentiment!

As I continued to layer up my card front, with my black and white striped accent strip, and a bit of Licorice Sparkle tape peaking through, I realized I needed just a touch more color.  So, I dabbed my Bubblegum Silk around the branches as little "berries".  This added just a bit of an accent.

Handmade card, created with Fun Stampers Journey products.  Combining stamp sets is fun, and easy - mix and match to create your own unique background and sentiment!

My sentiment came from two stamp sets.  I stamped the "You Are Enough" in Black Licorice Ink on Vellum, and then heat embossed the sentiment in clear embossing powder.  Because the color does bead up a bit, and I wanted a bit more of a solid image, I turned the vellum over, and used a black pencil to fill in the broader parts of the stamping.  

Handmade card, created with Fun Stampers Journey products.  Combining stamp sets is fun, and easy - mix and match to create your own unique background and sentiment!


I really liked how this card turned out.  I love combining stamps that you wouldn't necessarily think would go together to create a cohesive card.

Thanks for stopping by!


Much love,                                                                             


PS.  Have you heard about August's Promotion?  

We've got some Fusion Vibes going on right now!  Select True Color Fusion Ink pads are 20% off in August!  That means, that  the black ink pad (which is amazing!) listed below is ON SALE.   Stock up on your favorite colors now, before this deal ends.  The price is already discounted in the shop - so there's no coupon code needed.


Fun Stampers Journey Supplies Used:  

Monday, August 7, 2017

Sending You Hugs Card

I've spent the last week in Las Vegas, at a convention for my husband's work.  We had a blast!  This was about the closest we have taken to a "vacation" in years, and it was a much needed change of pace.


Also, the FSJ Designers Showcase winners were announced just a few days ago, and I was chosen to be one of 10 who will be on the team for this year!  I'm so thrilled, and excited to be working with such an amazingly talented group of ladies.   Starting Wednesday, I will post the three projects I submitted into the final round of judging.

Whew!  So much excitment!  Let's get to today's card, shall we?

Stripes and flowers are just such a lovely combination, don't you think?  I love having simple background stamps such as the Striped Wall Stamp, they are staples, and can be used as a backdrop for so many other stamps.


For this card, I used a scrap of paper as a mask to stamp the Branch ATS stamp in the background.  I knew I wanted the leaves peeking out from behind the flowers so I figured out my placement, and then used the scrap paper to block off the rest of the card from being stamped.  


And, of course, I had to add a little sparkle and bling!  I love the Silks.  They add some fun shine and color just where you want.

Thanks for stopping by!  I hope you have a fabulous weekend!


Much love,                                                                             


Supplies: