Showing posts with label Embossing. Show all posts

Friday, May 8, 2020

Thinking Multiples

Hello!

I'm sending out a lot more cards lately, are you?  I have always loved pretty and simple cards, and right now it's so helpful to have a few stamp sets that work well with that style, and are perfect for making cards in bulk.  The Uplifting Thoughts stamp set from Concord & 9th is one of those sets.   The large graphic stamps make beautiful backgrounds, and the scripted sentiments are perfect for those cards that are a little tougher right now.  

Concord & 9th, Uplifting Thoughts, Thinking of You card, handmade card, heat embossing

I adore the pairing of Ranger Liquid Platinum Embossing Powder on gray card stock.  The cool golden tone in the embossing powder adds warmth that a silver would lack, but is not a glaringly yellow against the gray, the way a gold powder would be.  I stamped the leaves image in Versamark ink, onto several panels of the River Stone card stock at a time.  I stamped the lower corner first, on 5 panels, and then heat embossed all of that stamping.  Then I rotated my card stock and lined it up in my MISTI to the measurements I needed, to stamp the upper corner.  I then heat embossed that portion of the stamping on all 5 panels.  The heat embossing goes really quickly when you group it up like this, because once your heat tool is hot, the additional panels are done really fast.

Concord & 9th, Uplifting Thoughts, Thinking of You card, handmade card, heat embossing

I stamped and heat embossed the sentiment onto vellum strips, and then folded the edge of the vellum strip over the edges of my card front and adhered the strip on the back side of the card panel with a piece of White Liner tape.  I added a tiny sliver of the White Liner tape to the back of the sentiment, to adhere the end of the strip to the card front.  Then I attached the card fronts to top folding white card bases with the liner tape.  A few Nuvo drops finished the cards.   

Concord & 9th, Uplifting Thoughts, Thinking of You card, handmade card, heat embossing

This was a very fast set of cards to make - it took longer for the Nuvo drops to dry than to create the five cards!   And now I've got a few more cards to address and get in the mail.  


Thanks for stopping by!


Supplies Used:

Use this easy list to find the products I used in my projects. (Contains affiliate links - where I earn a commission from purchases made from my links, at no cost to you. Your support helps me keep this blog going, and continue to create - Thank you! Affiliates and disclosures can be found here.)

Please note, when possible, I try to offer multiple sources for the items I use.

Friday, December 7, 2018

Mixed Metallics Embossing


Today's cards feature backgrounds created with the Concord & 9th Deck the Halls Turnabout Stamp.  I absolutely love the concept of the Turnabout stamps (there are several different patterns to choose from).  They create super fun backgrounds, and you can stamp each turn with a different color - giving you a unique and fun print.


These stamps work best with a stamp tool, and unfortunately, the one I'm currently using is discontinued (I also discovered, while making these cards, that it's broken - ugh!).  However, there are other options still on the market - for instance the MISTI, or the Tim Holtz Stamp Platform.  Also, be sure to grab the templates for these stamps, that are available for free on the listings.  The template will help you in lining everything up correctly.  


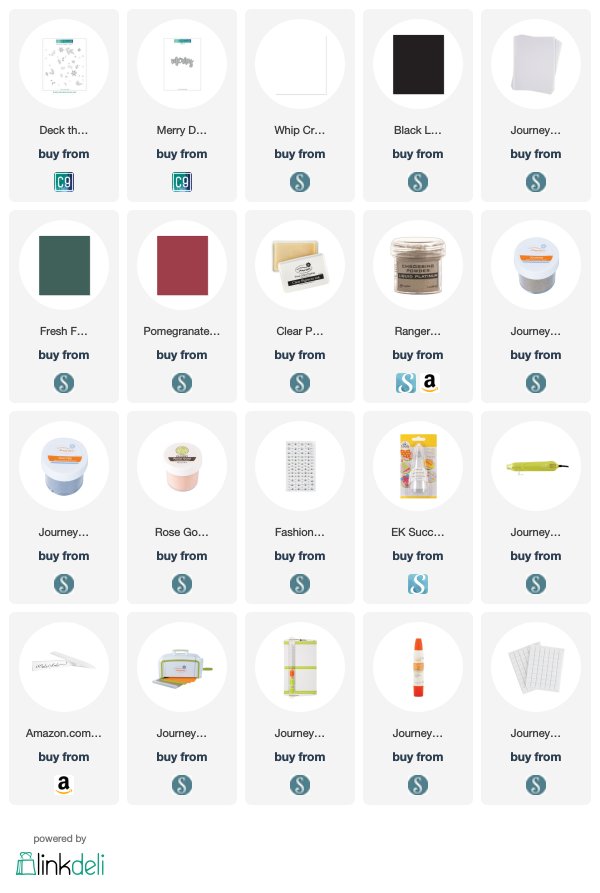
I started the cards by stamping the Turnabout stamp with Clear Pigment Ink, onto both Fresh Forest, and Pomegranate Splash card stock.  I stamped once, then heat embossed the image in gold, then rotated my panel to stamp and heat embossed in Rose Gold, Liquid Platinum, and Silver embossing powders, each in turn.


Once the panels had been fully stamped and filled in, I trimmed them down to size (3.75" x 5").  I wrapped each panel with a 1.5" wide strip of vellum, and added a die cut Merry, also from Concord & 9th.  I dotted the wide strokes on the letters with Fashion Silver pieces (Nuvo drops would also be a great way to add this detail, if you prefer). The card panels were added to top folding A2 sized Whip Cream card bases.


These cards are so striking with all that mixed metallic embossing.  When they hit the light they really shine.

Thanks for stopping by!


Supplies Used:
Use this easy list to find the products I used in my projects. (Contains affiliate links - where I earn a commission from purchases made from my links, at no cost to you. Your support helps me keep this blog going, and continue to create - Thank you! Affiliates and disclosures can be found here.) 

Friday, November 9, 2018

thanks + giving

I'm having a stripey "thing" right now.  (Can you tell from the recent blog refresh?)  I wanted to incorporate that into a card, and today's card is the result of that.  This card was created with two different stamp sets from the Fall Breeze collection from Photoplay Paper - the background 2 stamp, and the clear acrylic stamp set.  I also used the Striped Wall background stamp from Fun Stampers Journey.   


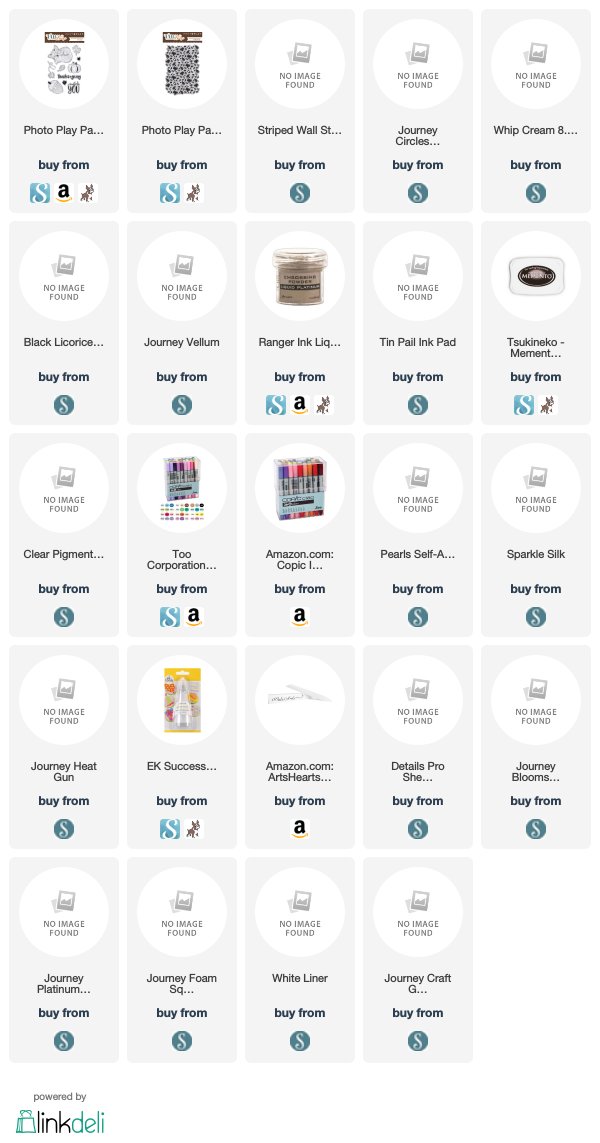
I began by stamping a Whip Cream card front with the Striped Wall stamp, and Tin Pail ink.  Then, I stamped the Background 2 stamp in Clear Pigment Ink, onto vellum.  I heat embossed that using the Liquid Platinum embossing powder.  Then I die cut the embossed vellum into a circle shape.  I also heat embossed the sentiment onto a strip of Black Licorice card stock, with the same embossing powder. 


I stamped a few leaves, multiple times, and then copic colored them to mimic fall colors.  I fussy cut the leaves out to tuck behind the sentiment panel. 

Copic Colors used:
E33, Y17, YR07, E08, R59. G99, C3

I attached the vellum circle to the stripe background with White Liner, and then sprinkled the card front with Sparkle Silk.  I adhered my leaves down with craft glue, then attached the sentiment strip with foam squares.  I attached the card front to the Black Licorice card base with White Liner, and then attached a few scattered pearls. 


I really liked how this card turned out.   I hope it inspired you as well!

Thanks for stopping by!


Supplies Used:

Use this easy list to find the products I used in my projects. (Contains affiliate links - where I earn a commission from purchases made from my links, at no cost to you. Your support helps me keep this blog going, and continue to create - Thank you! Affiliates and disclosures can be found here.) 

Tuesday, September 27, 2016

Halloween Bones

I mentioned in my last post that we had a family emergency.  My stepson's heart stopped just over a week ago (we still don't know why, and may never know).  Luckily, his fiance was there, and was able to perform CPR.  He's was heavily sedated most of last week, and is now starting to "wake up" so that we can start to find out the extent of what damage there is.  There is a very long road ahead, but he's a tough kid, and I think he'll pull through this.  Prayers are most certainly appreciated though!!!

* * * * * * * * * * * * * * * * * * * * * * * * * * * * * * * * *

 A few weeks back, the Stampin' Up! team I belong to had a challenge to create some Halloween items.  Often, people don't think about creating for Halloween, and the crafty focus is on Christmas.  Personally, I LOVE Halloween!  We were to create three items that coordinated.  I chose to create two cards, and a small treat bag.  


I love this Mr. Funny Bones stamp set.  I'm a big fan of stamps with attitude or sarcasm.  Because they are photopolymer, it is really easy to use them to "build" a skeleton.


I'm always a fan on heat embossing, and I love the glitter embossing powders in the Holiday Catalog.  The red was a perfect touch on these projects.


The first card was a standard A2 size (the front is 1/4 of a sheet of card stock), which will be fun to mail to our far away grands, with a box of special treats.   The second card is a tiny 3"x 3" card.  It's the perfect size to drop into a trick-or-treat bag with a special $$ treat for the grands that come to the house!


The small gift bag is fun to hold a variety of little treats.  This one will be great to give out to our grown up kids.  You know, the ones that pretend they are too old for Halloween, but still love it.

Thanks for stopping by!


PS.  Curious as to what I'm up to in between blog posts? Do you want to see other projects that I DON'T post about here on my blog?  Click on the little Social Media icons over on the right to follow me and see what else I'm doing!  


Supplies: