Showing posts with label Halloween. Show all posts

Saturday, August 14, 2021

Picket Fence Studios August Release

Hello!

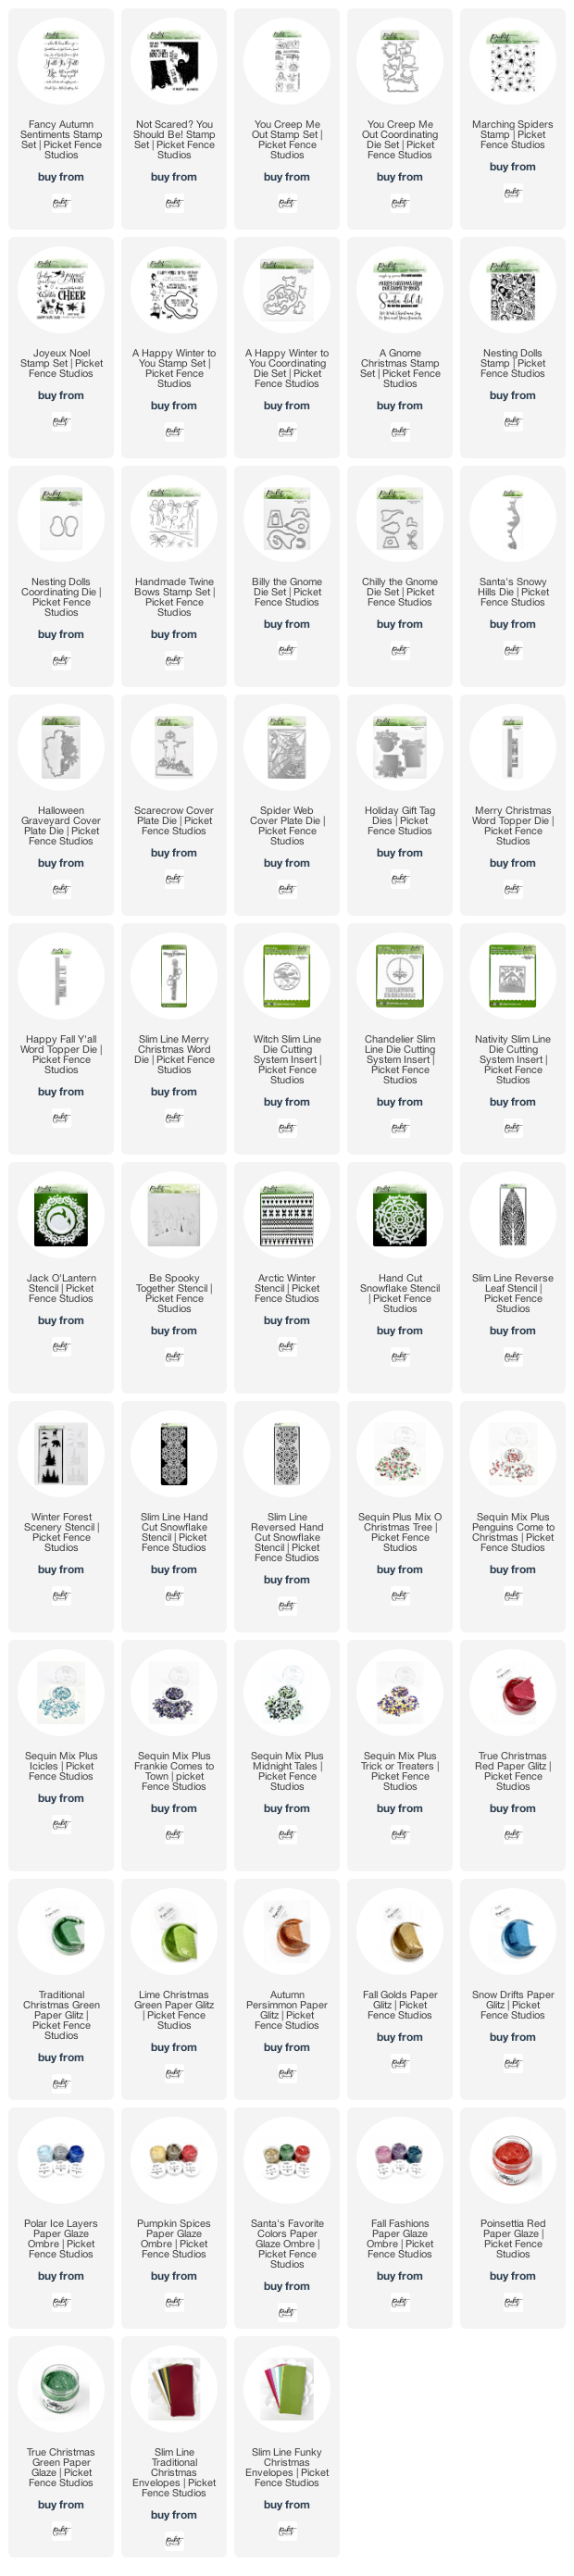
It's the 14th of the month, which means it's time for a new release from Picket Fence Studios.  I have five cards to share with you today, featuring the new products, so, let's take a quick peek of the entire release before we dive into the cards.

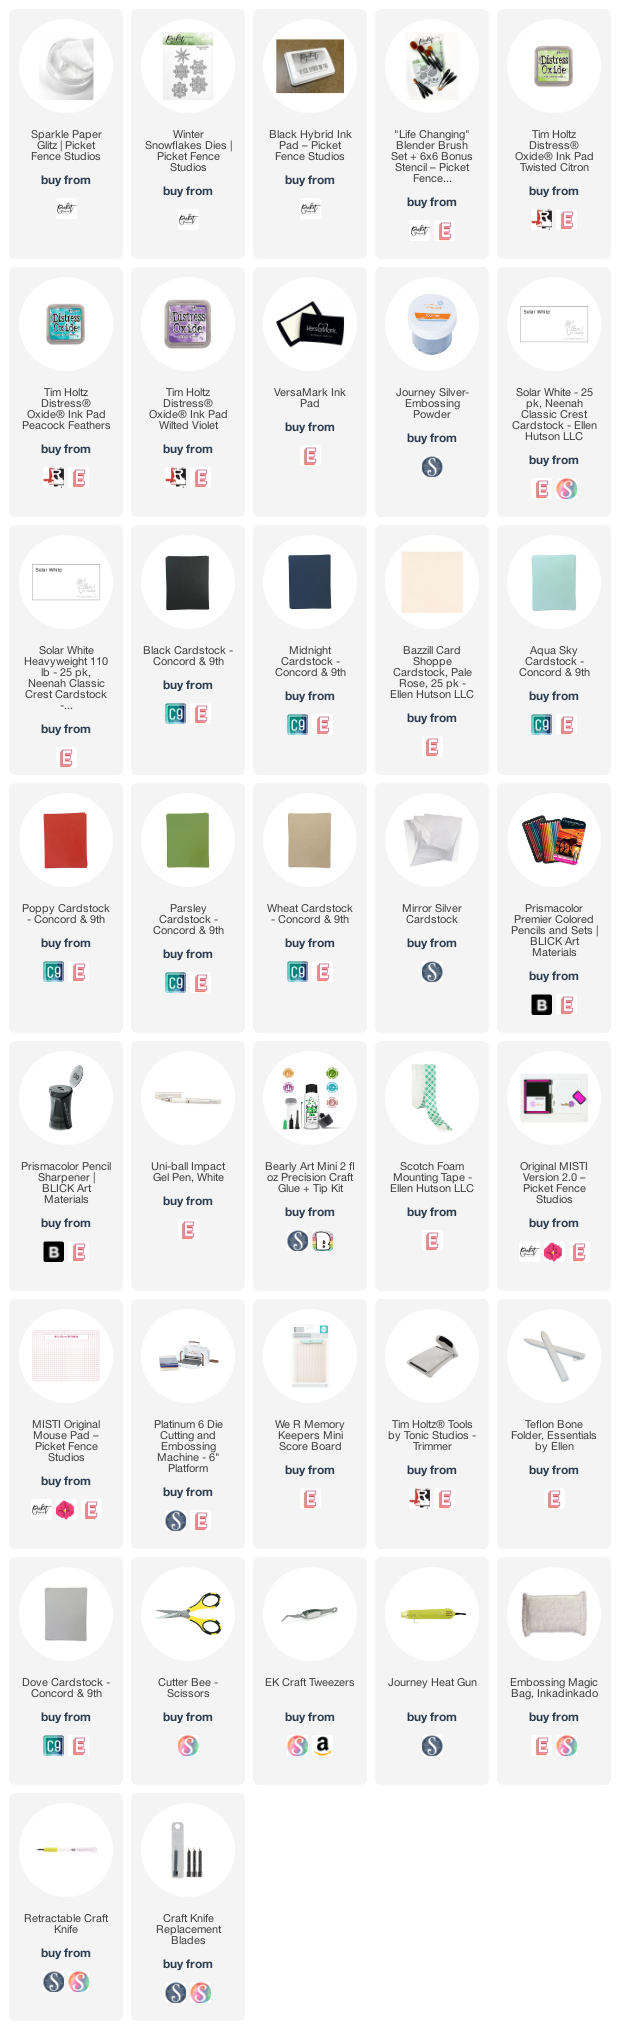
(All of the supplies used on the individual cards, will be listed at the bottom of the post, for reference.) 
If the list below is not visible in your browser, please click here to view it.    

Card #1 | Magic In the Night


For today's first card, I began by stamping the image from the Hocus Pocus Dear Stamp, with Black Hybrid Ink, and coloring in the image with Prismacolor Pencils.  Once I had the image the way I wanted, I die cut it using the coordinating die.  

To create the card background, I taped the Slim Line Cut Flower Stencil over the top of dark gray card stock.  I began, by using a larger Life Changing Blender Brush, to blend Black Soot Distress Oxide Ink through the stencil.  I then used a smaller brush to blend Cracked Pistachio Distress Oxide Ink to the tips of the flower petals.  I pulled off the stencil, and used a bit of watered down Sparkle Paper Glitz to splatter the background.  


While the splatter dried, I stamped the sentiment, from the Triple Trouble Stamp Set, onto pale green card stock, using Black Hybrid Ink.  For the "magic in the night" portion, I masked off the additional portion of the sentiment with tape, when I was inking the stamp, and then removed the tape to stamp onto my card stock.    I fussy cut the sentiment out, and began laying out my elements.   The stenciled background was double matted with purple and black, before the colored image, and sentiment were added on top.  Then the layered card front was added to a white card base made from heavyweight card stock.  As a final touch, I added scattered gems from the Ghost House Gem Mix.  


Card #2 | CAS Halloween

For my second card today, I wanted to do something really clean and simple with the Triple Trouble Stamp Set.  I began by stamping the two pumpkin images in Black Hybrid Ink, onto orange card stock.  Then I stamped, and silver heat embossed, the hat image onto black card stock.  I die cut all three of these images using the coordinating dies, and layered them together so I could use the image cluster to lay out my other stamps.  


I placed a white card front in my MISTI, and used the cluster to arrange the bat stamp.  Then I removed the cluster, and stamped the bats in Black Hybrid Ink.    I did the same with my sentiment stamp, and stamped that in Dusty Concord Distress Oxide Ink.  Then I removed the panel from my MISTI, and adhered the cluster of images to it.  I matted the card front with purple card stock, and then attached it to a white card base made of heavyweight card stock.  


Card #3 | Fall Blessings

For the next card, I began my stamping the Medley of Fall Collage Stamp, multiple times, across a panel of kraft card stock.  I then colored in the images with Prismacolor Pencils (because I planned on adding the vellum panel above, there was no shading to the coloring, it was simply adding color.).  


I set the colored panel aside, and die cut the Slim Line Oversized Many Blessings Word Die twice - once from gold card stock, and once from dark red card stock.  I layered the die cuts together with liquid glue, then attached them to the vellum panel.  using the die cut to hide most of the glue, I adhered the vellum panel to the colored panel (A few small drops on the outside corners of the vellum holds the edges down).  

I attached the card front to a white card base, made from heavyweight card stock.  To finish the card, I added a few gems from the Autumn Leaves Gem Mix.  


Card #4 | Holly Jolly Christmas

For this card, I stamped two of the Holly Jolly Christmas Stamp images onto kraft card stock, in Black Hybrid Ink.  I colored in the images with Prismacolor Pencils, then die cut them, using the coordinating die.  


I stamped a panel of kraft card stock, with the same holly image, using coordinating ink.  Then I stamped the sentiment in Black Hybrid Ink.   The colored images were added using foam tape, and then the overhang was trimmed off.  I attached the card front to a white card base, made from heavyweight card stock.  To finish the card, I added a few gems from the Autumn Leaves Gem Mix.  


Card #5 | Season of Joy

For today's final card, I began by stamping, and gold heat embossing, the image from A Christmas Flower, onto vellum multiple times (three whole images were used in this card).  Then, I watercolored inside the flower portion, with a little watered down True Christmas Red Paper Glitz.    Once the watercolor had dried, I die cut the images with the coordinating die, before adhering the images to a panel of red card stock.  I trimmed the excess off the edges, and used some of those trimmings to fill in the panel.  


To create the sentiment cluster, I die cut the Joy from the the Slim Line Oversized Joy to the World Word Die, from black card stock, three times.  I adhered those die cuts together, and then stamped and gold heat embossed the " 'tis the season" sentiment from the Lots of Christmas Cheer Stamp Set, onto green card stock.  Then I cut that embossed sentiment into a strip.  I added a strip of gold card stock, and layered all of these elements together on top of a die cut vellum circle.  

I attached the card front to a white card base, made from heavyweight card stock.  To finish the card, I added a few gems from the Candy Cane Gem Mix.    


There are so many adorable and fun new items in today's release.  To see the full release in the Picket Fence Studios shop, click here.  

Thanks for stopping by!


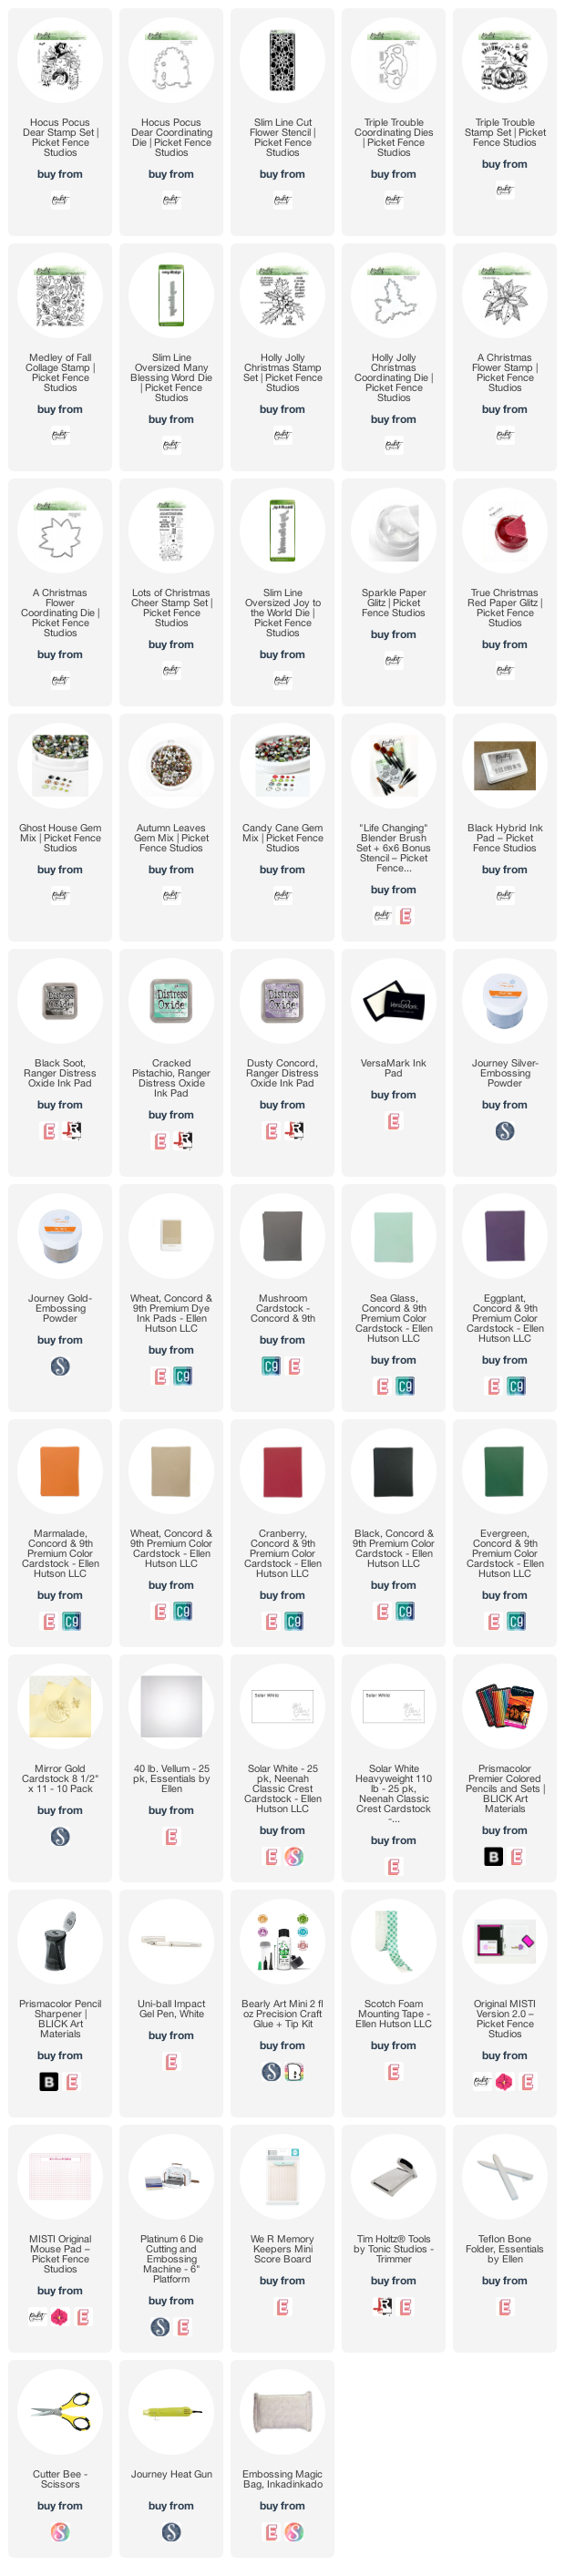
Supplies Used:

Use this easy list to find the products I used in my projects. (Contains affiliate links - where I earn a commission from purchases made from my links, at no cost to you. Your support helps me keep this blog going, and continue to create - Thank you! Affiliates and disclosures can be found here.) Please note, when possible, I try to offer multiple sources for the items I use.

If the supply list below is not visible in your browser, please click here to view it.
Wednesday, July 14, 2021

Picket Fence Studios July Release

Hello!

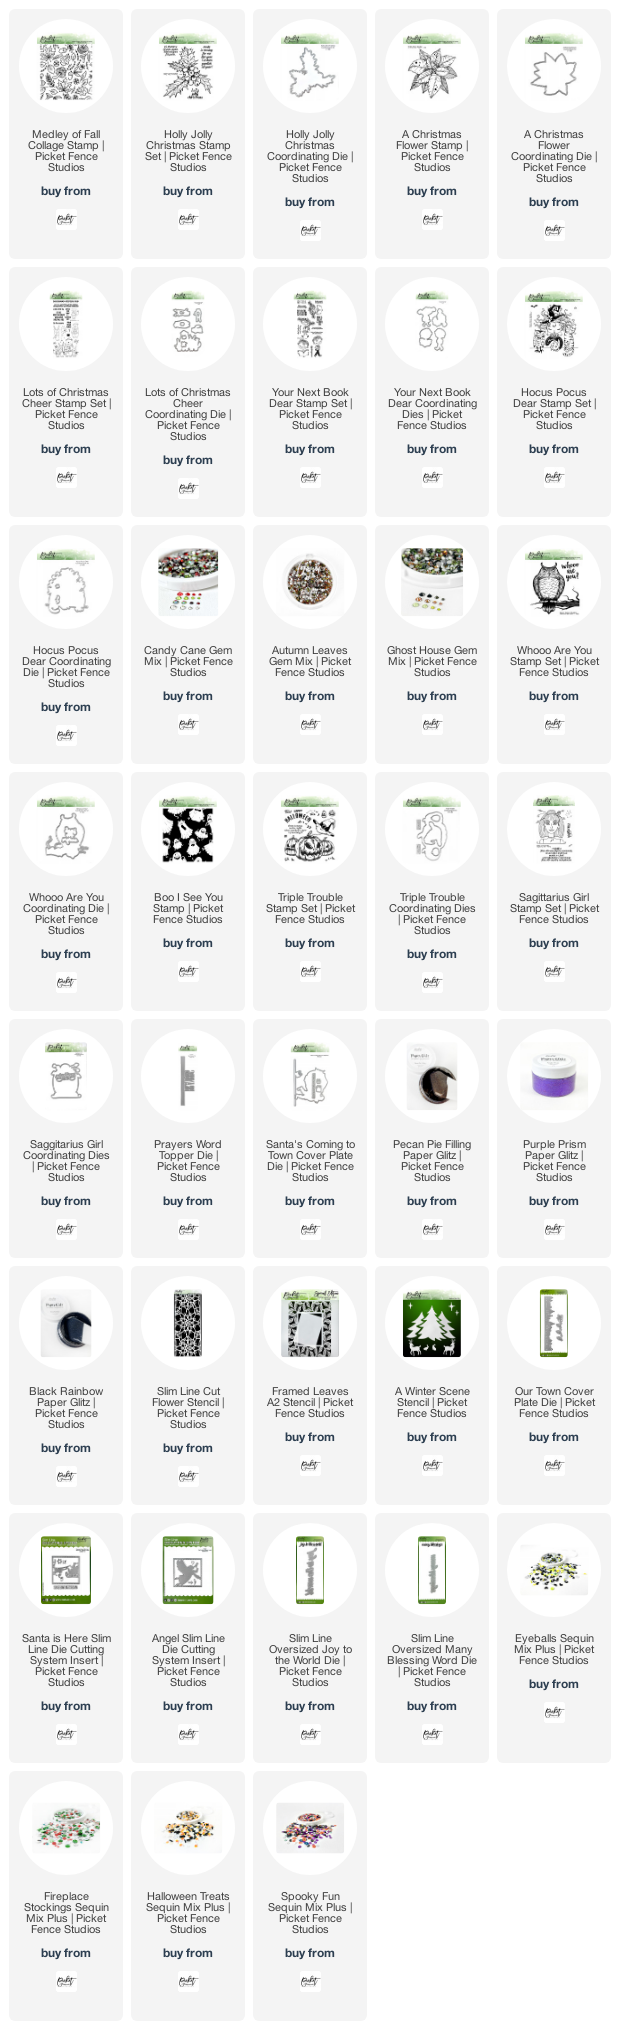
It's the 14th of the month, which means it's time for a new release from Picket Fence Studios.  I have five cards to share with you today, featuring the new products, so, let's take a quick peek of the entire release before we dive into the cards. This month there are a LOT of new stamps, stencils, and dies; new sequin mixes with added embellishments; and new colors of  Paper Glitz!  

(All of the supplies used on the individual cards, will be listed at the bottom of the post, for reference.) If the list below is not visible in your browser, please click here to view it.    

Card #1 | Monster Germs

This first card this month, features one of the adorable little monsters from the You Creep Me Out Stamp Set.  I stamped the image and sentiment in Black Hybrid Ink, and then colored the image in with Prismacolor Pencils. Then, I used a strip of painters tape to mask the image and sentiment, and dripped a line of Lime Christmas Green Paper Glitz.  I removed the tape, and then laid the panel down to dry.  Once dry, I added the panel to a white card base.  


Card #2 | Boo I See You

For this card, I die cut the Scarecrow Cover Plate Die from black card stock, I also die cut a circle from the Slim Line Die Cutting System - Scalloped Frames Die Set from white card stock.  I blended Antique Linen, and Scattered Straw Distress Oxide Inks onto the circle die cut, before stamping the sentiment - from the Fancy Autumn Sentiments Stamp Set, in Black Hybrid Ink.  

Then, I cut a panel of black card stock to card front size.  In a small paint pallet, I (separately) blended Fall Golds, Autumn Persimmon, and True Christmas Red Paper Glitzes with water.   Then, I brushed the watered down Glitzes onto the black panel.  Once finished, I brushed the Fall Golds color along the edged of the Scarecrow die cut.  Once dry, the pieces were  assembled onto a white card base.  


Card #3 | Boo Sheet

This card began with a panel of white card stock.  I ink blended the background with my Life Changing Blender Brushes, and Wilted Violet, Peacock Feathers, and Twisted Citron Distress Oxide Inks.  I sprinkled water on the background, and allowed it to dry, before stamping the ghost image from the Not Scared You Should Be Stamp Set  in Black Hybrid Ink.  Once that had a bit to set, I stamped and white heat embossed the sentiment.  

I matted the finished card front with black card stock, and added it to a white card base.  The card was finished off with a scattering of the Midnight Tales Sequin Plus Mix.  


Card #4 | From Our Gnome to Yours


This card began with two die sets.  Billy the Gnome, and Chilly the Gnome.  I die cut the pieces for each gnome, and assembled them with liquid glue.  I added a little watered down Snow Drifts Paper Glitz to Billy, as well.  

To add a little texture to the background, I used the "A" shade from the Polar Ice Paper Glaze Ombre Set, and spread it through the Flowers Stencil, onto white card stock.  Once that dried, I die cut the stenciled panel with a circle die.  

I stamped the sentiment from the A Gnome Christmas Stamp Set,  in Black Hybrid Ink, onto the bottom of a panel of white card stock.  Then I layered the die cut circle, and my gnomes on the top portion of the panel.  I matted the panel with a bit of the aqua card stock I used for Billy, and then attached the card to a white card base.  


Card #5 | Joyeux Noel

I started this final card, by spreading the same "A" shade from the Polar Ice Paper Glaze Ombre Set, as I used in the previous card, through the Artic Winter Stencil, onto white card stock.  While that dried, I stamped, and silver heat embossed, the sentiment and snowflake from the Joyeux Noel Stamp Set onto navy card stock.  

I die cut a few of the Winter Snowflakes from Silver card stock, and then assembled my (dry) panels together with the die cuts.  I attached the completed card to a white card base, and added a few sequins from the Icicle Sequin Mix Plus.  


There were a lot of fun things in this release.  I have even more cards to share with you later this month.  In the meanwhile, be sure to go check out the new release at Picket Fence Studios.  

Thanks for stopping by!


Supplies Used:

Use this easy list to find the products I used in my projects. (Contains affiliate links - where I earn a commission from purchases made from my links, at no cost to you. Your support helps me keep this blog going, and continue to create - Thank you! Affiliates and disclosures can be found here.) Please note, when possible, I try to offer multiple sources for the items I use.

If the supply list below is not visible in your browser, please click here to view it.

Monday, October 21, 2019

Happy Haunting!

Hello!

My husband absolutely adores putting up blow-up decorations for Halloween and Christmas.  We are THAT house, with the yard full of brightly colored "balloons".  Yesterday, we dug out our Halloween decorations and put them up in the yard.


In the process, I realized, I had failed to share ANY Halloween cards with you this year!  I had a couple on my desk, but never had gotten around to showcasing them.  (And, thanks to yesterday's blog hop post, there is a coupon code for the stamps and dies I used on the Halloween cards that is good through today only!)  So, I thought I would pop in quickly and share the images and supplies I used, so you can get these items on their way to you in time for Halloween.
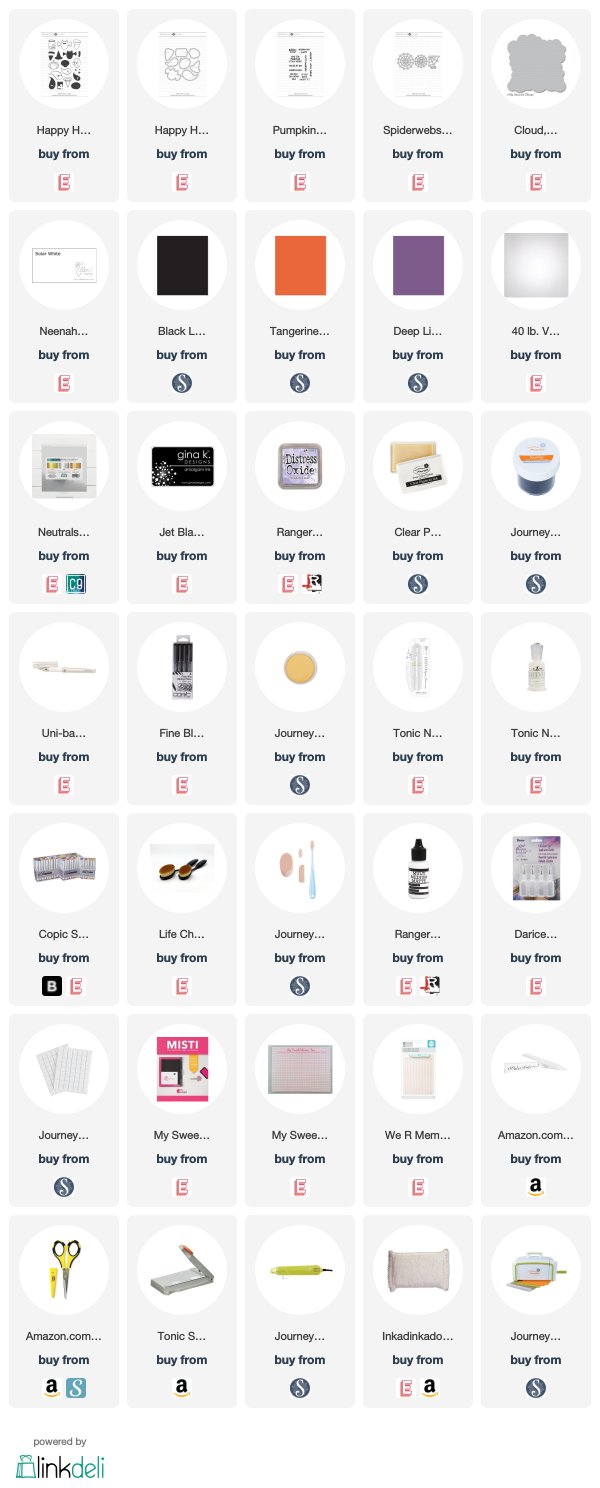
I used the Happy Haunting Stamps, and Happy Haunting Dies on these cards.  In addition, I used the Pumpkin to Talk About Stamps for my sentiments, and the Spiderwebs Dies on the second card.  All of the supplies used are listed at the bottom of the post.  


While I chose not to stamp the color into the Happy Haunting images, these images are a "two step" stamp, that allows you to stamp the outline AND the color for the image.  This makes these super easy to stamp out a bunch, die cut them, and then add them to the candy you are passing out on Halloween as a little way to dress up the candy.

I hope you enjoyed these fun, cute, and SUPER easy cards to have for Halloween. 


Thanks for stopping by!


Supplies Used:
Use this easy list to find the products I used in my projects. (Contains affiliate links - where I earn a commission from purchases made from my links, at no cost to you. Your support helps me keep this blog going, and continue to create - Thank you! Affiliates and disclosures can be found here.) Please note, when possible, I try to offer multiple sources for the items I use. Products with two or more logos - underneath, or on the side, give you options of where to purchase, in case the item has sold out at one shop. To visit the first store, click on the photo of the item. To visit the second (or greater) source, click the logo for the second shop - you will still be taken directly to the product. 

Friday, September 28, 2018

October Coach Collective Sneak Peek and Preorder


October is nearly here - which means Halloween - which means that my yard will soon be full of blow ups and lights, and neighborhood kids.  We jokingly call it the season of drive-bys, because our little cul-de-sac starts to see a lot more traffic as people check out the decorations.  We've already purchased a few new things to add to the display as well, so it just keeps growing! 

The new month also means that a new edition of Coach Collective will be available - and look at all of these cute peeks!  This edition is packed full of fun Halloween cards and projects.  

I am thrilled to be collaborating with these talented ladies to bring you creative project tutorials featuring current Fun Stampers Journey products. Monthly, we create step-by-step written tutorials (with photographs), to complete a project.  All of these tutorials are then collected into that month's edition.  The tutorials are sent to you in one concise document, ready for you to enjoy!


 You can get this tutorial collection two ways: 

  • The first option is to use the Paypal Button below to order the PDF collection for $15, and I will send it out to you on the morning of October 1st.* 
  • The second option, is to break out that wish list! With a brand new catalog, this one will be easy! Make a purchase of $50 or more between October 1st, and October 31st in my Fun Stampers Journey store, and I will send you this tutorial collection for FREE, without you having to do anything else!* 

* * * * * * * * * * * * * * * * * * * * * * * *
Coach Collective | October 2018 PREORDER

If you are making a purchase - of $50 or more - from my FSJ store (10/1/18 - 10/31/18), 
you will receive this collection as a bonus, please do not purchase through this button.  
The tutorial will be sent out to you, after I receive confirmation of your order. 
Order Bonus not available outside of October dates.  Thanks!

* * * * * * * * * * * * * * * * * * * * * * * *

*Please note: I send the tutorial out, via email, myself on the morning of October 1st.  If for some reason, you have not received it within 12 hours (and you've checked to make sure it's not in your spam folder), please email me at muchlovesara (at) gmail.com

All 12 tutorials will be sent to you in one concise document, ready for you to enjoy! Coach Collective project tutorials are created with currently available supplies from Fun Stampers Journey and provide measurements in inches only.

Thanks for stopping by!

Much love,                    


Tuesday, September 27, 2016

Halloween Bones

I mentioned in my last post that we had a family emergency.  My stepson's heart stopped just over a week ago (we still don't know why, and may never know).  Luckily, his fiance was there, and was able to perform CPR.  He's was heavily sedated most of last week, and is now starting to "wake up" so that we can start to find out the extent of what damage there is.  There is a very long road ahead, but he's a tough kid, and I think he'll pull through this.  Prayers are most certainly appreciated though!!!

* * * * * * * * * * * * * * * * * * * * * * * * * * * * * * * * *

 A few weeks back, the Stampin' Up! team I belong to had a challenge to create some Halloween items.  Often, people don't think about creating for Halloween, and the crafty focus is on Christmas.  Personally, I LOVE Halloween!  We were to create three items that coordinated.  I chose to create two cards, and a small treat bag.  


I love this Mr. Funny Bones stamp set.  I'm a big fan of stamps with attitude or sarcasm.  Because they are photopolymer, it is really easy to use them to "build" a skeleton.


I'm always a fan on heat embossing, and I love the glitter embossing powders in the Holiday Catalog.  The red was a perfect touch on these projects.


The first card was a standard A2 size (the front is 1/4 of a sheet of card stock), which will be fun to mail to our far away grands, with a box of special treats.   The second card is a tiny 3"x 3" card.  It's the perfect size to drop into a trick-or-treat bag with a special $$ treat for the grands that come to the house!


The small gift bag is fun to hold a variety of little treats.  This one will be great to give out to our grown up kids.  You know, the ones that pretend they are too old for Halloween, but still love it.

Thanks for stopping by!


PS.  Curious as to what I'm up to in between blog posts? Do you want to see other projects that I DON'T post about here on my blog?  Click on the little Social Media icons over on the right to follow me and see what else I'm doing!  


Supplies: