Showing posts with label New Release. Show all posts

Wednesday, June 14, 2023

Picket Fence Studios June Release

Hello!

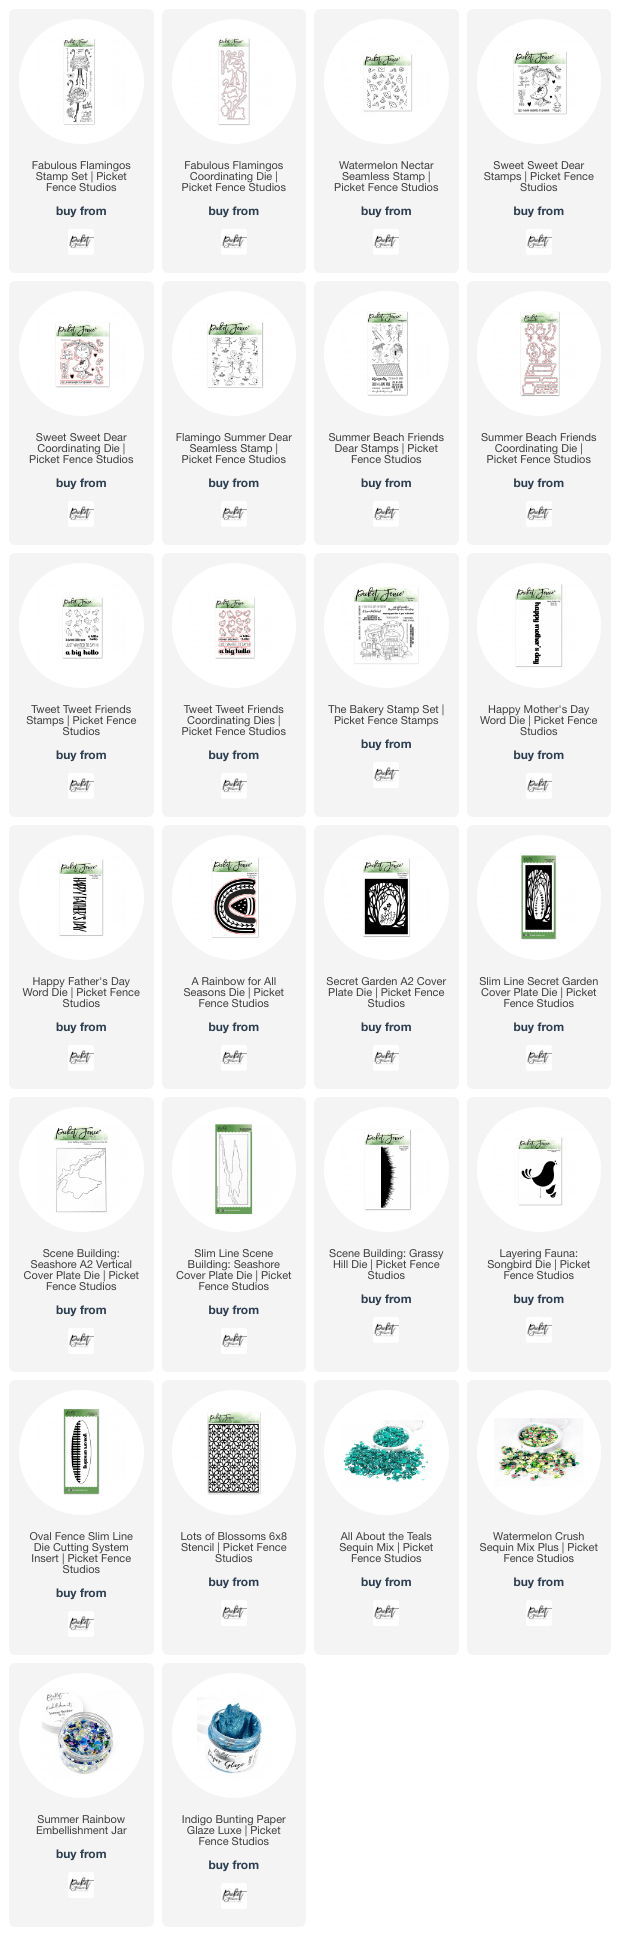
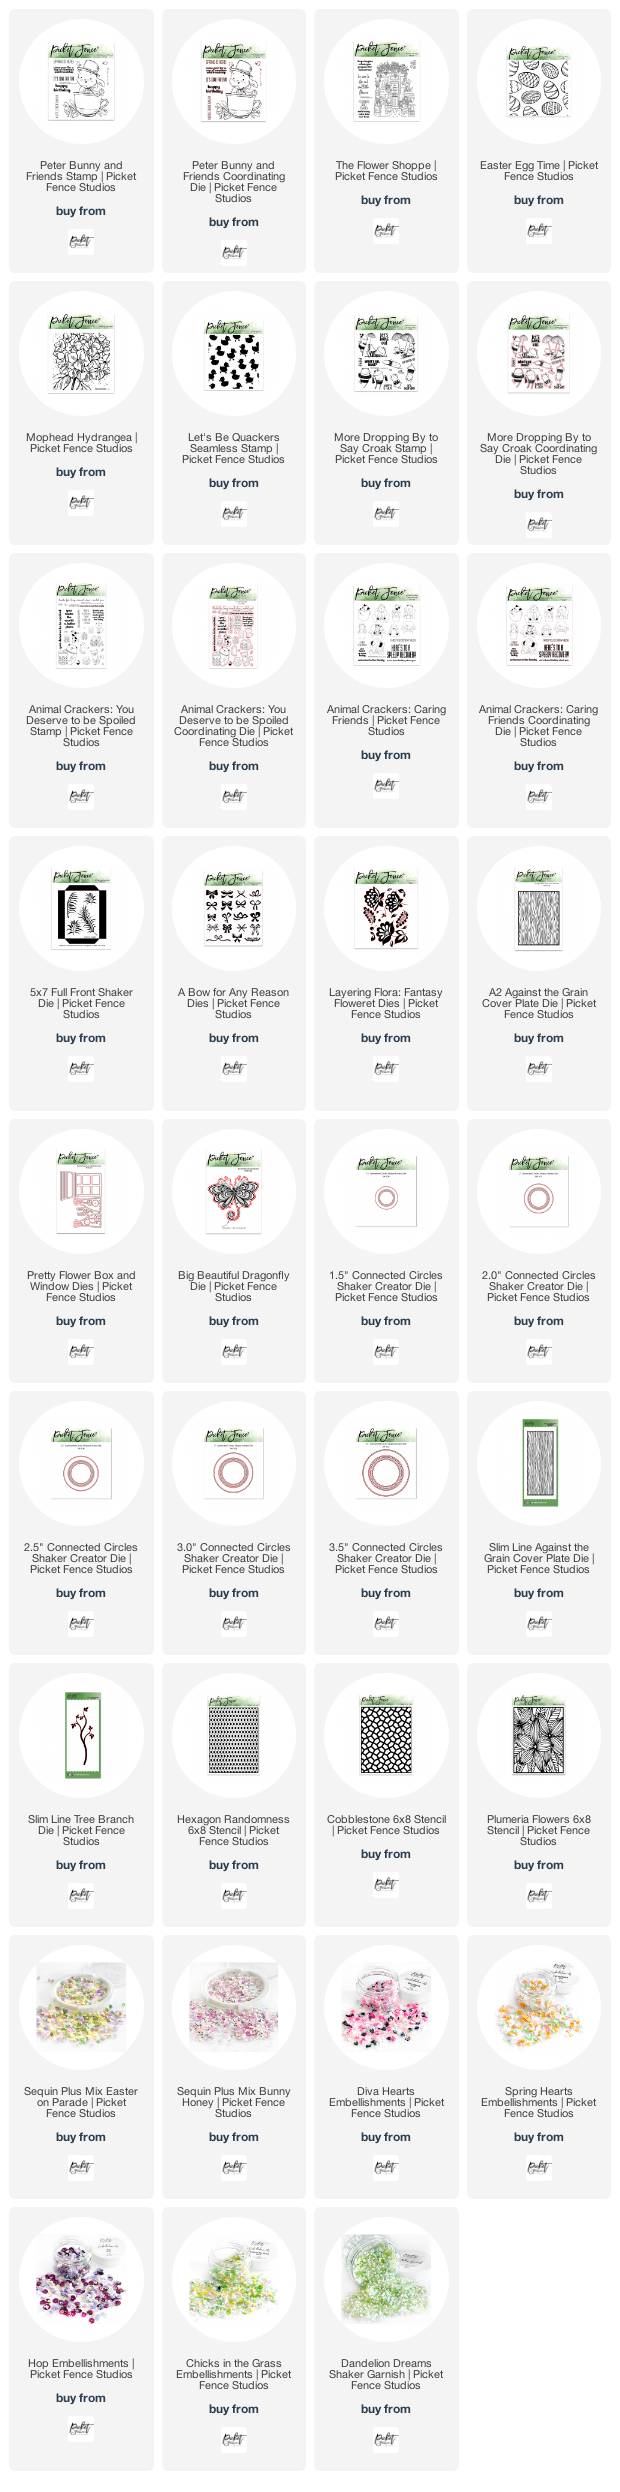
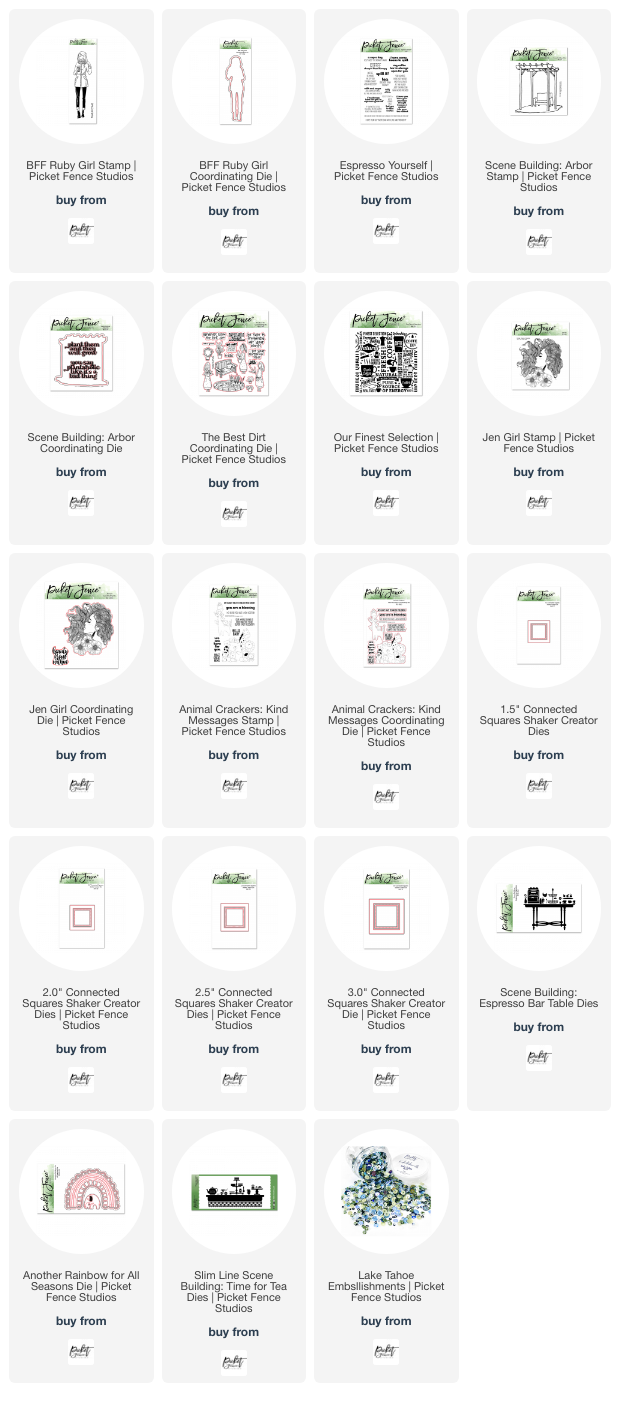
It's the 14th of the month, which means that there is a new release from Picket Fence Studios.  As always, I have the entire release listed below, so that you can peek at all the new offerings, and then I have a couple of cards to share with you showcasing some of the new products.  

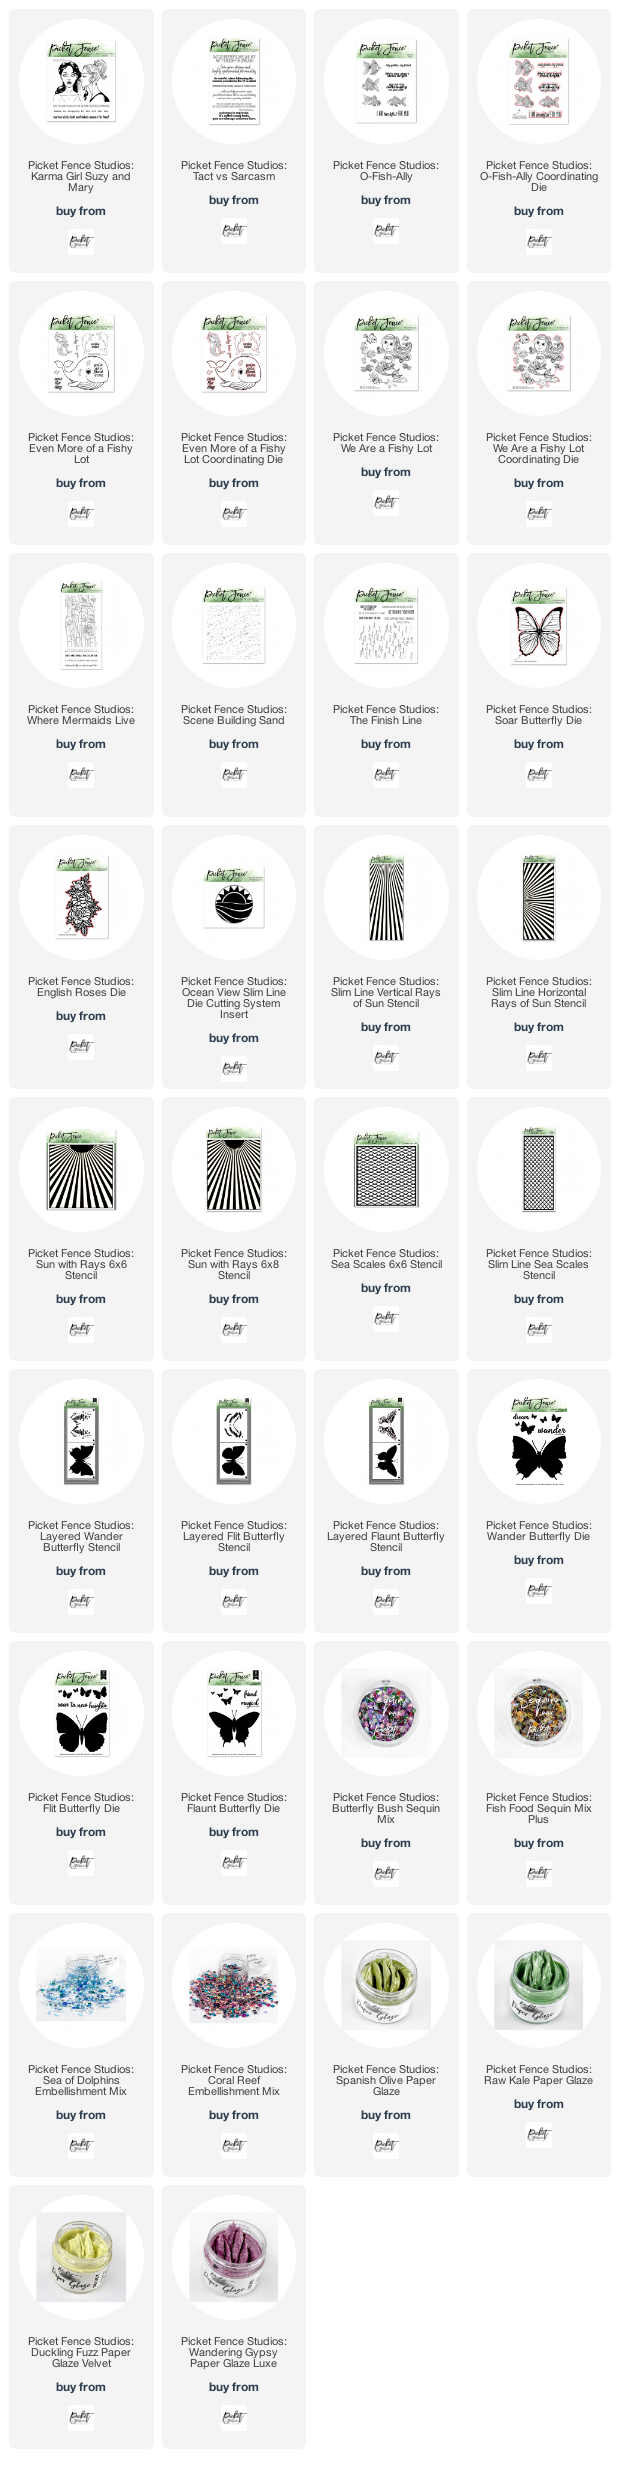
The June 2023 Release:


If the list below does not load for you, you can click here to view it in another window.
Specific products used in the cards below will be listed separately at the bottom of the post.


I have two cards to share with you below, along with tips on how the card was created.  All of the supplies used in the cards are listed at the bottom of the post.  For additional samples throughout the month, please follow my Instagram.  


Process: I created my die cute pieces first - layering the silver and black for the espresso machine over some black scrap, and cutting the mugs and flower vase from white card stock.  I used Copics to add a bit of color and dimension to the white die cuts.  I placed them on the table top to determine the size of Shaker Creator Die to use, then cut the stitched square shape from some kraft card stock.  I stamped the Our Finest Selection onto white card stock, and then adhered the die cuts.  I ink blended the edges of the kraft with the Tile Montage Stencil.  I stamped the sentiment in black ink, then adhered the acetate window in place, and added the foam frame around the window.  Extra foam was placed in the corners of the kraft panel.  I put a large pinch of Lake Tahoe Embellishment Mix on the die cuts, then adhered the cover panel on top of that (allowing me to see where the window was placed).  The shaker was then added to a white card base.  


Process: I stamped and colored in the image using Fadeout Ink, and Polychromos pencils.  The kraft panel was inked by streaking ink vertically down the panel - intentionally not keeping it even.  Then I inked the A2 Against the Grain Cover Plate Die with Pumice Stone Ink before die cutting.  I stamped Our Finest Selection in white pigment ink over the textured background once.  On white card stock, I stamped the two sentiments, then die cut a white circle around them, and a coordinating black circle.  I die cut the colored image, along with a piece of white foam tape to stack behind her.  The card front was adhered together, and a few gems added for some sparkle.  

Products Used to Create This Card: BFF Ruby Girl Stamp & Coordinating Die, Espresso Yourself, Our Finest Selection, A2 Against the Grain Cover Plate Die, Sands of Time Gem Mixother items listed in the supply list at the end of this post. 


Be sure to check out the entire release, either above, or on the Picket Fence Studios website.  There will be bundles listed in the shop, where you can save a bit by purchasing some products together.  Or, you can purchase the entire release at a 15% discount!

Thanks for stopping by!


Supplies Used:

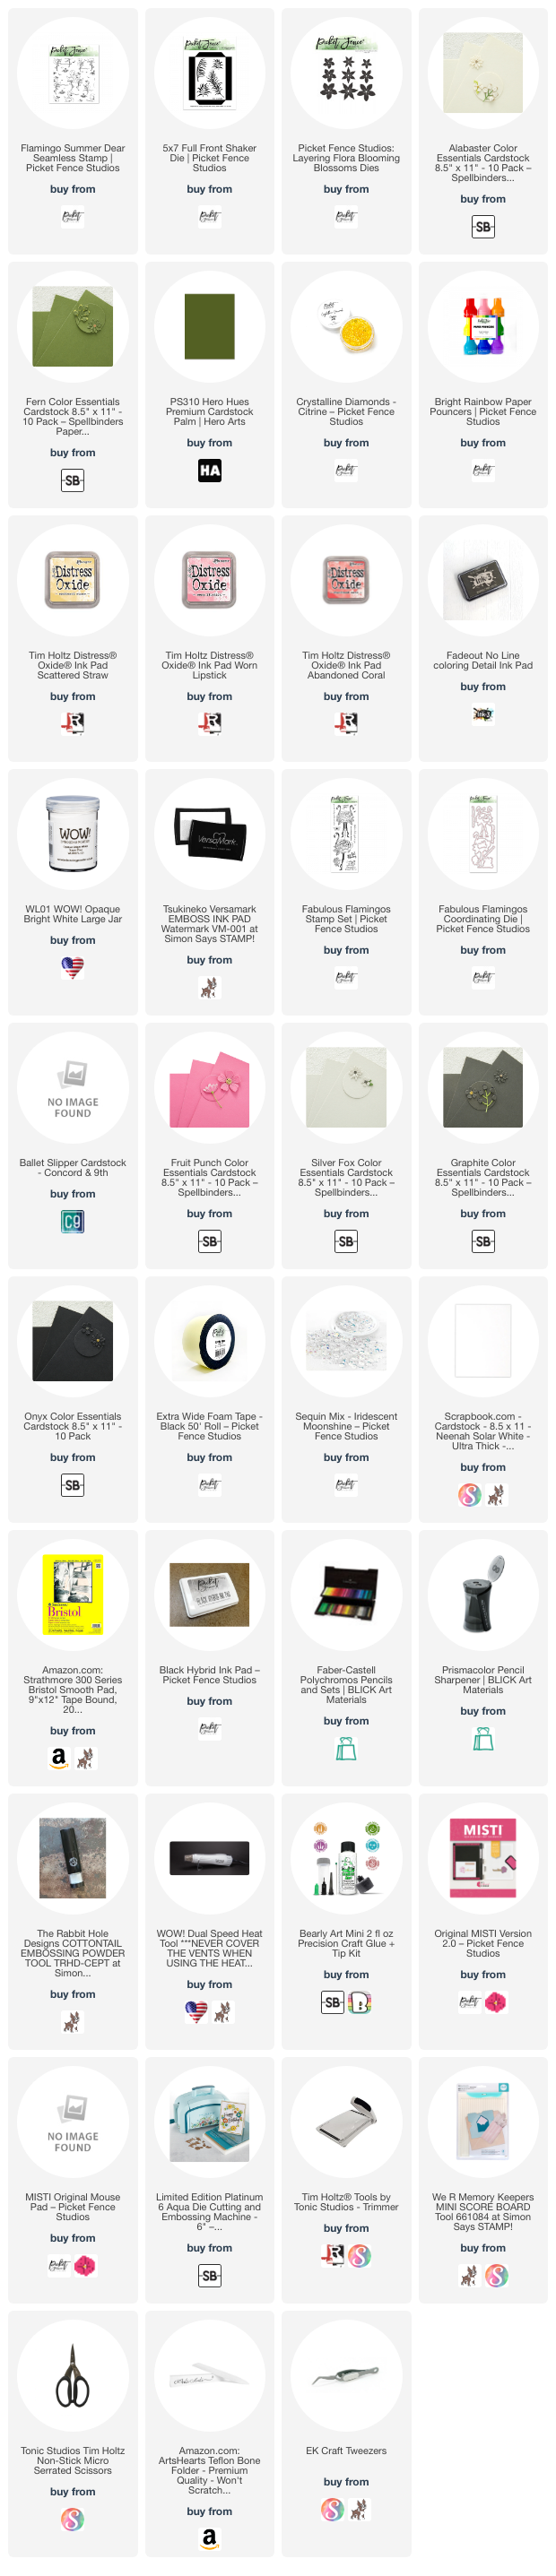
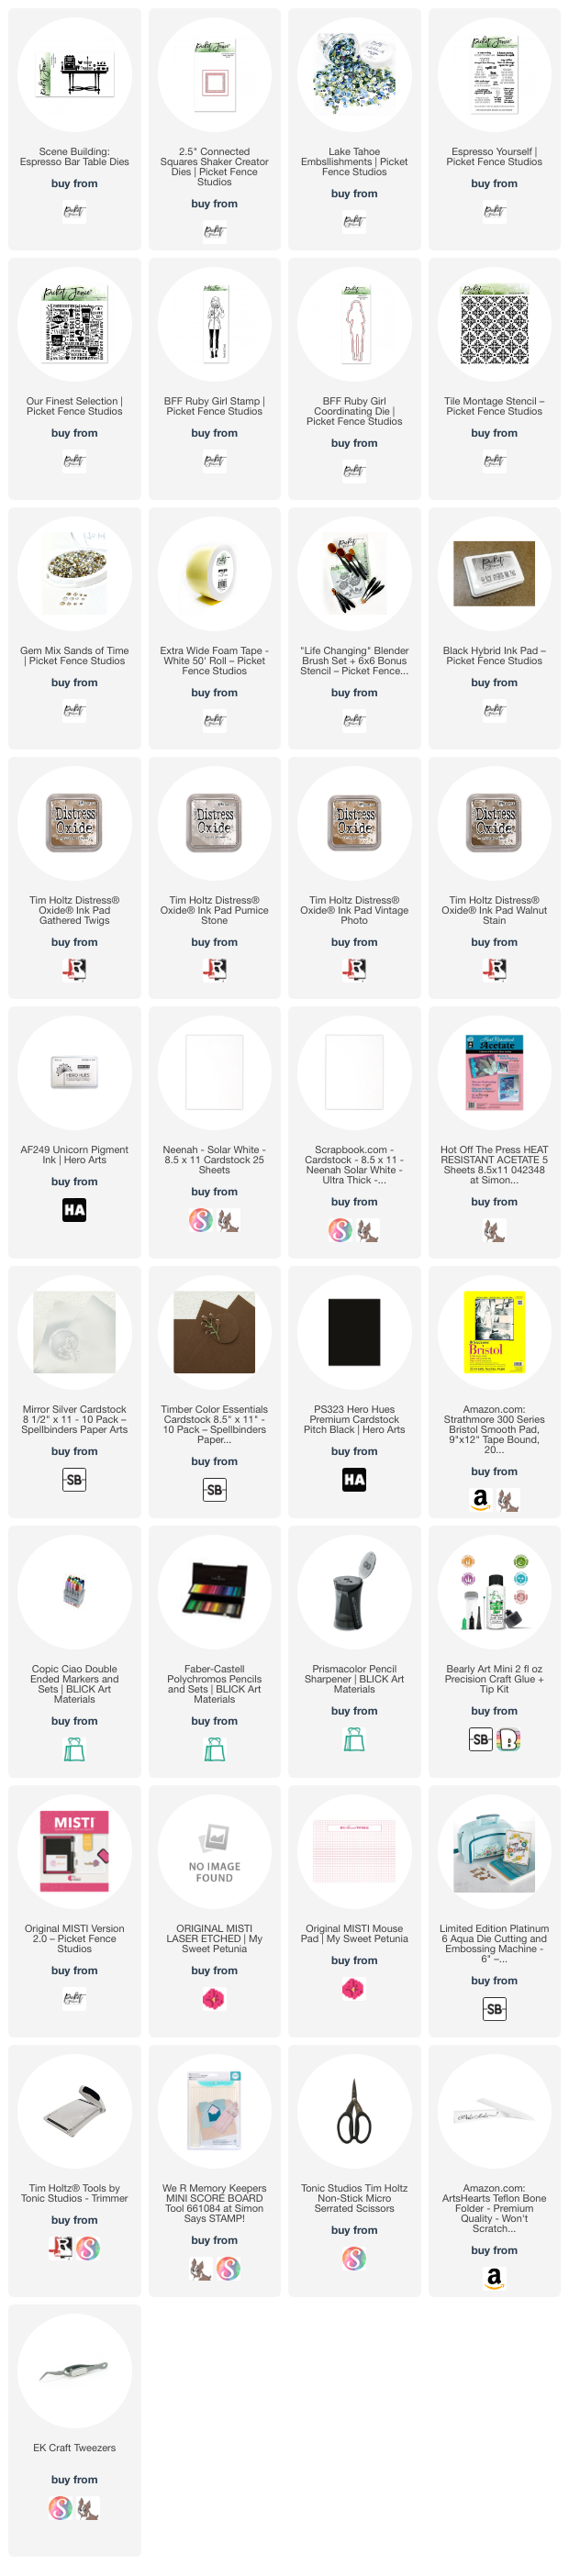
Use this easy list to find the products I used in my projects. (Contains affiliate links - where I earn a commission from purchases made from my links, at no cost to you. Your support helps me keep this blog going, and continue to create - Thank you! Affiliates and disclosures can be found here.) Please note, when possible, I try to offer multiple sources for the items I use.

If the supply list below is not visible in your browser, please click here to view it.

Monday, May 15, 2023

Picket Fence Studios May Release

Hello!

It's the 14th of the month, which means that there is a new release from Picket Fence Studios.  As always, I have the entire release listed below, so that you can peek at all the new offerings, and then I have a couple of cards to share with you showcasing some of the new products.  

The May 2023 Release:


If the list below does not load for you, you can click here to view it in another window.
Specific products used in the cards below will be listed separately at the bottom of the post.


I have two cards to share with you below, along with tips on how the card was created.  All of the supplies used in the cards are listed at the bottom of the post.  For additional samples throughout the month, please follow my Instagram.  


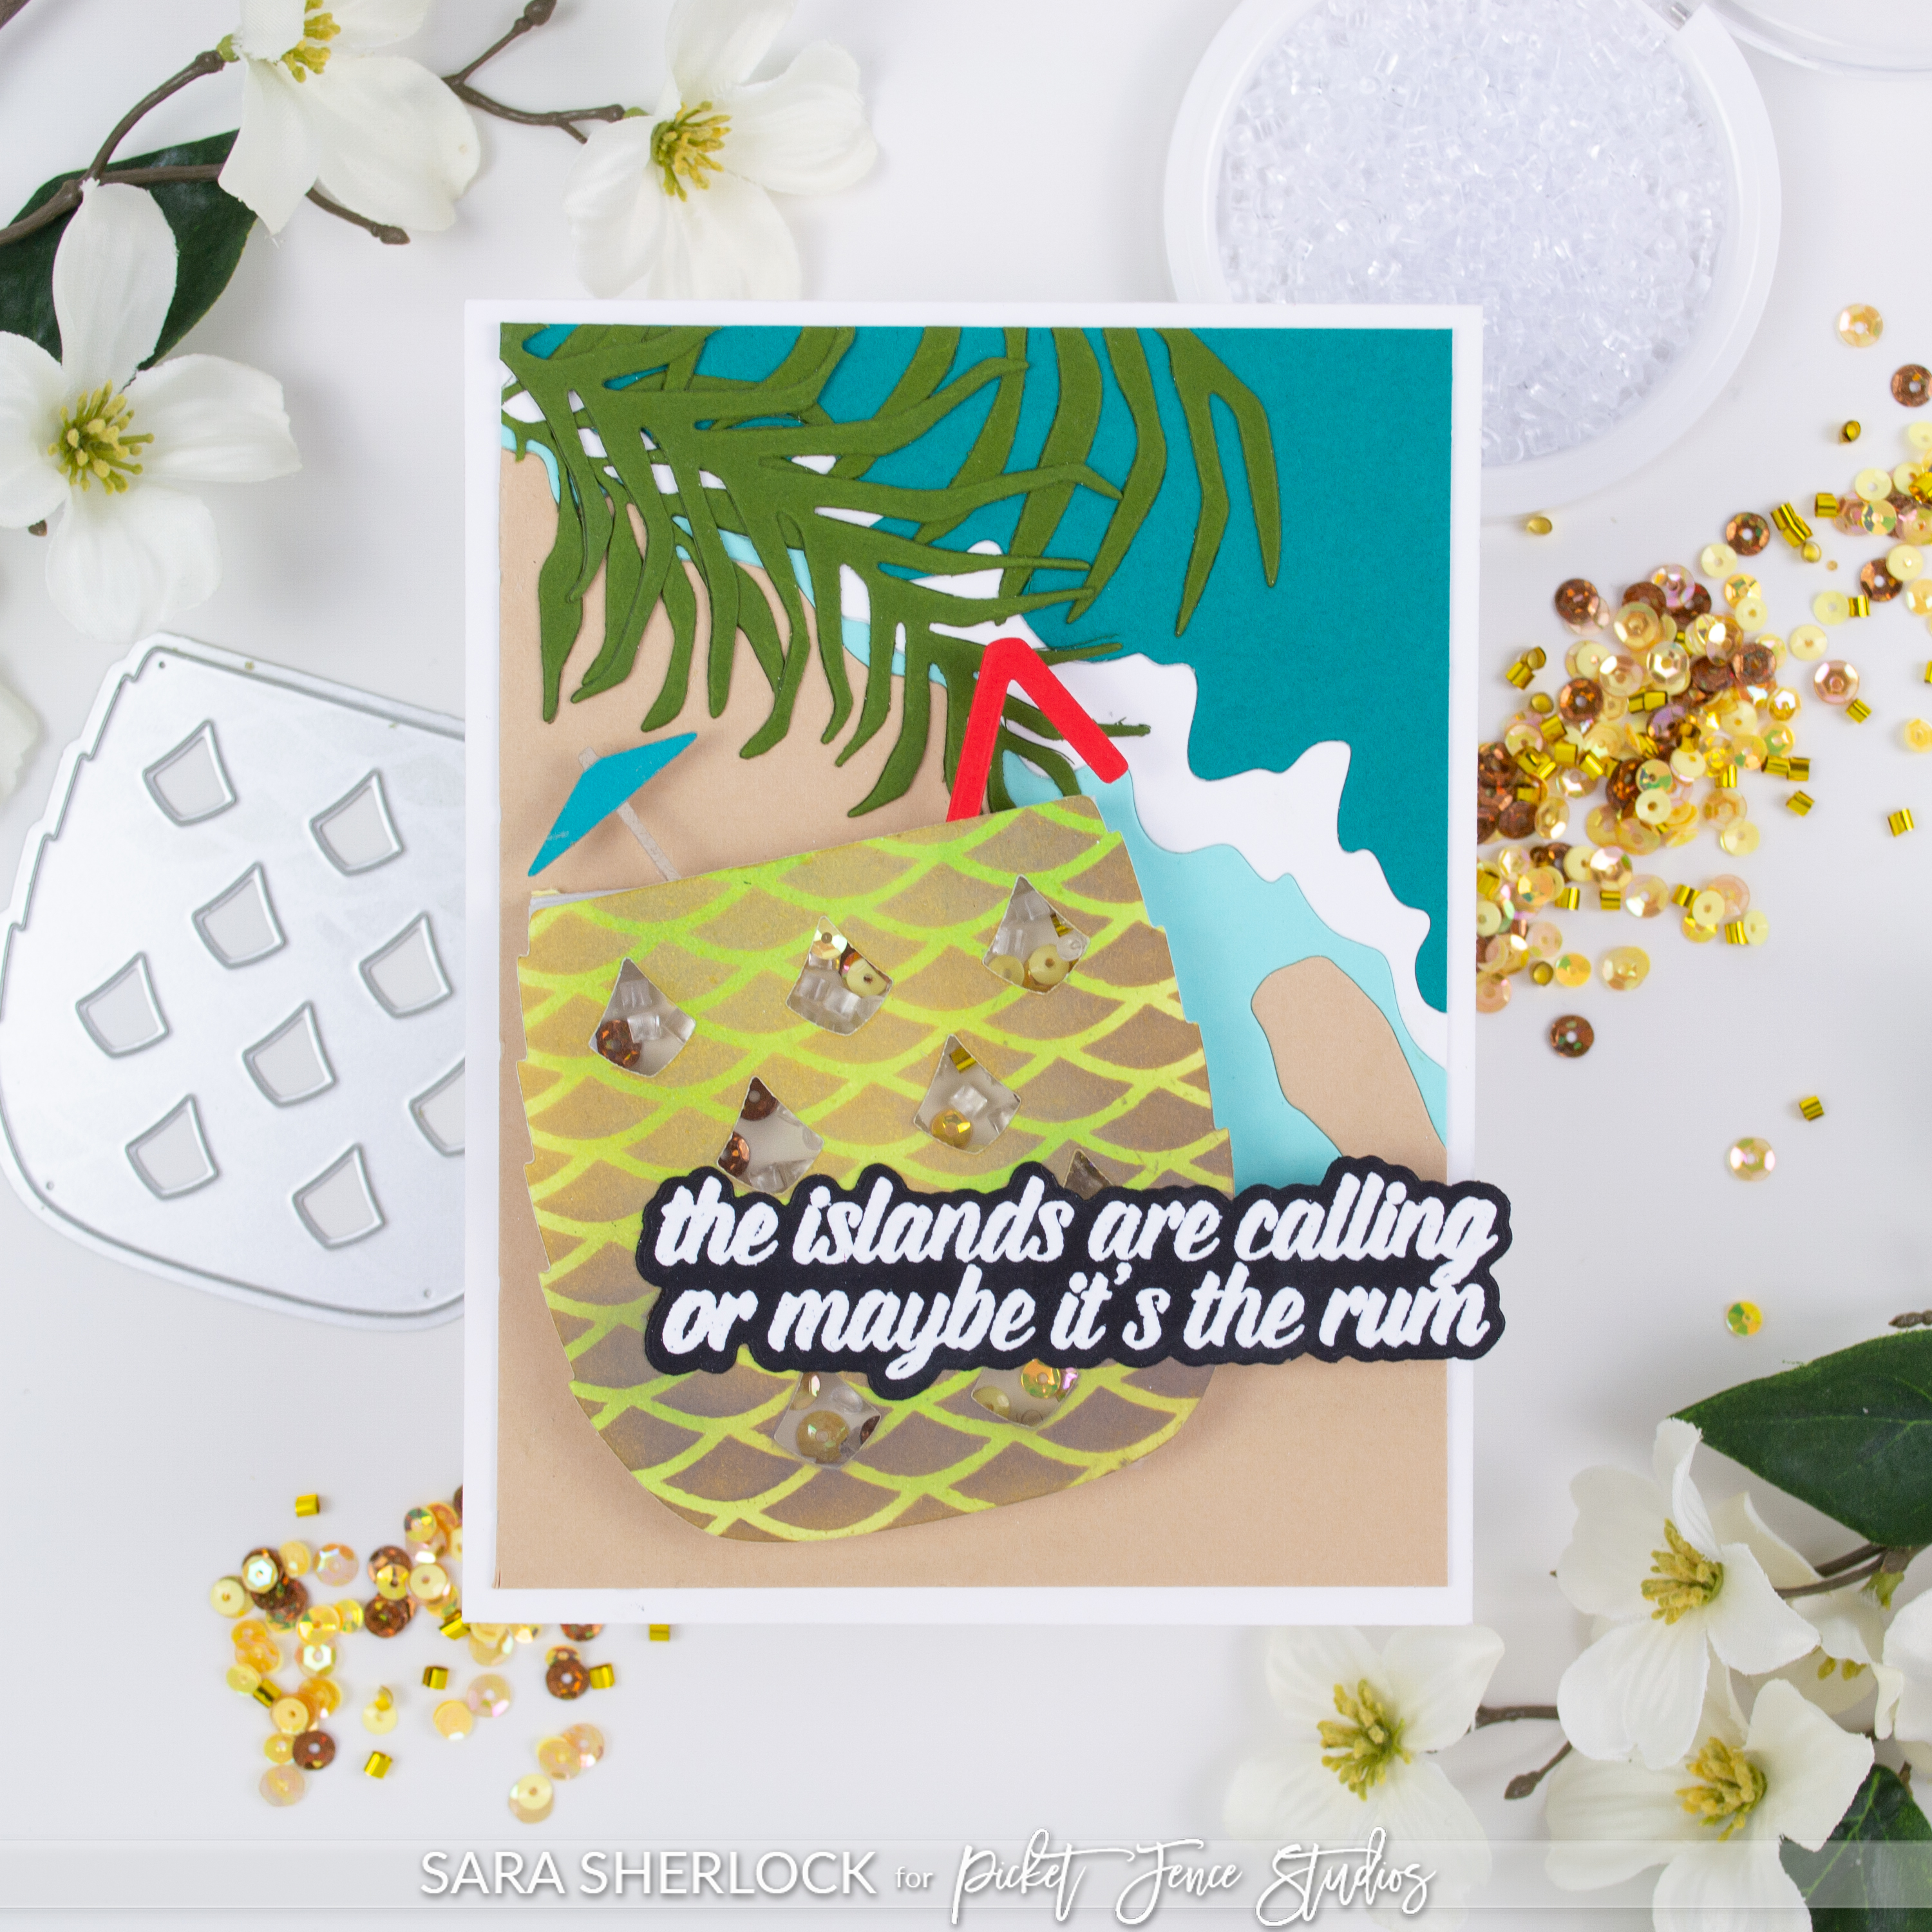
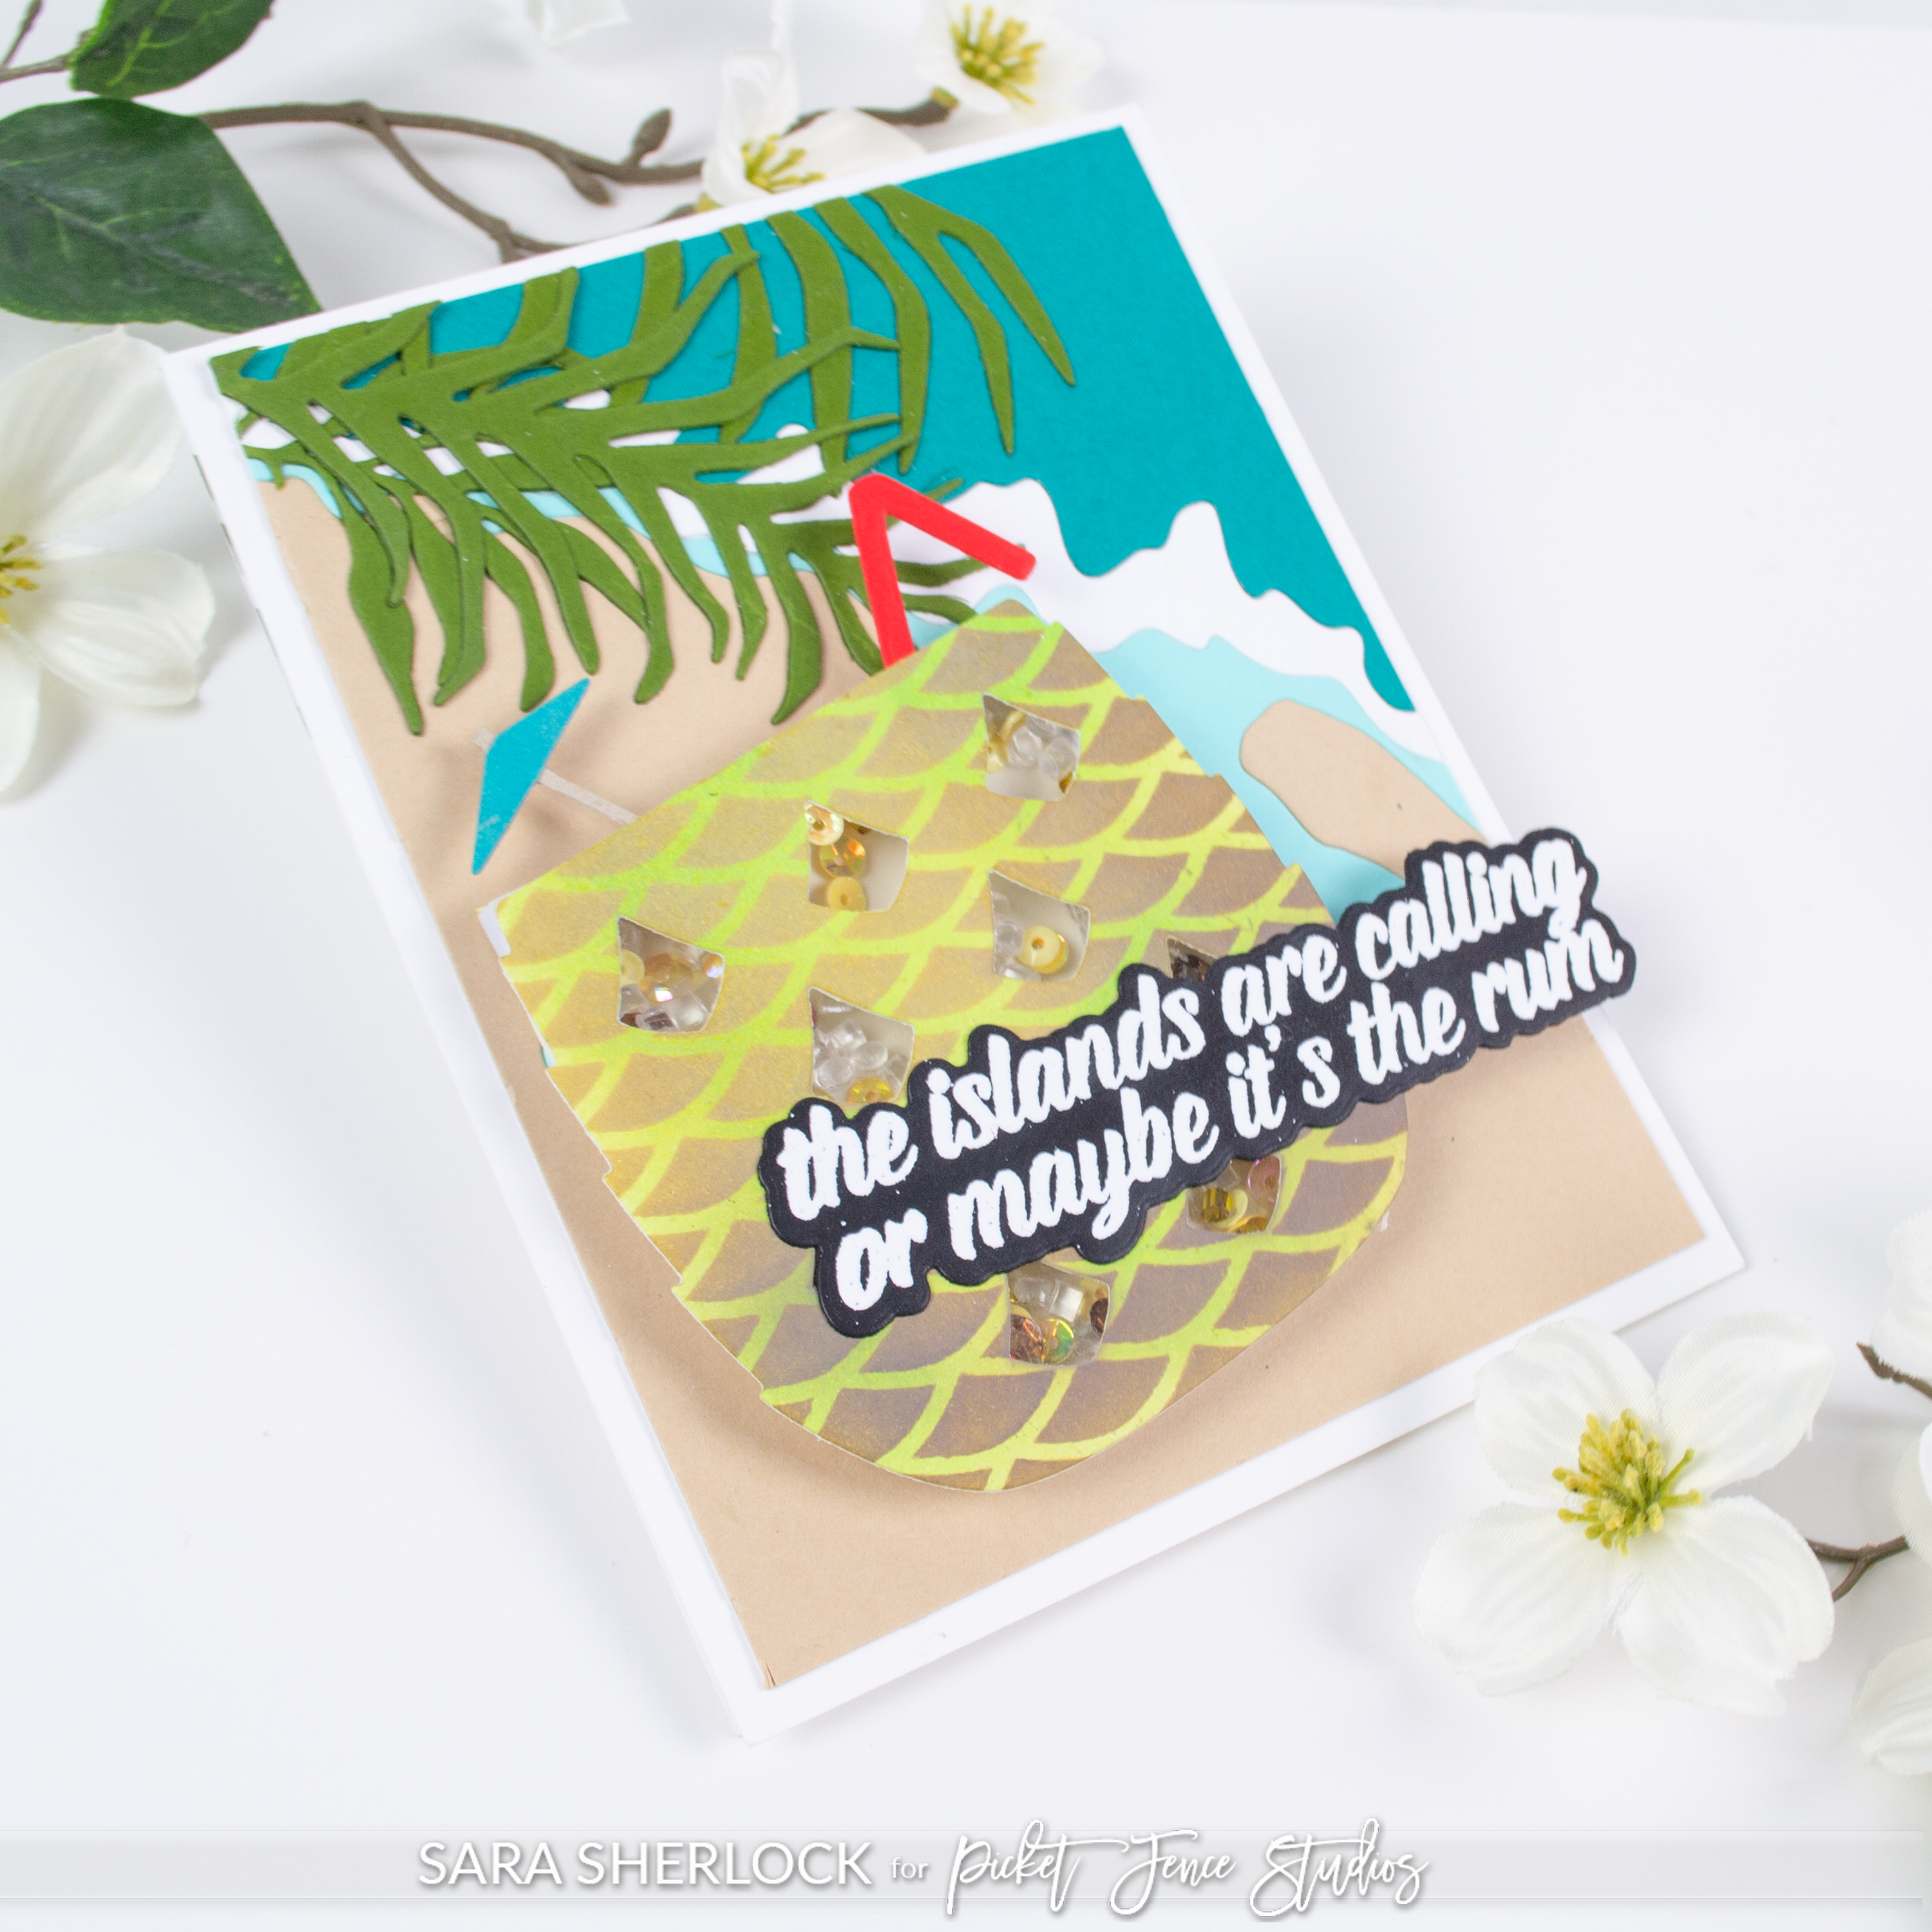
Process: Ink a panel of white card stock with the green inks in a mottled pattern, then overlay them with the stencil to add the brown inks.  Die cut each of the dies from the proper colors.  Then create the shaker from the pineapple.  Sentiment was heat embossed, then die cut.  Card front was added to a white card base.  


Process:  Seamless stamp was stamped repeatedly onto green card stock in dark green ink.  Pattern was colored in with a white pencil.  Sentiment was stamped and silver heat embossed onto light gray card stock, and framed with silver paper.  Card front was added to a white card base.  Sequins added as final touch.  

Products Used to Create This Card: A Nice Cold One Seamless Stamp, Make It Dirty Sentiment Stamps, Zesty Sequin Plus Mixother items listed in the supply list at the end of this post. 


Be sure to check out the entire release, either above, or on the Picket Fence Studios website.  There will be bundles listed in the shop, where you can save a bit by purchasing some products together.  Or, you can purchase the entire release at a 15% discount!

Thanks for stopping by!


Supplies Used:

Use this easy list to find the products I used in my projects. (Contains affiliate links - where I earn a commission from purchases made from my links, at no cost to you. Your support helps me keep this blog going, and continue to create - Thank you! Affiliates and disclosures can be found here.) Please note, when possible, I try to offer multiple sources for the items I use.

If the supply list below is not visible in your browser, please click here to view it.

Friday, April 14, 2023

Picket Fence Studios April Release

Hello!

It's the 14th of the month, which means that there is a new release from Picket Fence Studios.  As always, I have the entire release listed below, so that you can peek at all the new offerings, and then I have a couple of cards to share with you showcasing some of the new products.  

The April 2023 Release:


If the list below does not load for you, you can click here to view it in another window.
Specific products used in the cards below will be listed separately at the bottom of the post.


I have two cards to share with you below, along with tips on how the card was created.  All of the supplies used in the cards are listed at the bottom of the post.  For additional samples throughout the month, please follow my Instagram.  


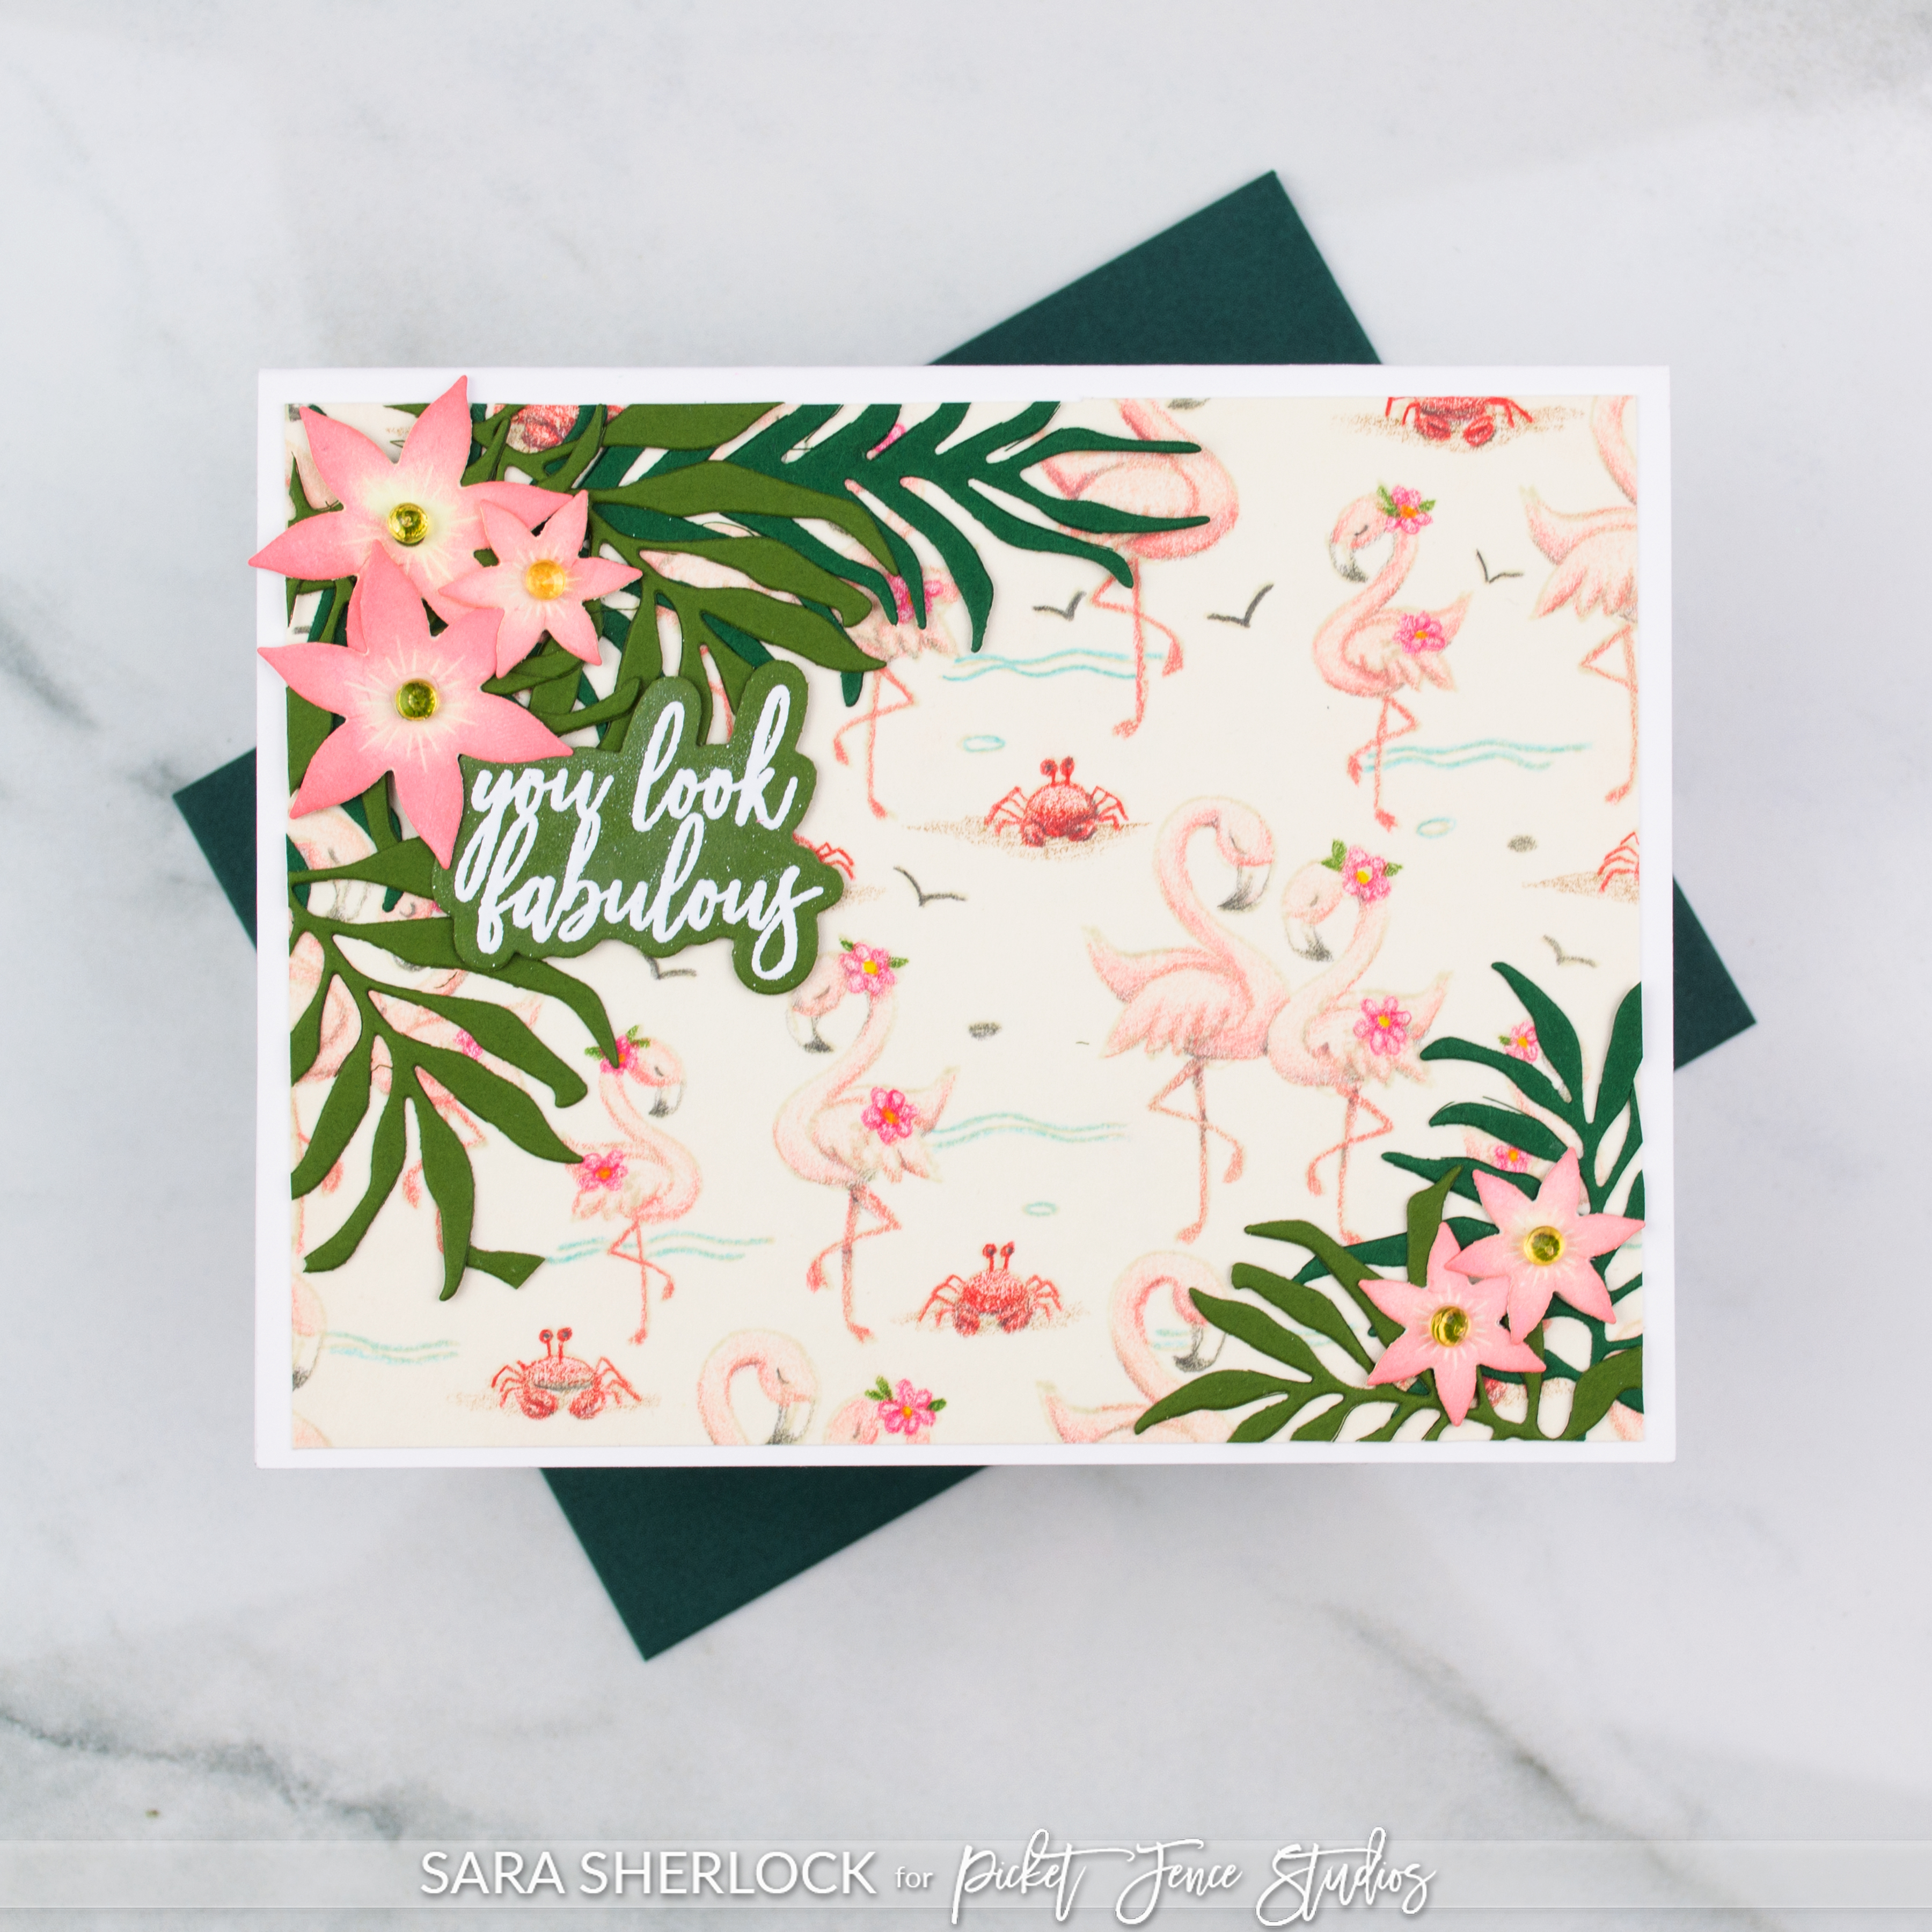
Process: Seamless stamp was stamped in Fadeout Ink, then colored in with Polychromos Pencils.  Die Cut Flowers were inked using Paper Pouncers and Distress Oxide Inks and added on top of die cut leaves.  Heat embossed sentiment was die cut and tucked in.  Added to a white card base. Gems were added to the centers of the flowers.  

Products used to create this card: Flamingo Summer Dear Seamless Stamp, Fabulous Flamingoes Stamp & Coordinating Die Set, 5x7 Full Front Shaker Die, Layering Flora: Blooming Blossoms, Crystalline Diamonds: Citrine, other items listed in the supply list at the end of this post.  


Process: Large Flamingo image was stamped onto pink cardstock with black ink.  Using white, a mid-tone gray, and a dark gray the flower was shaded.  Image was die cut, and additional piece of black foam was die cut with same die.  White panel was stamped with rose image from stamp set.  Strips of cut cardstock (1/8" and 1/2" cuts) were layered to create the stripes and adhered before sentiment was stamped.  Added to a black card base, and sequins added for some sparkle. 

Products used to create this card: Fabulous Flamingoes Stamp & Coordinating Die Set, 5x7 Double Stitched Layering Rectangle Dies, Iridescent Moonshine Sequins, Extra Wide Black Foam Tape Roll, Black Hybrid Inkother items listed in the supply list at the end of this post.  


Be sure to check out the entire release, either above, or on the Picket Fence Studios website.  There will be bundles listed in the shop, where you can save a bit by purchasing some products together.  Or, you can purchase the entire release at a 15% discount!

Thanks for stopping by!


Supplies Used:

Use this easy list to find the products I used in my projects. (Contains affiliate links - where I earn a commission from purchases made from my links, at no cost to you. Your support helps me keep this blog going, and continue to create - Thank you! Affiliates and disclosures can be found here.) Please note, when possible, I try to offer multiple sources for the items I use.

If the supply list below is not visible in your browser, please click here to view it.
Tuesday, March 14, 2023

Picket Fence Studios March 2023 Release

Hello!

It's the 14th of the month, which means that there is a new release from Picket Fence Studios.  As always, I have the entire release listed below, so that you can peek at all the new offerings, and then I have a couple of cards to share with you showcasing some of the new products.  

The March 2023 Release:


If the list below does not load for you, you can click here to view it in another window.
Specific products used in the cards below will be listed separately at the bottom of the post.


I have two cards to share with you below, along with tips on how the card was created.  All of the supplies used in the cards are listed at the bottom of the post.  For additional samples throughout the month, please follow my Instagram.  

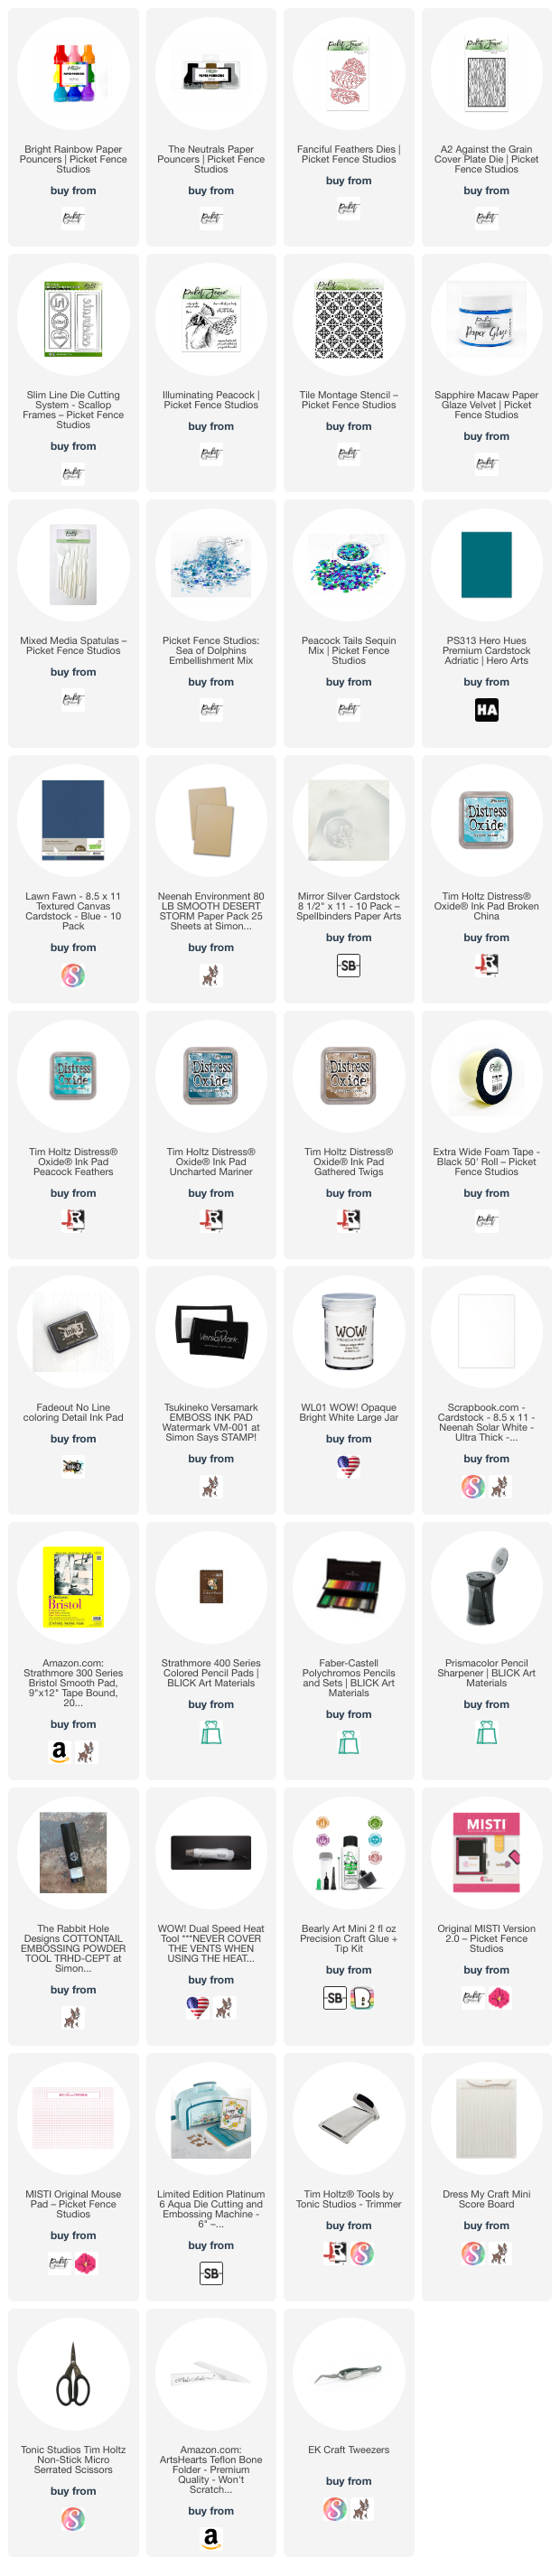
  • I die cut the feather dies multiple times from white card stock, and silver card stock.  The white feathers were inked with multiple shades of blue, and a brown ink using the Paper Pouncers.  
  • I adhered the feathers to a panel of kraft card stock that had been cut with the wood grain die.  I concentrated on keeping the inked feathers on the main part of the panel, and using the silver feathers around the edge.
  • I stamped the sentiment on white card stock, then die cut it with one of the heart dies.  The die cut the frame, which I inked with the darker ink and Paper Pouncers.  I also cut the heart from white  foam.  The center sentiment panel was adhered to the foam, and then the frame was fitted flush with the card front around it.  
  • The card front was attached to a white card base, then sequins from the Embellishment mix were added to fill in the spaces between the die cuts. 


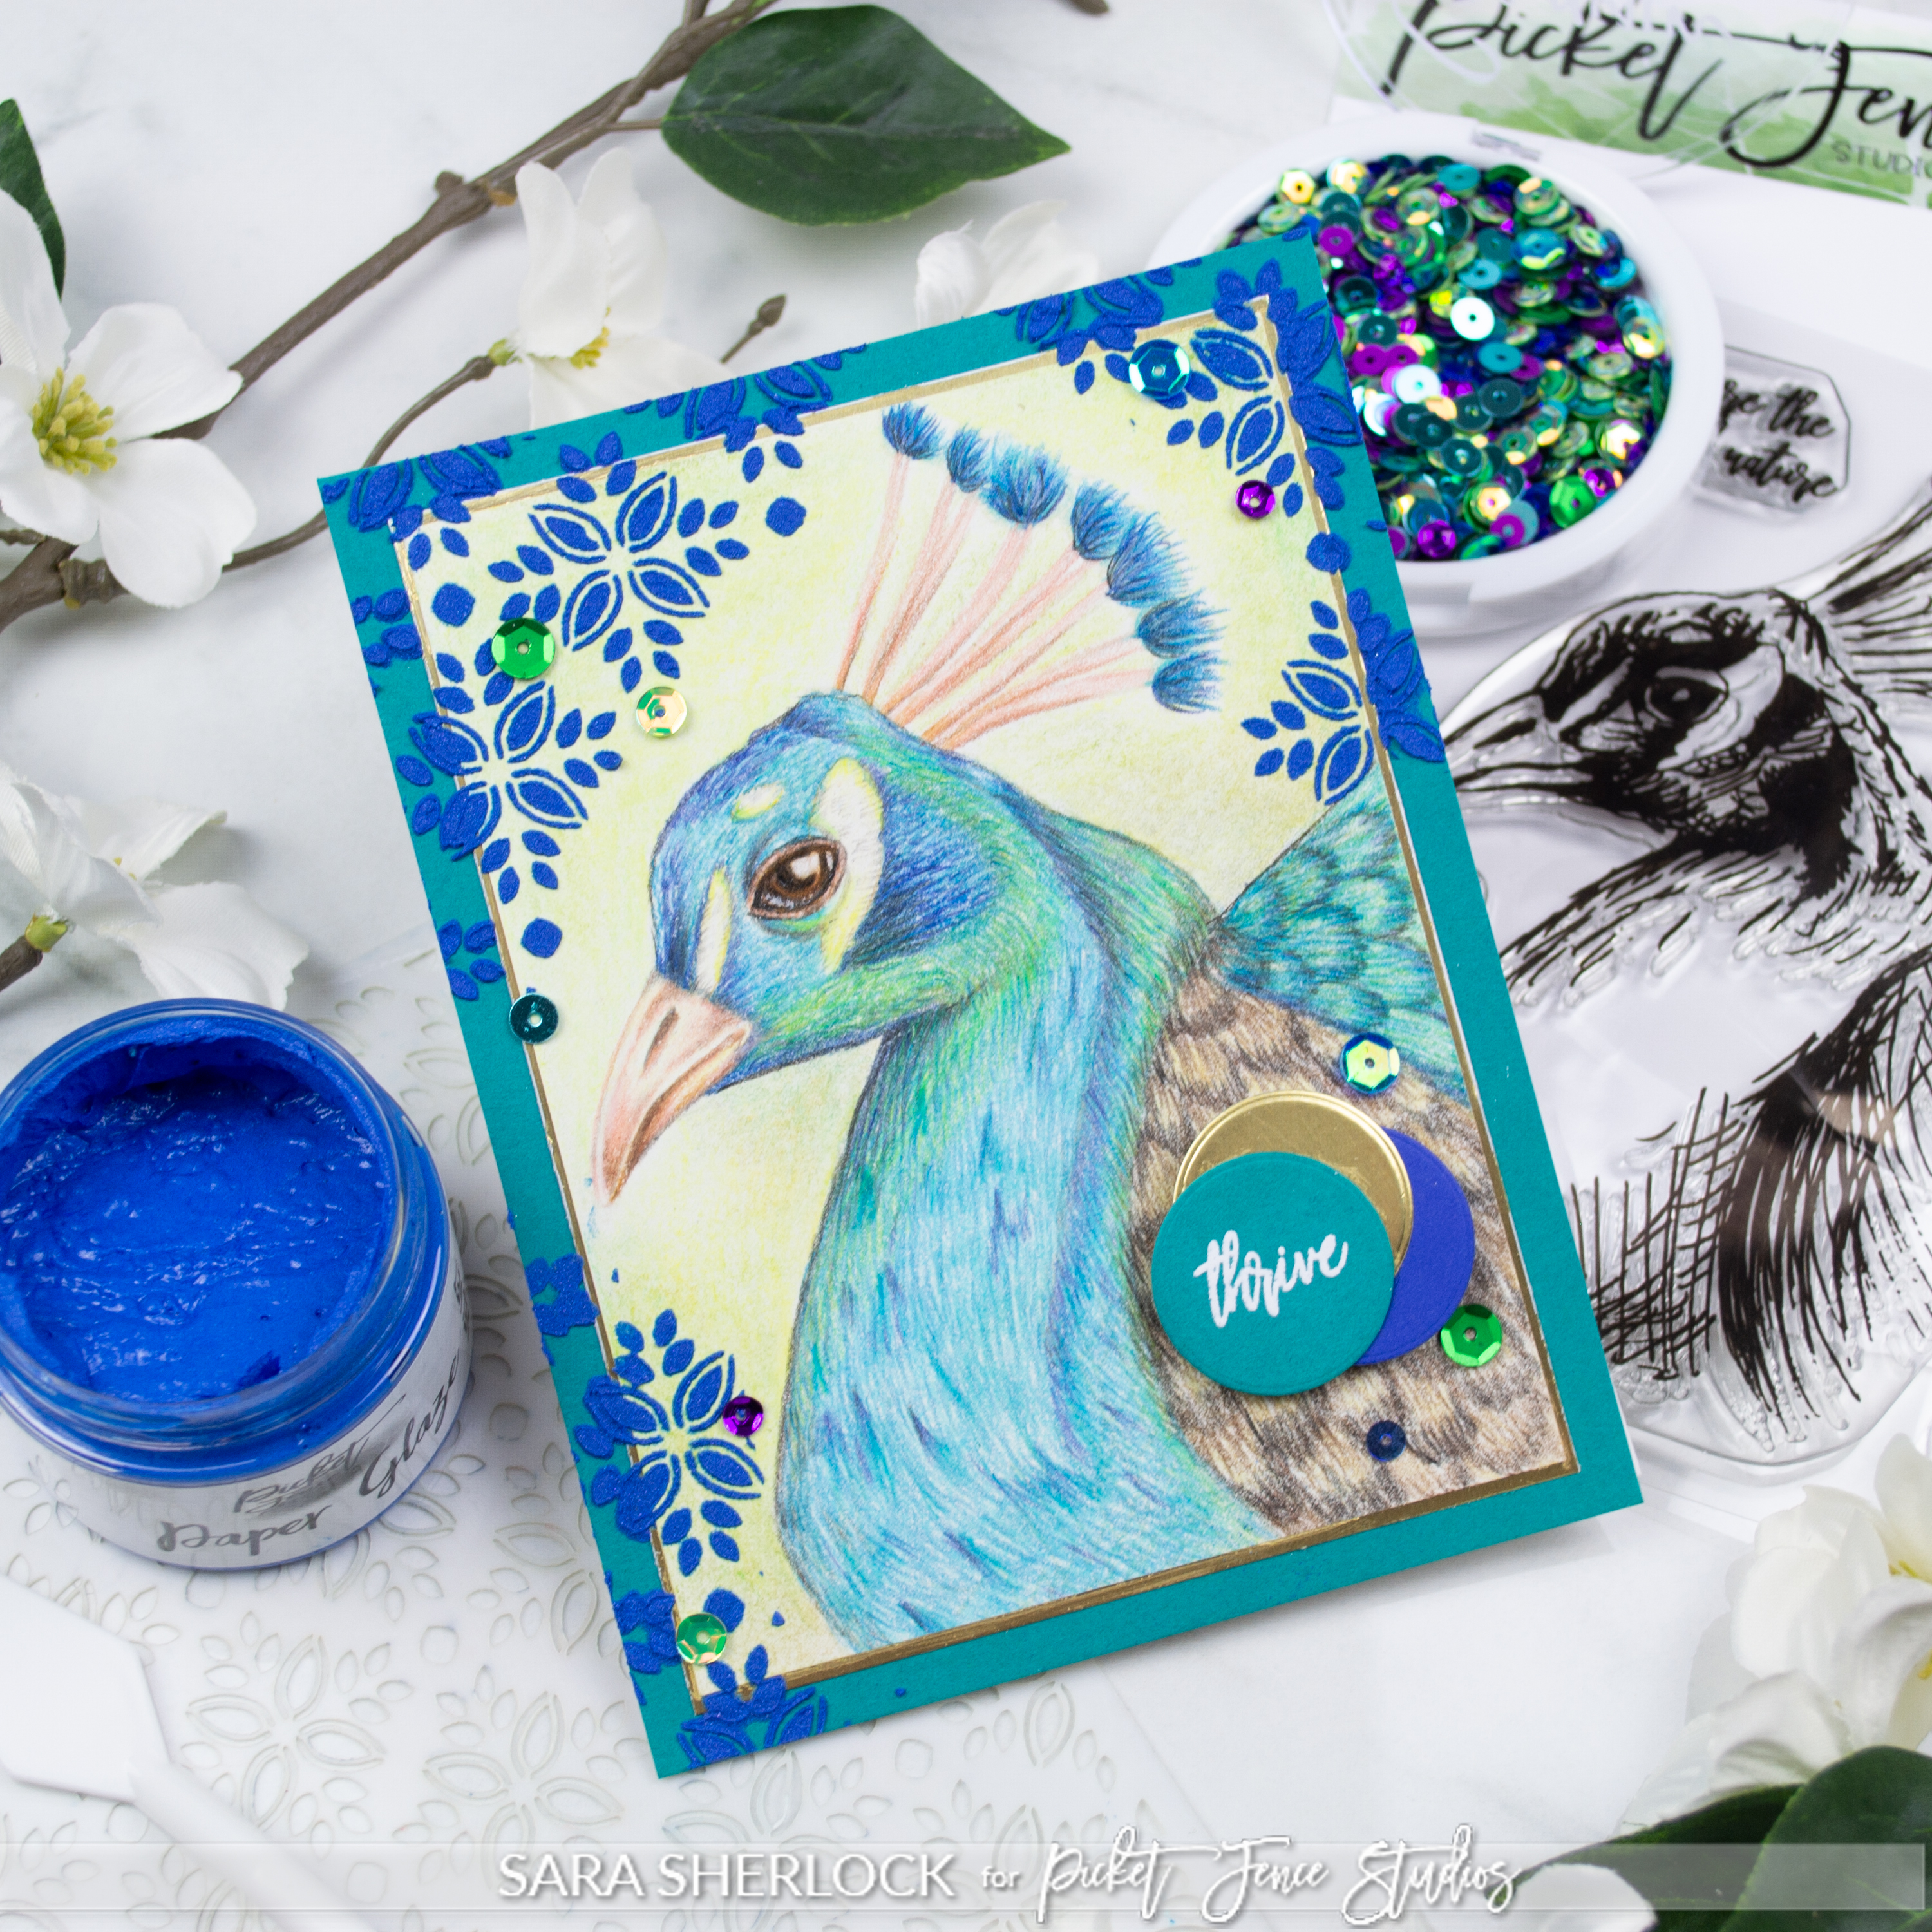
  • I stamped the Peacock image onto colored pencil paper (slightly more texture than plain card stock), and colored it in using Polychromos pencils.  On the birds body, the top layers were all done with short strokes to mimic the texture of small feathers.  
  • Once the panel was completed and trimmed, I matted it first in gold, then in teal card stock.  I applyed spray adhesive to the back of my stencil, and pressed it into the card stock with my bone folder to ensure the lines of the stencil would translate over the layers.  I spread the Paper Glaze Velvet through the stencil in the areas around the colored pencil image.  
  • I stamped the little "thrive" and heat embossed it in white embossing powder.  Then I die cut it with a small circle die.  Using the same die, I cut another circle from gold, and one from a royal blue card stock that was close in color to the Paper Glaze Velvet used.  
  • Once dry, the card front was attached to a white card base, and sequins from the Sequin Mix were added for a little sparkle. 


Be sure to check out the entire release, either above, or on the Picket Fence Studios website.  There will be bundles listed in the shop, where you can save a bit by purchasing some products together.  Or, you can purchase the entire release at a 15% discount!

Thanks for stopping by!


Supplies Used:

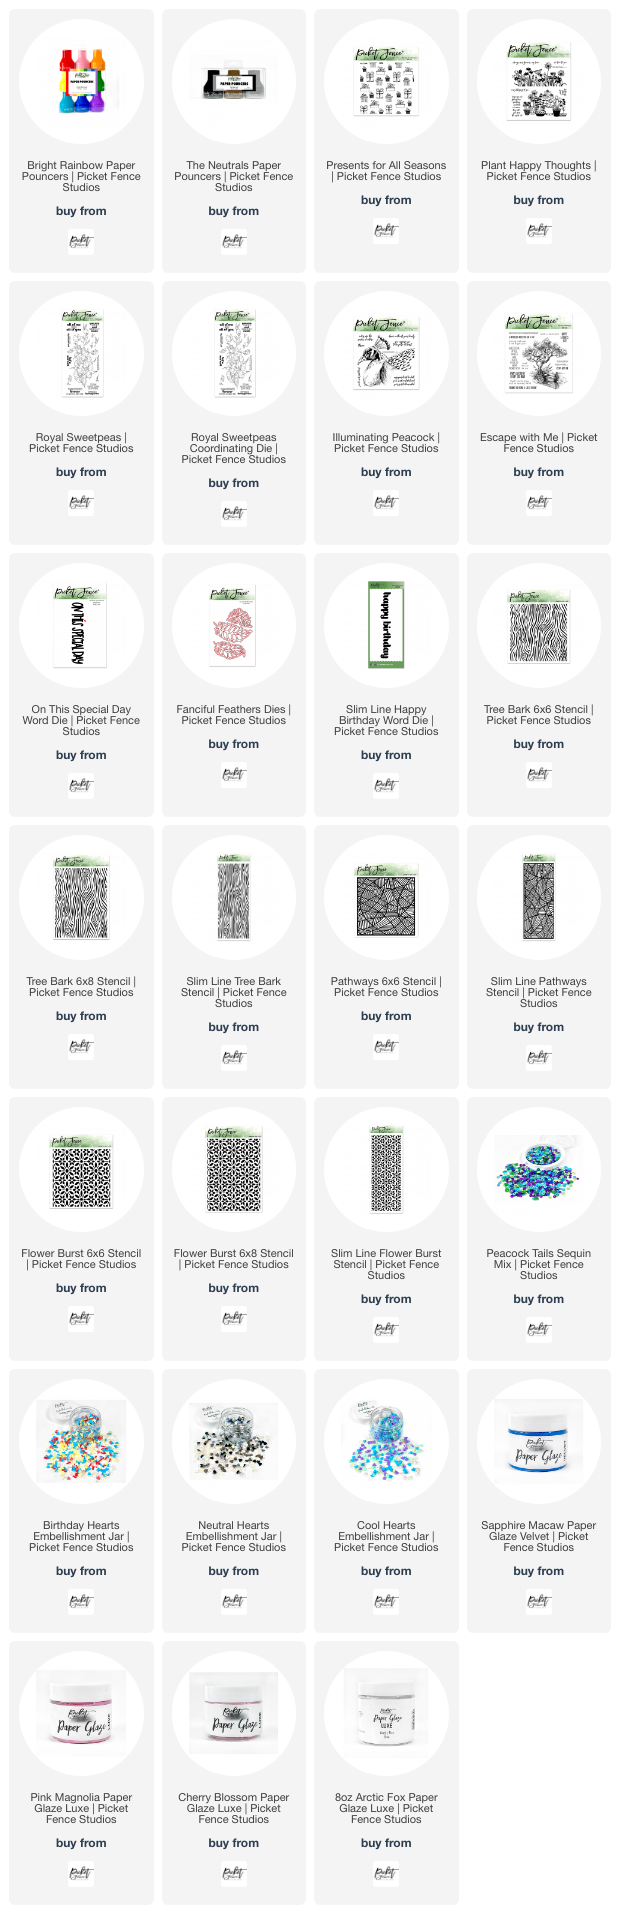
Use this easy list to find the products I used in my projects. (Contains affiliate links - where I earn a commission from purchases made from my links, at no cost to you. Your support helps me keep this blog going, and continue to create - Thank you! Affiliates and disclosures can be found here.) Please note, when possible, I try to offer multiple sources for the items I use.

If the supply list below is not visible in your browser, please click here to view it.

Tuesday, February 14, 2023

Picket Fence Studios February 2023 Release

Hello!


It's the 14th of the month, which means that there is a new release from Picket Fence Studios.  As always, I have the entire release listed below, so that you can peek at all the new offerings, and then I have a couple of cards to share with you showcasing some of the new products.  

The February 2023 Release:

If the list below does not load for you, you can click here to view it in another window.
Specific products used in the cards below will be listed separately at the bottom of the post.


I have two cards to share with you below, along with tips on how the card was created.  All of the supplies used in the cards are listed at the bottom of the post.  For additional samples throughout the month, please follow my Instagram.  


Be sure to check out the entire release, either above, or on the Picket Fence Studios website.  There will be bundles listed in the shop, where you can save a bit by purchasing some products together.  Or, you can purchase the entire release at a 15% discount!

Thanks for stopping by!


Supplies Used:

Use this easy list to find the products I used in my projects. (Contains affiliate links - where I earn a commission from purchases made from my links, at no cost to you. Your support helps me keep this blog going, and continue to create - Thank you! Affiliates and disclosures can be found here.) Please note, when possible, I try to offer multiple sources for the items I use.

If the supply list below is not visible in your browser, please click here to view it.

Saturday, January 14, 2023

Picket Fence Studios January 2023 Release

Hello!

It's the 14th of the month, which means that there is a new release from Picket Fence Studios.  As always, I have the entire release listed below, so that you can peek at all the new offerings, and then I have a couple of cards to share with you showcasing some of the new products.  

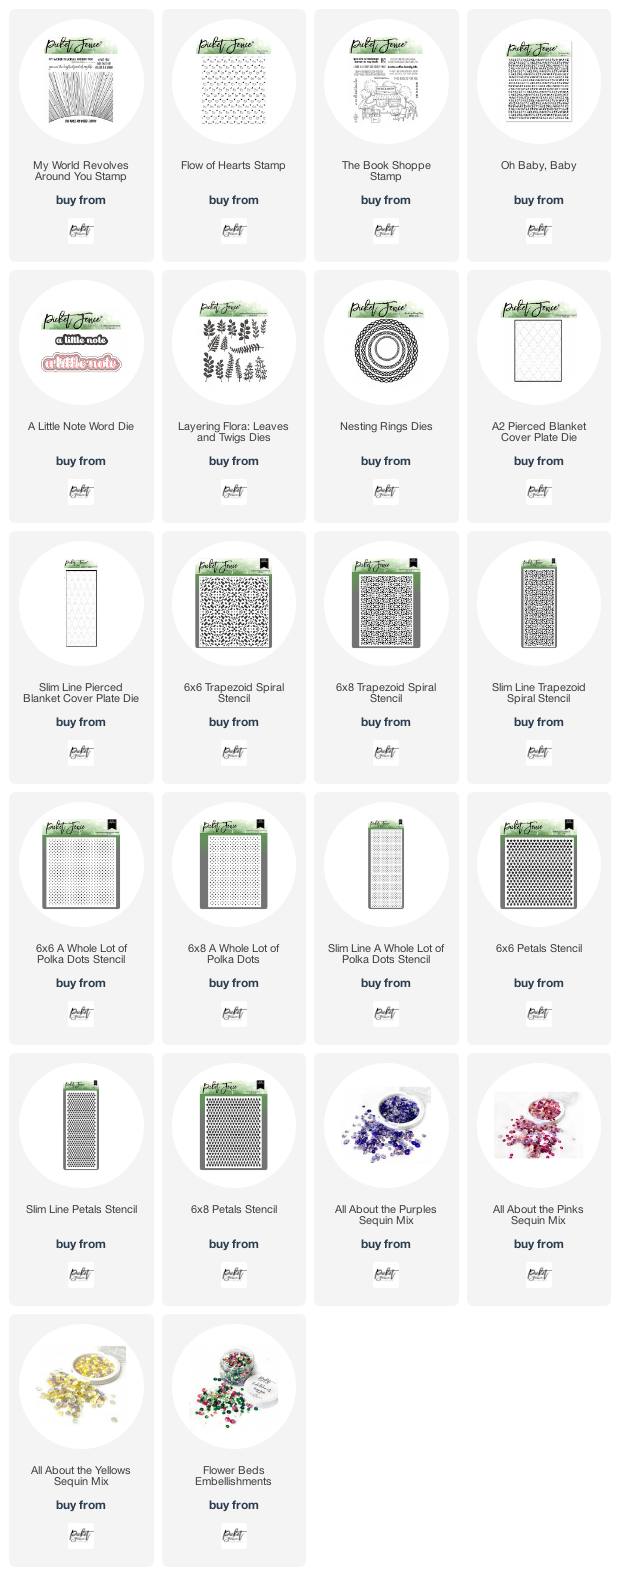
The January 2023 Release:


If the list below does not load for you, you can click here to view it in another window.
Specific products used in the cards below will be listed separately at the bottom of the post.


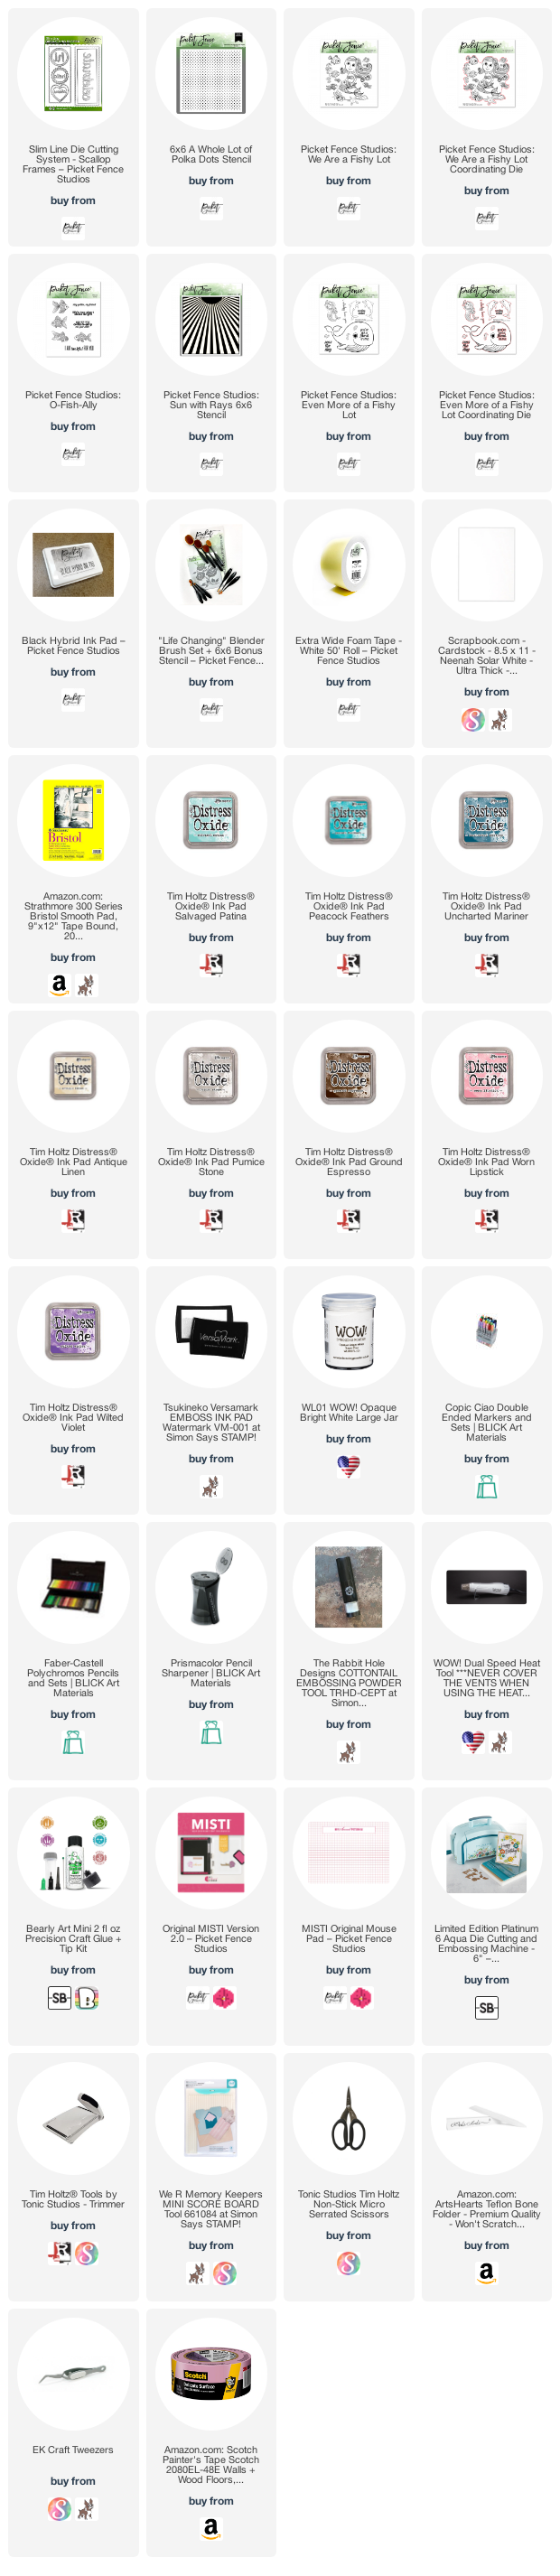
I have two cards to share with you below, along with tips on how the card was created.  All of the supplies used in the cards are listed at the bottom of the post.  For additional samples throughout the month, please follow my Instagram.  

  • I began by stamping the image from We Are a Fishy Lot onto Bristol Paper and coloring it in with Copic Markers.  I set the colored image aside to work on the background.
  • I ripped a piece of painters tape to lay over the background.  Then I blended in the ground area of the background.  
  • Using the other half of the tape, I blocked off the ground area, and blended the water area. Once I had the colors where I wanted them, I removed the tape, and did a final blend with the ink that was left on the brush over the very top of the ground area to "sit" it in the scene.  
  • I laid the Sun with Rays 6x6 Stencil over the top, and used a wide brush to brush a bit of water over the top of the ink blended scene.  
  • I went back to the colored image, and matched Copic markers to the blended background as closely as I could.  I colored in the image, then die cut it with the coordinating die.  
  • I adhered the die cut image to the background where I wanted it, then laid the Sun with Rays stencil back over the card front - matching up the previously added lines.  I used the Colorless Blender Copic marker to add the rays to the background of the stamped image, so that they light rays were continuous through the background of the scene.  
  • Finally, I stamped the sentiment from the O-Fish-Ally Stamp Set onto the background with Black Hybrid Ink.  


  • I started this card, by stamping and coloring in the whale image from the Even More of a Fishy Lot stamp set.  I colored it in using Copic Markers, and added a little colored pencil over the top to add a bit more dimension.  
  • I heat embossed the sentiment from the stamp set onto black card stock.  
  • On an A2 panel of white card stock, I blended pink and purple inks (similar to colors used on the whale) through the A Whole Lot of Polka Dots 6x6 Stencil
  • I die cut both the colored image, and the sentiment using the coordinating dies.  I also die cut some Extra Wide Foam Tape with the Whale die.   Then I die cut the heart from the ink blended panel using a heart frame die from the Scallop Frames Slim Line Die Cutting System Set.  I also cut the same heart frame from a pink card stock.  
  • I then layered everything on a white card base.  The polka dot panel was backed with a piece of purple card stock.   


Be sure to check out the entire release, either above, or on the Picket Fence Studios website.  There will be bundles listed in the shop, where you can save a bit by purchasing some products together.  Or, you can purchase the entire release at a 15% discount!

Thanks for stopping by!


Supplies Used:

Use this easy list to find the products I used in my projects. (Contains affiliate links - where I earn a commission from purchases made from my links, at no cost to you. Your support helps me keep this blog going, and continue to create - Thank you! Affiliates and disclosures can be found here.) Please note, when possible, I try to offer multiple sources for the items I use.

If the supply list below is not visible in your browser, please click here to view it.


Wednesday, December 14, 2022

Picket Fence Studios December 2022 Release

Hello!

It's the 14th of the month, which means that there is a new release from Picket Fence Studios.  As always, I have the entire release listed below, so that you can peek at all the new offerings, and then I have a couple of cards to share with you showcasing some of the new products.  

The December 2022 Release:


If the list below does not load for you, you can click here to view it in another window.
Specific products used in the cards below will be listed separately at the bottom of the post.

I have two cards to share with you below, along with tips on how the card was created.  All of the supplies used in the cards are listed at the bottom of the post.  For additional samples throughout the month, please follow my Instagram.  


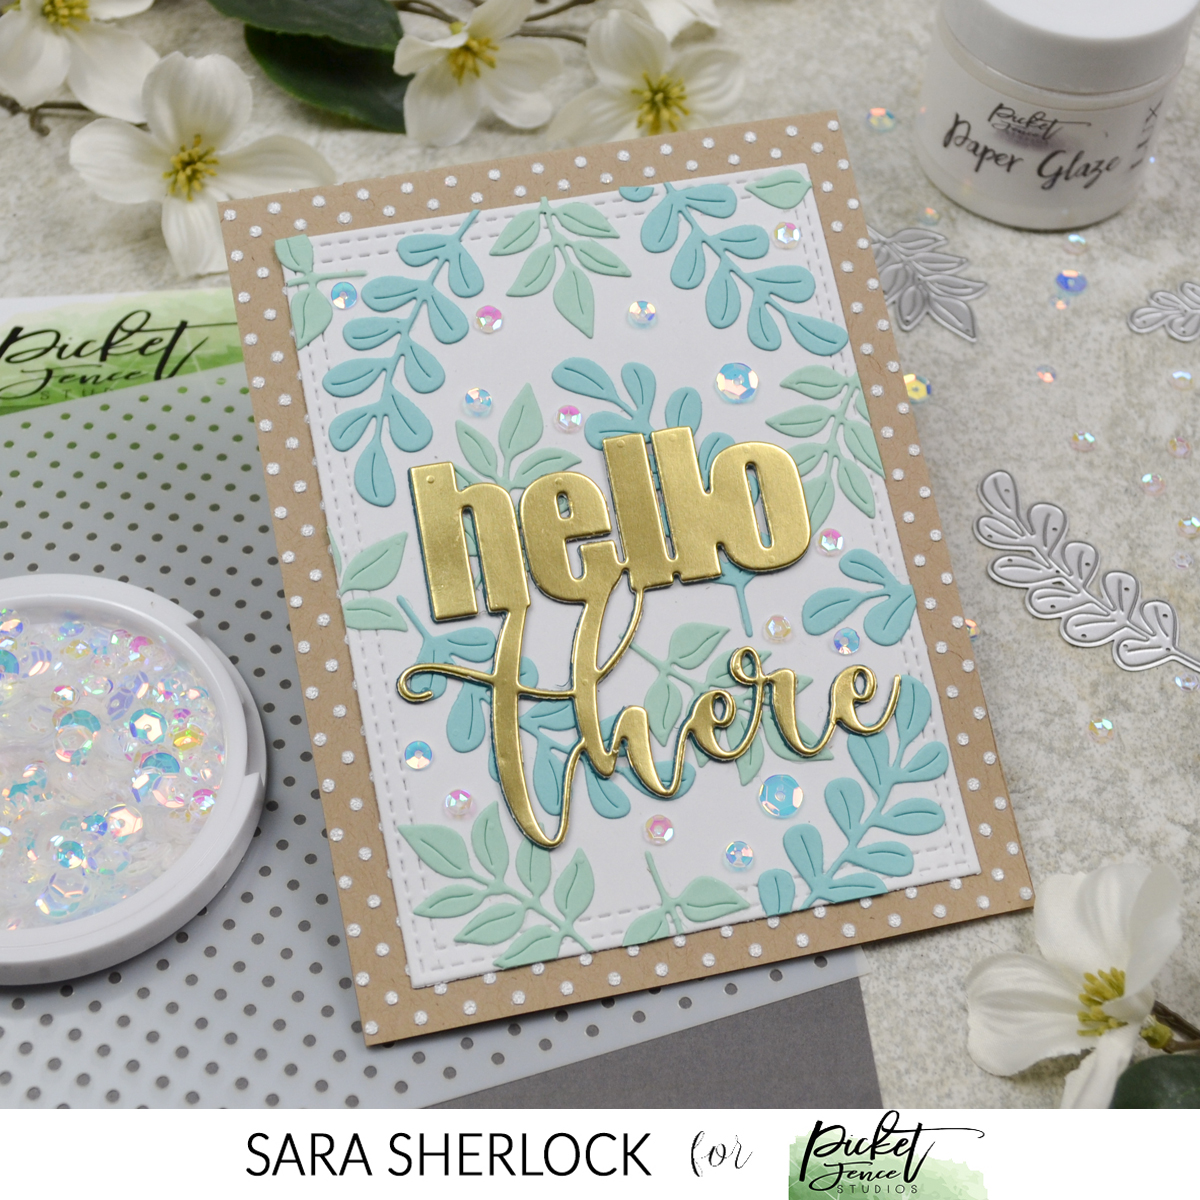
  • I started by taping off the top of my kraft card base, then using Arctic Fox Paper Glaze Luxe through the 6x6 A Whole Lot of Polka Dot Stencil.  The tape was removed, and the card base set aside to dry.  
  • The white panel was made using the Double Stitched Rectangle Dies, using a trick of cutting once, then realigning the die to cut the panel slightly smaller to fit an A2 card.  
  • I added my die cut leaves - starting in the middle of the panel, and laying the pieces out from there.  As you get to the edges, trim as you go, and save the trimmed pieces.  When you have all your whole die cuts laid out, the little trimmings are great for filling in empty areas around the edges.  
  • The die cut sentiment was triple stacked to add some dimension that makes it pop off of the background.  
  • Clusters of Iridescent Moonshine sequins add a little sparkle, as well as filling in areas in the middle of the panel.  


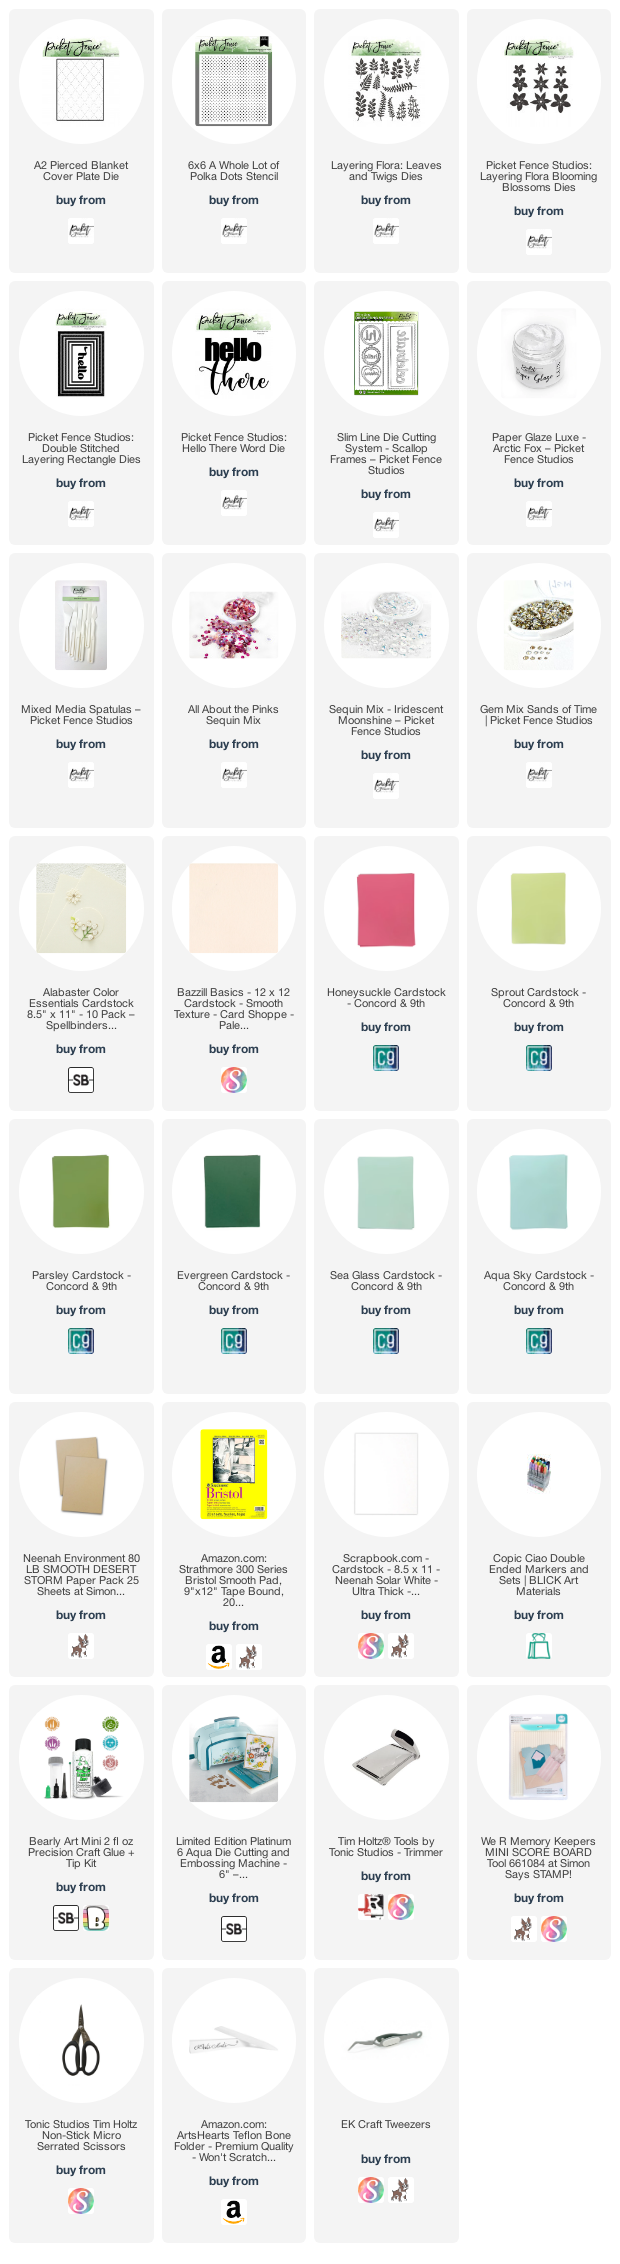
  • I started this card by doing a LOT of die cutting.  I cut the A2 Pierced Blanket Cover Plate Die; along with both the Layering Flora: Leaves and Twigs Dies, and the Layering Flora: Blooming Blossoms Dies.  The hello came from the Slim Line Die Cutting System - Scallop Frames Die Set and was cut multiple times to be layered.  
  • The leaves die cuts had a little bit of shading added using Copic Markers, before I planned the layout.  
  • I used a ball head embossing tool to create some shape on the flowers.  Then I layered flowers together, and added gems from the Sands of Time Gem Mix to the centers.  
  • I laid the floral pieces on my card front, and rearranged until I found a layout I liked.  I snapped a photo of the layout with my phone and then used that photo as reference while I adhered each piece down.  
  • A few sequins from the All About the Pinks Sequin Mix were tucked around the floral spray.  
  • The A2 Card front was added to a card base, by lining up the bottom edge and corners, then working upwards to adhere.  This helps to keep the card front square on the base.  


Be sure to check out the entire release, either above, or on the 
Picket Fence Studios website.  There will be bundles listed in the shop, where you can save a bit by purchasing some products together.  Or, you can purchase the entire release at a 15% discount!

Thanks for stopping by!


Supplies Used:

Use this easy list to find the products I used in my projects. (Contains affiliate links - where I earn a commission from purchases made from my links, at no cost to you. Your support helps me keep this blog going, and continue to create - Thank you! Affiliates and disclosures can be found here.) Please note, when possible, I try to offer multiple sources for the items I use.

If the supply list below is not visible in your browser, please click here to view it.