
Hello!
It's the 14th of the month, which means that there is a new release from Picket Fence Studios. As always, I have the entire release listed below, so that you can peek at all the new offerings, and then I have a couple of cards to share with you showcasing some of the new products.
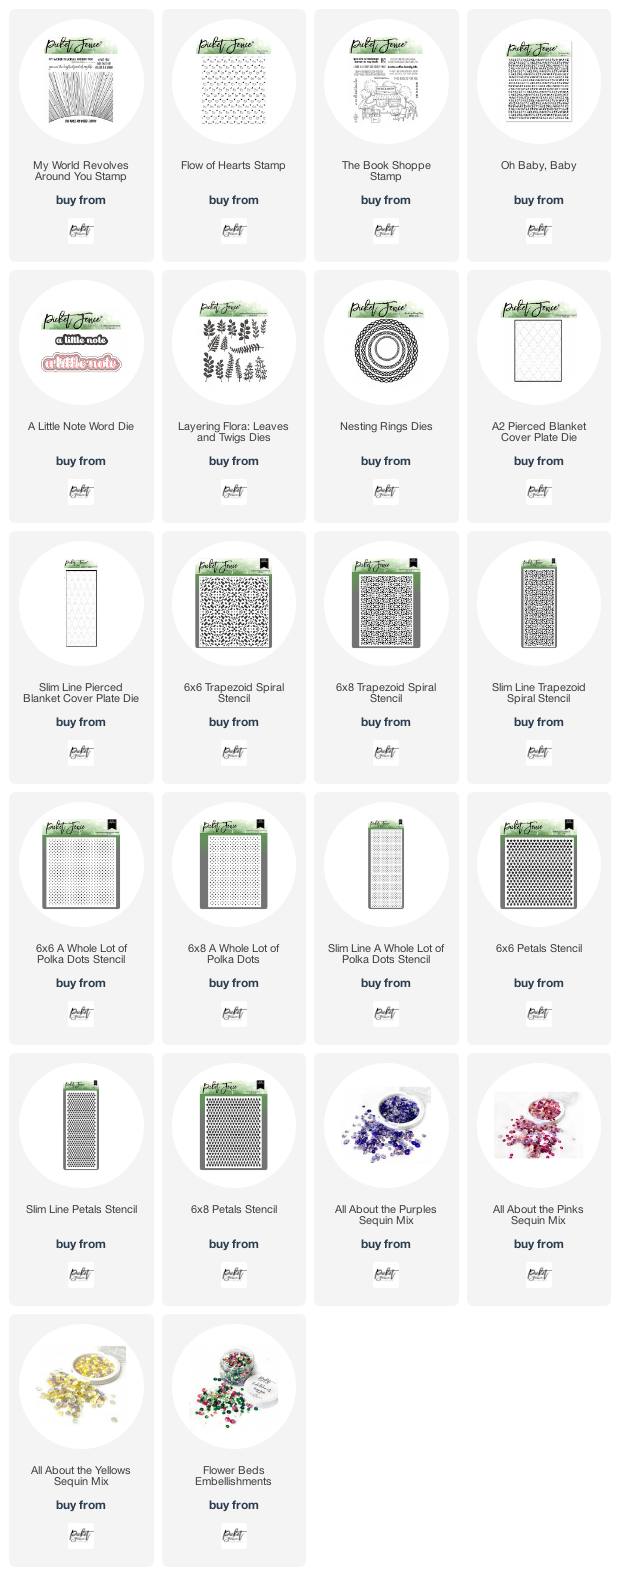
The December 2022 Release:
If the list below does not load for you, you can click here to view it in another window.
Specific products used in the cards below will be listed separately at the bottom of the post.

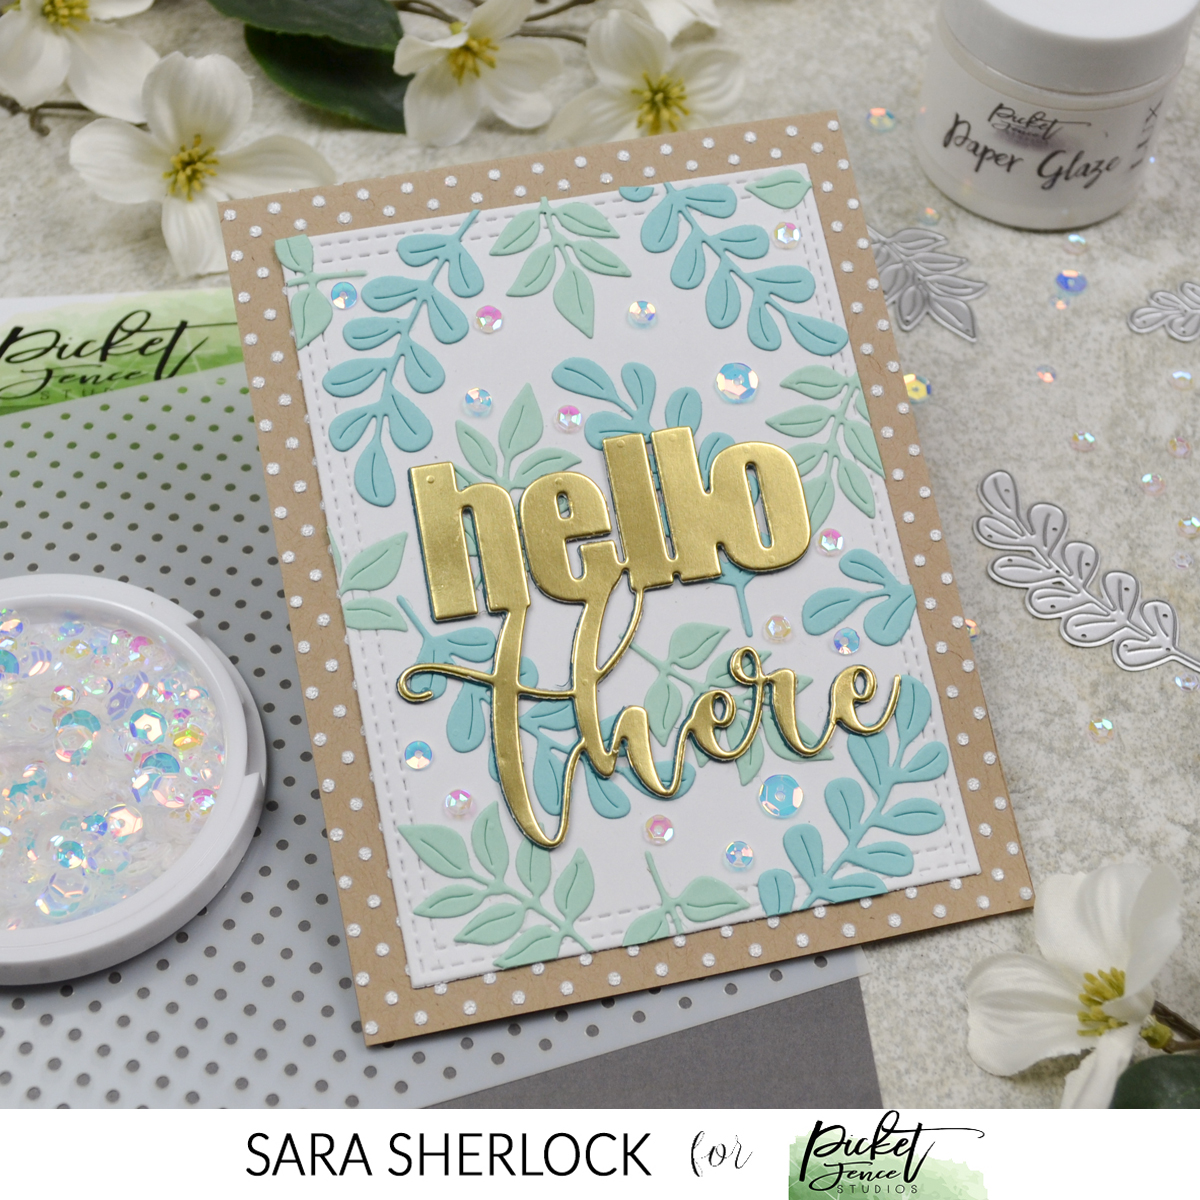
- I started by taping off the top of my kraft card base, then using Arctic Fox Paper Glaze Luxe through the 6x6 A Whole Lot of Polka Dot Stencil. The tape was removed, and the card base set aside to dry.
- The white panel was made using the Double Stitched Rectangle Dies, using a trick of cutting once, then realigning the die to cut the panel slightly smaller to fit an A2 card.
- I added my die cut leaves - starting in the middle of the panel, and laying the pieces out from there. As you get to the edges, trim as you go, and save the trimmed pieces. When you have all your whole die cuts laid out, the little trimmings are great for filling in empty areas around the edges.
- The die cut sentiment was triple stacked to add some dimension that makes it pop off of the background.
- Clusters of Iridescent Moonshine sequins add a little sparkle, as well as filling in areas in the middle of the panel.

- I started this card by doing a LOT of die cutting. I cut the A2 Pierced Blanket Cover Plate Die; along with both the Layering Flora: Leaves and Twigs Dies, and the Layering Flora: Blooming Blossoms Dies. The hello came from the Slim Line Die Cutting System - Scallop Frames Die Set and was cut multiple times to be layered.
- The leaves die cuts had a little bit of shading added using Copic Markers, before I planned the layout.
- I used a ball head embossing tool to create some shape on the flowers. Then I layered flowers together, and added gems from the Sands of Time Gem Mix to the centers.
- I laid the floral pieces on my card front, and rearranged until I found a layout I liked. I snapped a photo of the layout with my phone and then used that photo as reference while I adhered each piece down.
- A few sequins from the All About the Pinks Sequin Mix were tucked around the floral spray.
- The A2 Card front was added to a card base, by lining up the bottom edge and corners, then working upwards to adhere. This helps to keep the card front square on the base.
Thanks for stopping by!

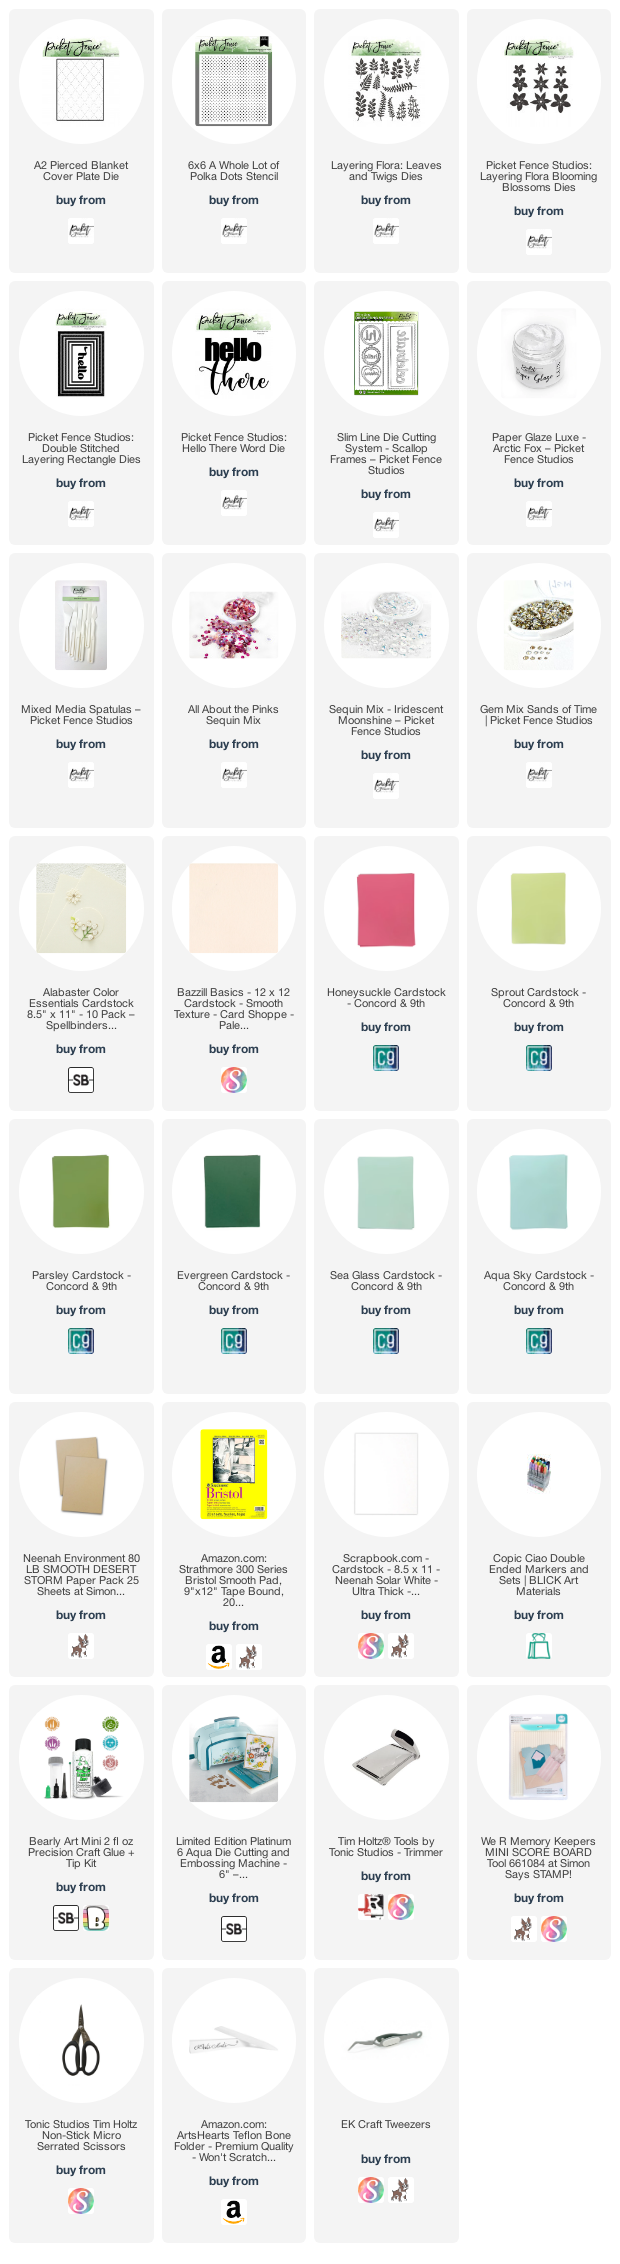
Supplies Used:
Use this easy list to find the products I used in my projects. (Contains affiliate links - where I earn a commission from purchases made from my links, at no cost to you. Your support helps me keep this blog going, and continue to create - Thank you! Affiliates and disclosures can be found here.) Please note, when possible, I try to offer multiple sources for the items I use.
If the supply list below is not visible in your browser, please click here to view it.
No comments:
Post a Comment
I love comments! If you have any feedback or questions, please feel free to leave them here!