Hello
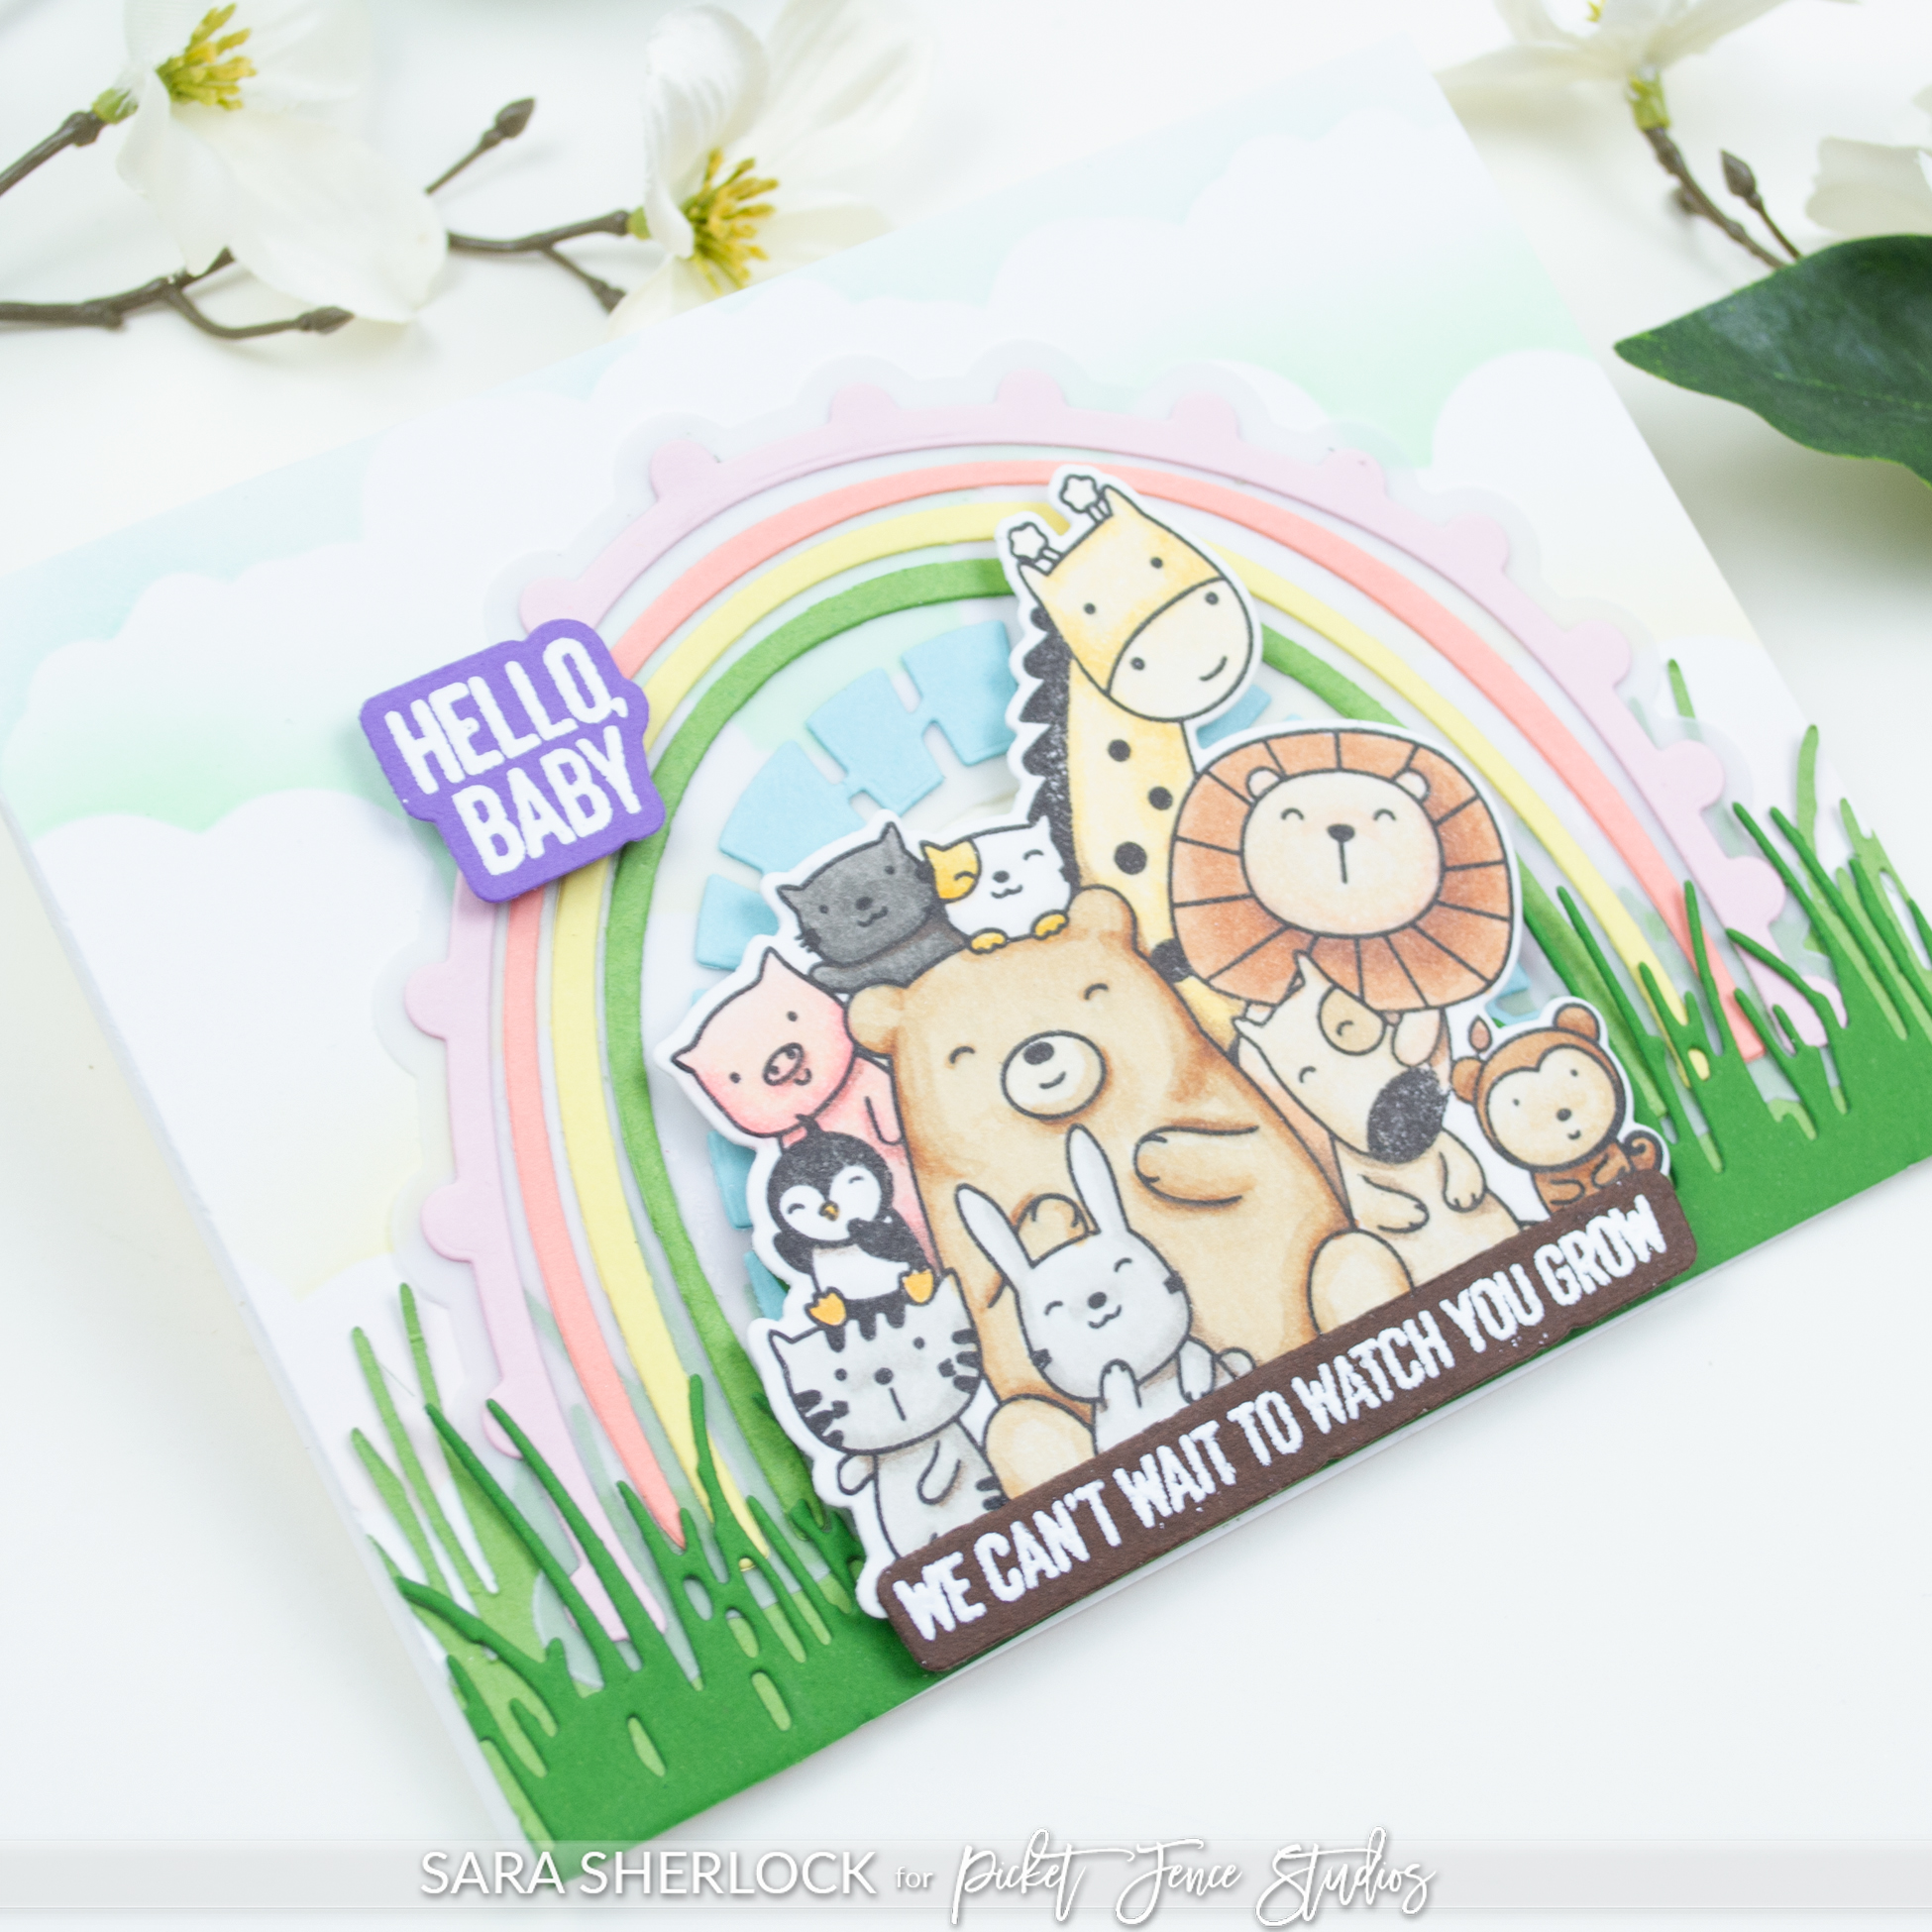
This super easy baby card with soft colors, cute critters, and a rainbow color palette, would be perfect to accompany a gift for a new addition. Reversing the rainbow colors for the clouds gives even more of a storybook look to the scene.

Process: I stamped and colored the image in first. Then I die cut the image, along with the grass die (2 times), and the rainbow. I adhered the rainbow to a vellum die cut. In order to include some purple with the rainbow, I stamped and heat embossed the first part of my sentiment on purple card stock, then did the second portion on brown card stock. I ink blended the clouds onto the card front, then adhered all of the pieces together, and added it to a white card base.
Products Used: Animal Crackers: Kind Messages Stamp & Coordinating Die, Another Rainbow for All Seasons, A2 Tall Grass Die, Slim Line Cloud Coverage Stencil, Other items as listed in supply list at end of this post
Thanks for stopping by!

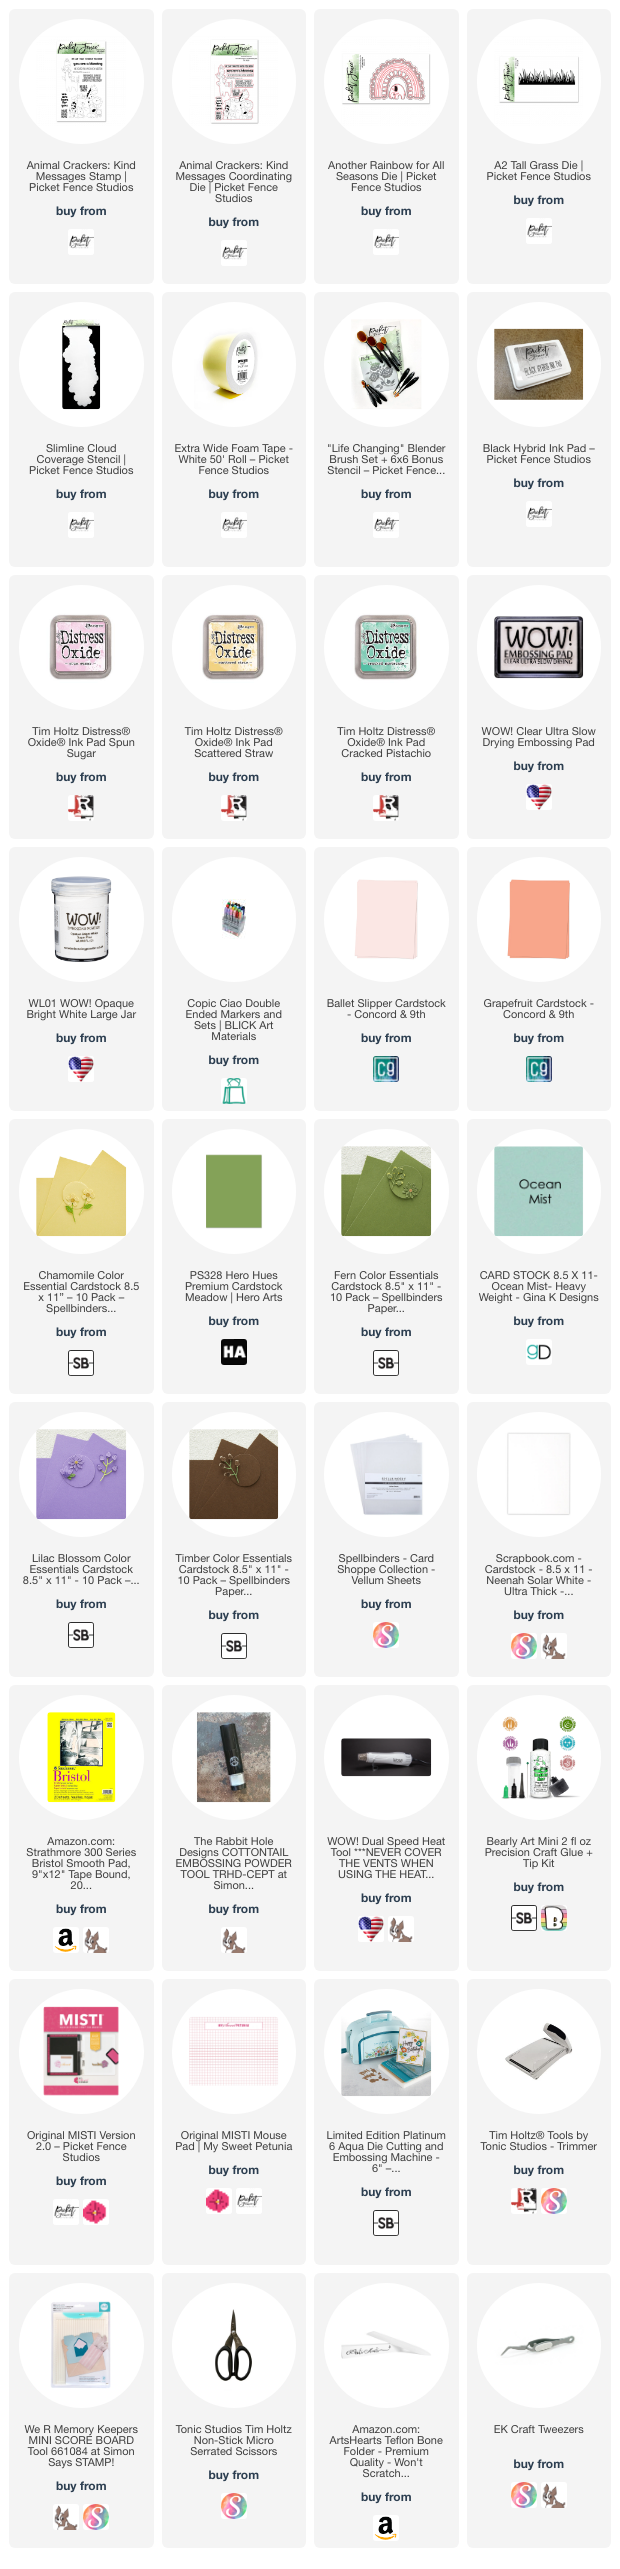
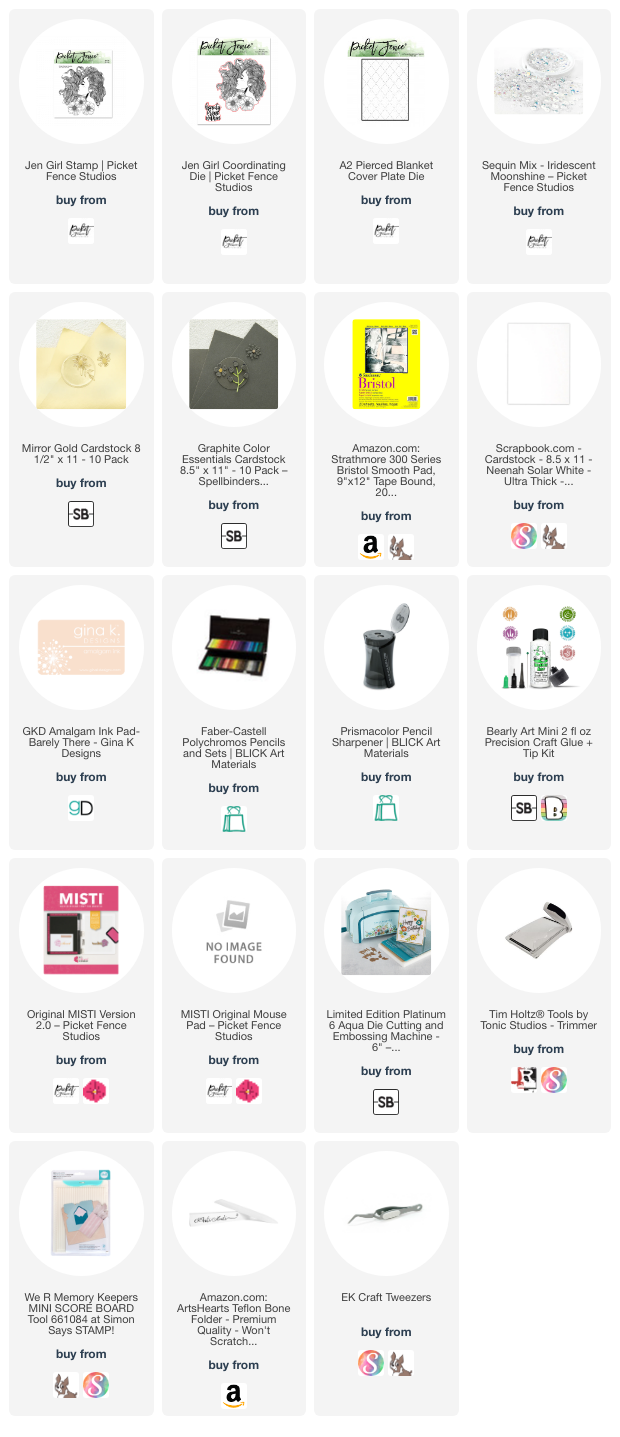
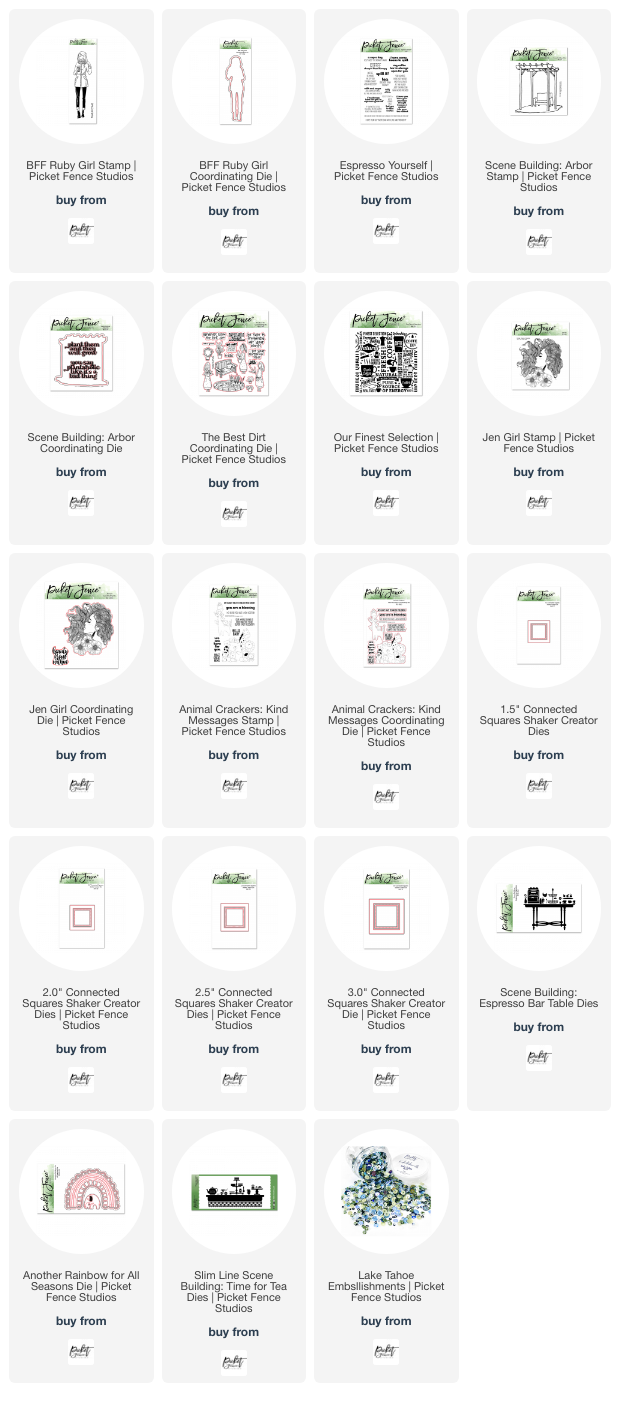
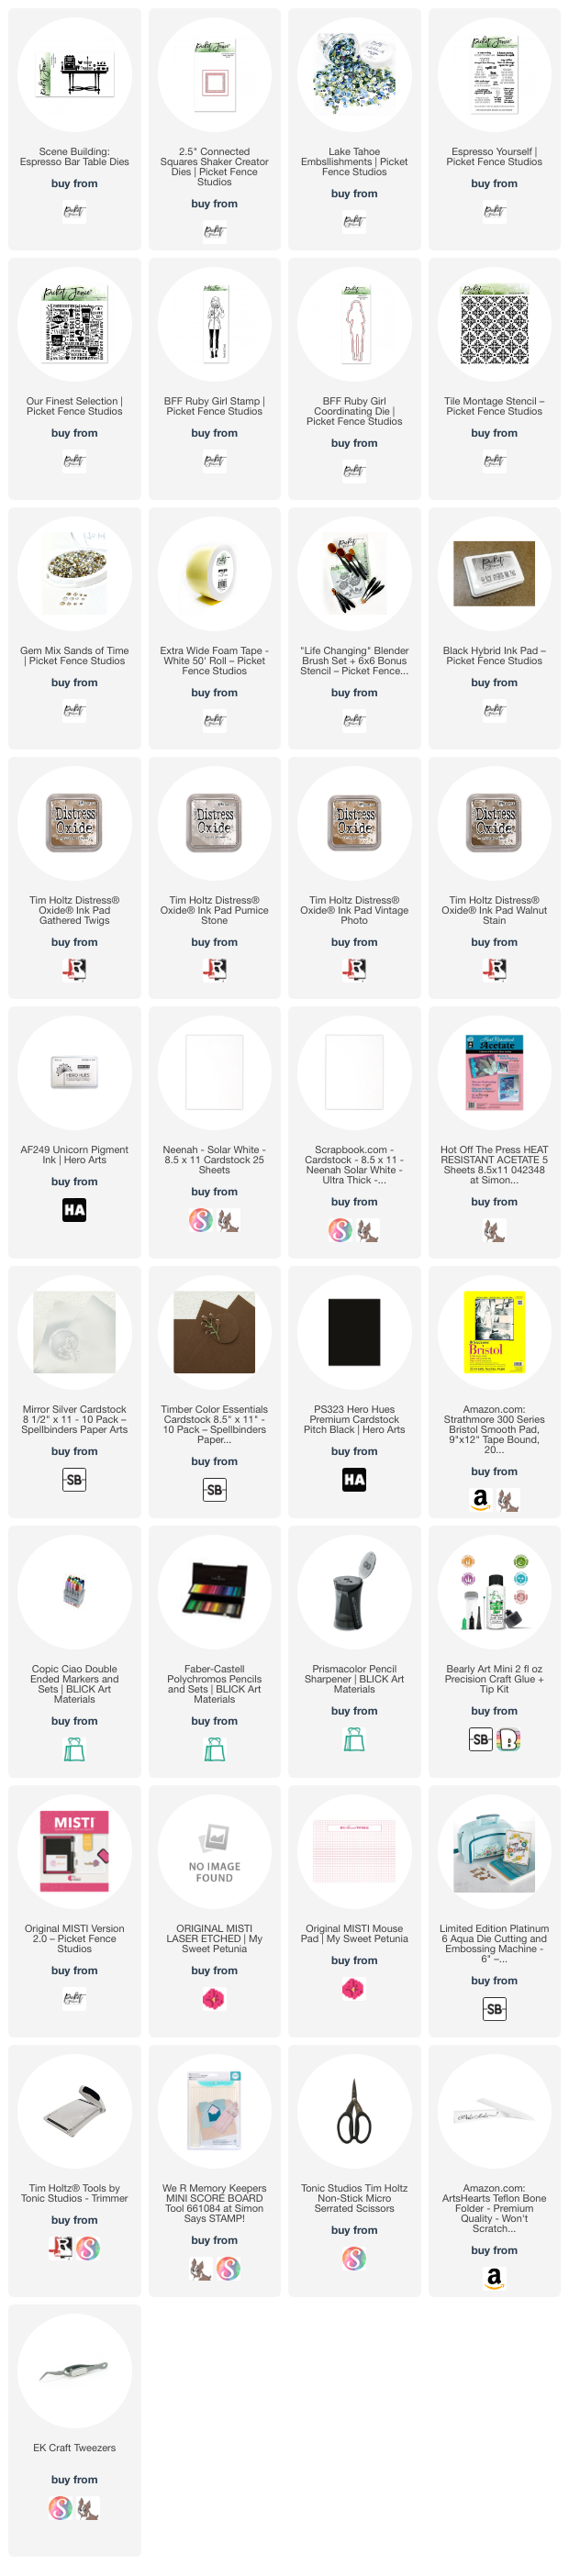
Supplies Used:
Use this easy list to find the products I used in my projects. (Contains affiliate links - where I earn a commission from purchases made from my links, at no cost to you. Your support helps me keep this blog going, and continue to create - Thank you! Affiliates and disclosures can be found here.) Please note, when possible, I try to offer multiple sources for the items I use.
If the supply list below is not visible in your browser, please click here to view it.