
Hello!
It's the 14th of the month, which means that there is a new release from Picket Fence Studios. As always, I have the entire release listed below, so that you can peek at all the new offerings, and then I have a couple of cards to share with you showcasing some of the new products.
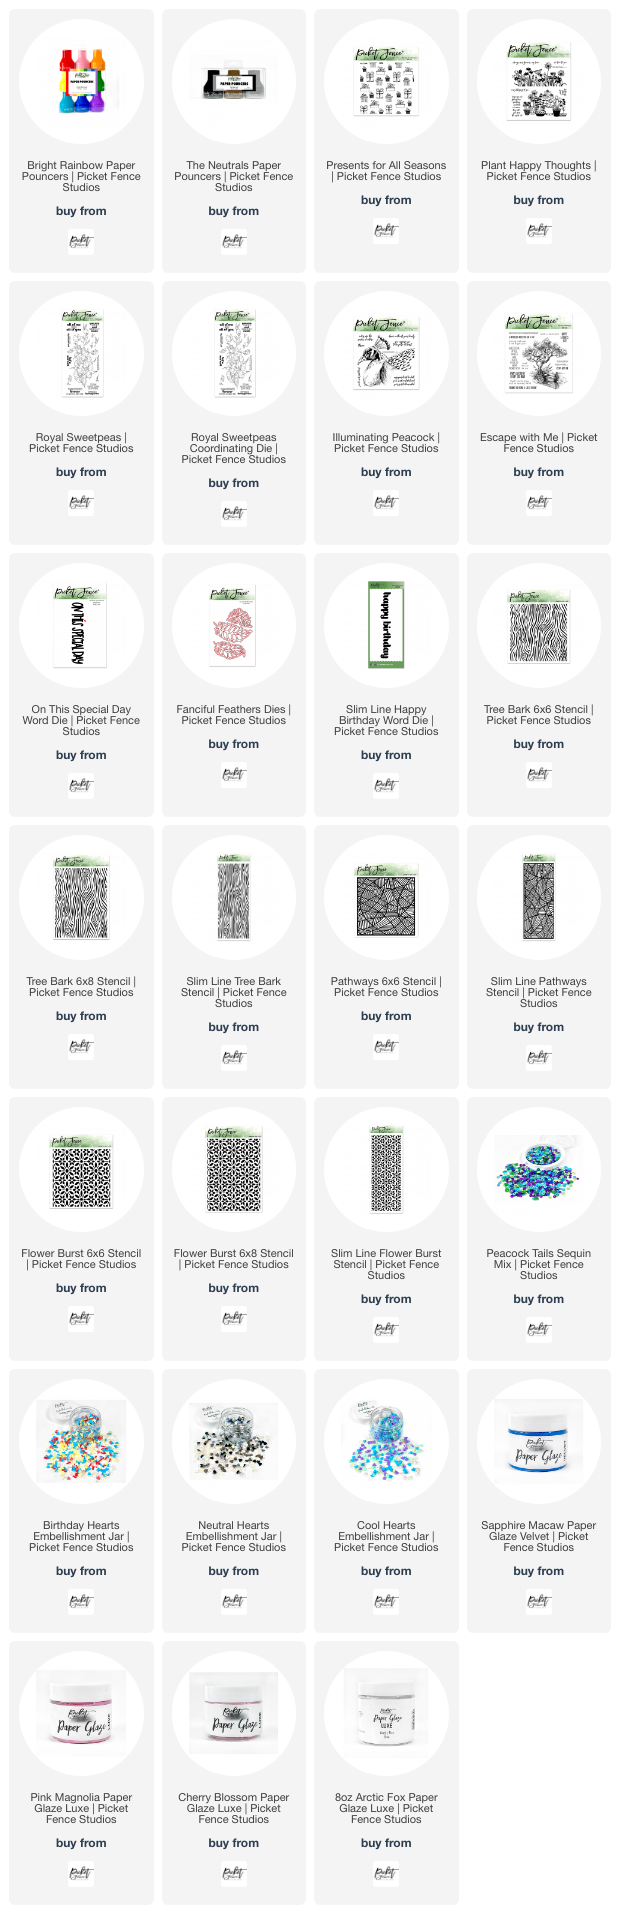
The March 2023 Release:
Specific products used in the cards below will be listed separately at the bottom of the post.
I have two cards to share with you below, along with tips on how the card was created. All of the supplies used in the cards are listed at the bottom of the post. For additional samples throughout the month, please follow my Instagram.

- I die cut the feather dies multiple times from white card stock, and silver card stock. The white feathers were inked with multiple shades of blue, and a brown ink using the Paper Pouncers.
- I adhered the feathers to a panel of kraft card stock that had been cut with the wood grain die. I concentrated on keeping the inked feathers on the main part of the panel, and using the silver feathers around the edge.
- I stamped the sentiment on white card stock, then die cut it with one of the heart dies. The die cut the frame, which I inked with the darker ink and Paper Pouncers. I also cut the heart from white foam. The center sentiment panel was adhered to the foam, and then the frame was fitted flush with the card front around it.
- The card front was attached to a white card base, then sequins from the Embellishment mix were added to fill in the spaces between the die cuts.


- I stamped the Peacock image onto colored pencil paper (slightly more texture than plain card stock), and colored it in using Polychromos pencils. On the birds body, the top layers were all done with short strokes to mimic the texture of small feathers.
- Once the panel was completed and trimmed, I matted it first in gold, then in teal card stock. I applyed spray adhesive to the back of my stencil, and pressed it into the card stock with my bone folder to ensure the lines of the stencil would translate over the layers. I spread the Paper Glaze Velvet through the stencil in the areas around the colored pencil image.
- I stamped the little "thrive" and heat embossed it in white embossing powder. Then I die cut it with a small circle die. Using the same die, I cut another circle from gold, and one from a royal blue card stock that was close in color to the Paper Glaze Velvet used.
- Once dry, the card front was attached to a white card base, and sequins from the Sequin Mix were added for a little sparkle.

Be sure to check out the entire release, either above, or on the Picket Fence Studios website. There will be bundles listed in the shop, where you can save a bit by purchasing some products together. Or, you can purchase the entire release at a 15% discount!
Thanks for stopping by!

Use this easy list to find the products I used in my projects. (Contains affiliate links - where I earn a commission from purchases made from my links, at no cost to you. Your support helps me keep this blog going, and continue to create - Thank you! Affiliates and disclosures can be found here.) Please note, when possible, I try to offer multiple sources for the items I use.
If the supply list below is not visible in your browser, please click here to view it.
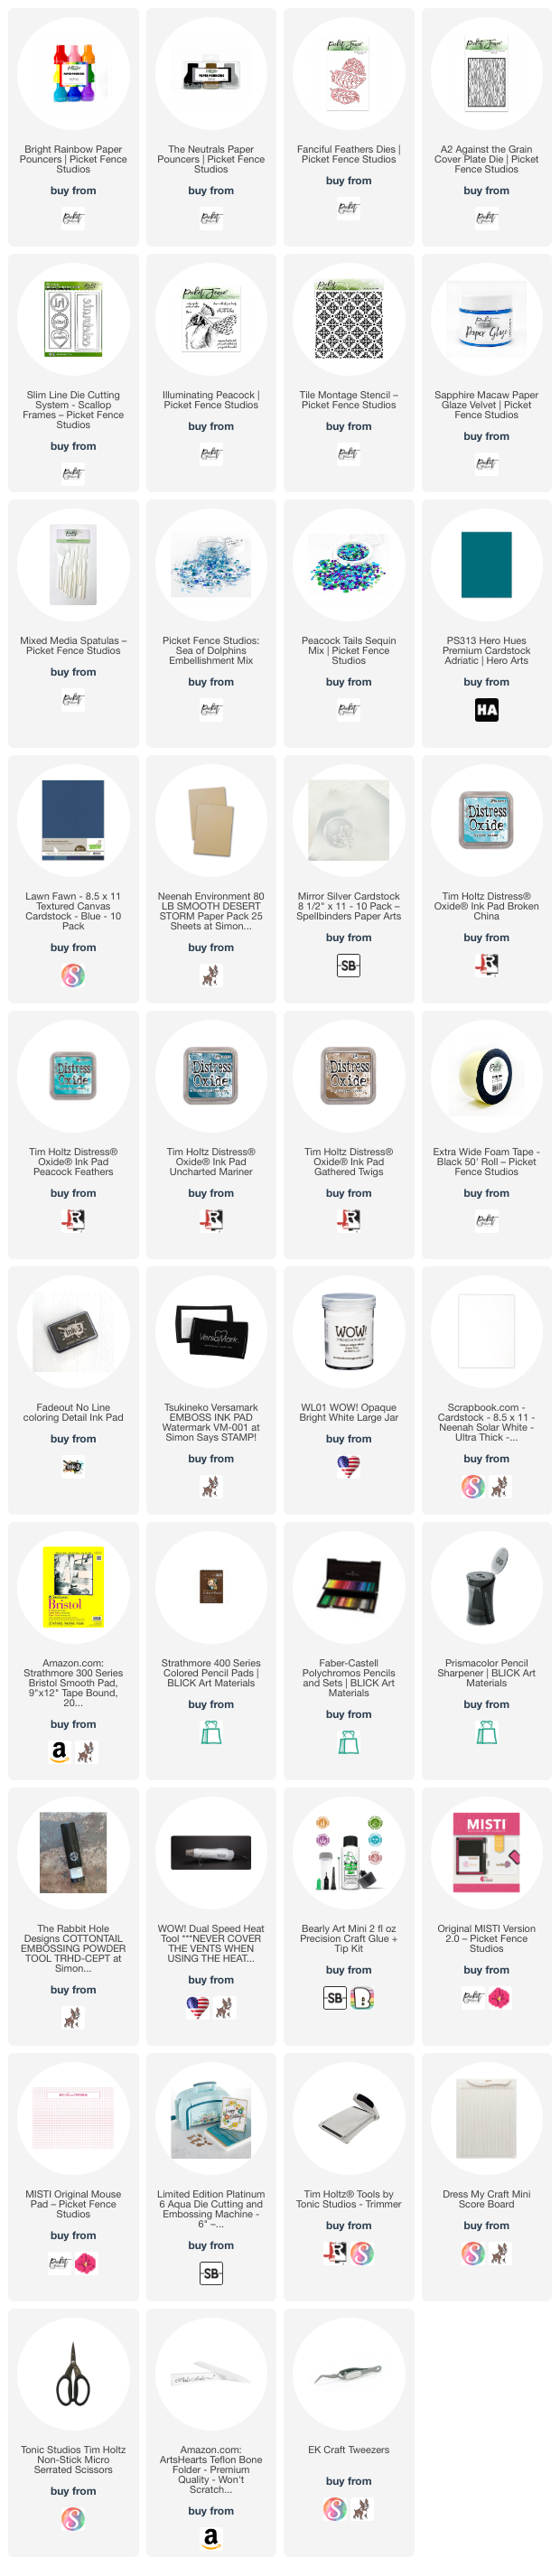
Supplies Used:
Use this easy list to find the products I used in my projects. (Contains affiliate links - where I earn a commission from purchases made from my links, at no cost to you. Your support helps me keep this blog going, and continue to create - Thank you! Affiliates and disclosures can be found here.) Please note, when possible, I try to offer multiple sources for the items I use.
If the supply list below is not visible in your browser, please click here to view it.
No comments:
Post a Comment
I love comments! If you have any feedback or questions, please feel free to leave them here!