

Hello!
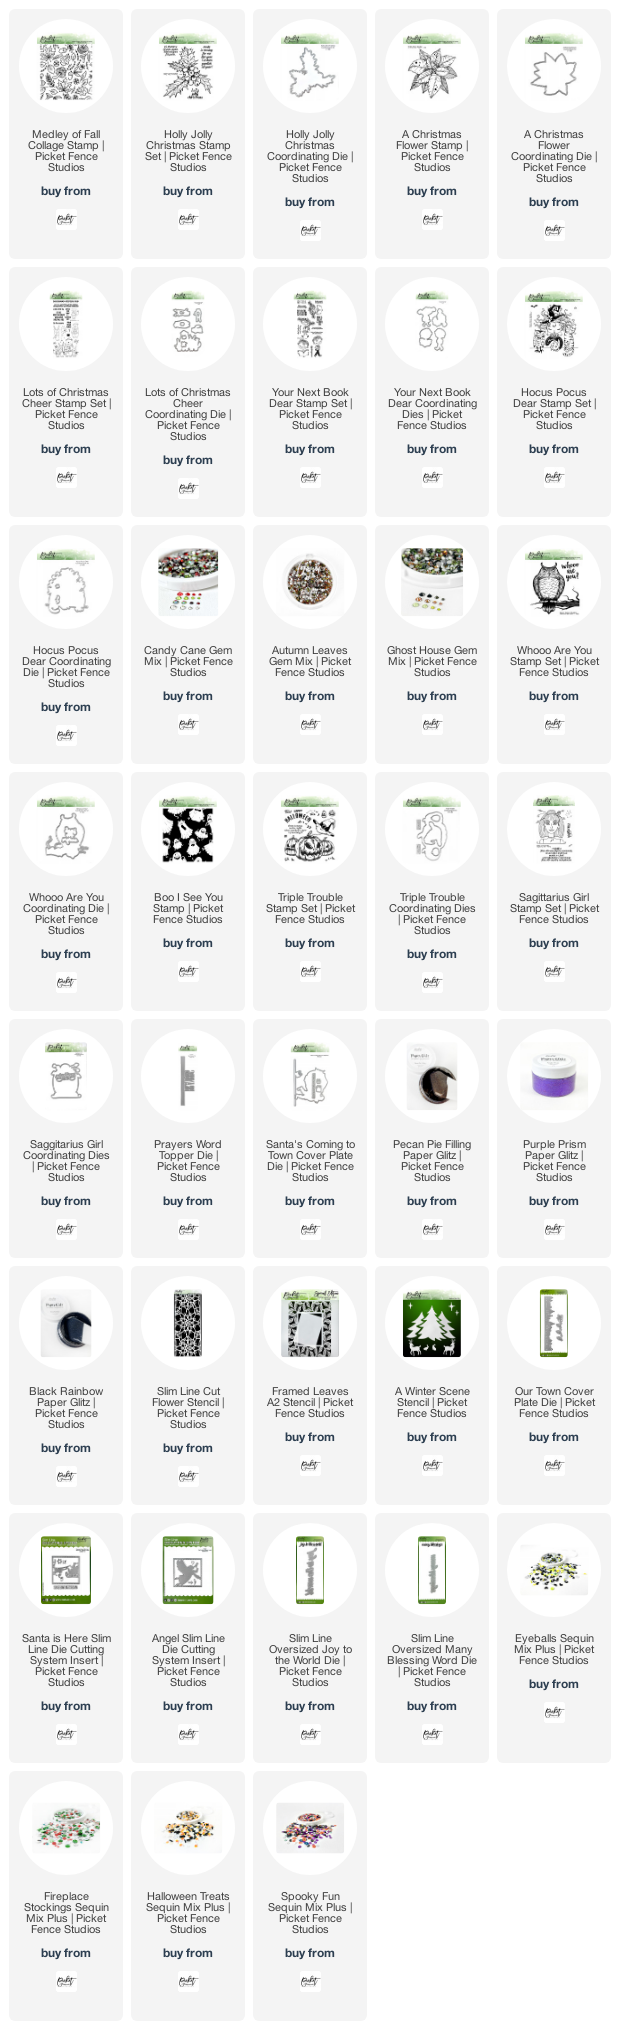
It's the 14th of the month, which means it's time for a new release from Picket Fence Studios. I have five cards to share with you today, featuring the new products, so, let's take a quick peek of the entire release before we dive into the cards.
(All of the supplies used on the individual cards, will be listed at the bottom of the post, for reference.)
If the list below is not visible in your browser, please click here to view it.
For today's first card, I began by stamping the image from the Hocus Pocus Dear Stamp, with Black Hybrid Ink, and coloring in the image with Prismacolor Pencils. Once I had the image the way I wanted, I die cut it using the coordinating die.
To create the card background, I taped the Slim Line Cut Flower Stencil over the top of dark gray card stock. I began, by using a larger Life Changing Blender Brush, to blend Black Soot Distress Oxide Ink through the stencil. I then used a smaller brush to blend Cracked Pistachio Distress Oxide Ink to the tips of the flower petals. I pulled off the stencil, and used a bit of watered down Sparkle Paper Glitz to splatter the background.

While the splatter dried, I stamped the sentiment, from the Triple Trouble Stamp Set, onto pale green card stock, using Black Hybrid Ink. For the "magic in the night" portion, I masked off the additional portion of the sentiment with tape, when I was inking the stamp, and then removed the tape to stamp onto my card stock. I fussy cut the sentiment out, and began laying out my elements. The stenciled background was double matted with purple and black, before the colored image, and sentiment were added on top. Then the layered card front was added to a white card base made from heavyweight card stock. As a final touch, I added scattered gems from the Ghost House Gem Mix.
Card #2 | CAS Halloween
For my second card today, I wanted to do something really clean and simple with the Triple Trouble Stamp Set. I began by stamping the two pumpkin images in Black Hybrid Ink, onto orange card stock. Then I stamped, and silver heat embossed, the hat image onto black card stock. I die cut all three of these images using the coordinating dies, and layered them together so I could use the image cluster to lay out my other stamps.

I placed a white card front in my MISTI, and used the cluster to arrange the bat stamp. Then I removed the cluster, and stamped the bats in Black Hybrid Ink. I did the same with my sentiment stamp, and stamped that in Dusty Concord Distress Oxide Ink. Then I removed the panel from my MISTI, and adhered the cluster of images to it. I matted the card front with purple card stock, and then attached it to a white card base made of heavyweight card stock.
Card #3 | Fall Blessings
For the next card, I began my stamping the Medley of Fall Collage Stamp, multiple times, across a panel of kraft card stock. I then colored in the images with Prismacolor Pencils (because I planned on adding the vellum panel above, there was no shading to the coloring, it was simply adding color.).

I set the colored panel aside, and die cut the Slim Line Oversized Many Blessings Word Die twice - once from gold card stock, and once from dark red card stock. I layered the die cuts together with liquid glue, then attached them to the vellum panel. using the die cut to hide most of the glue, I adhered the vellum panel to the colored panel (A few small drops on the outside corners of the vellum holds the edges down).
I attached the card front to a white card base, made from heavyweight card stock. To finish the card, I added a few gems from the Autumn Leaves Gem Mix.
Card #4 | Holly Jolly Christmas
For this card, I stamped two of the Holly Jolly Christmas Stamp images onto kraft card stock, in Black Hybrid Ink. I colored in the images with Prismacolor Pencils, then die cut them, using the coordinating die.

I stamped a panel of kraft card stock, with the same holly image, using coordinating ink. Then I stamped the sentiment in Black Hybrid Ink. The colored images were added using foam tape, and then the overhang was trimmed off. I attached the card front to a white card base, made from heavyweight card stock. To finish the card, I added a few gems from the Autumn Leaves Gem Mix.
Card #5 | Season of Joy
For today's final card, I began by stamping, and gold heat embossing, the image from A Christmas Flower, onto vellum multiple times (three whole images were used in this card). Then, I watercolored inside the flower portion, with a little watered down True Christmas Red Paper Glitz. Once the watercolor had dried, I die cut the images with the coordinating die, before adhering the images to a panel of red card stock. I trimmed the excess off the edges, and used some of those trimmings to fill in the panel.

To create the sentiment cluster, I die cut the Joy from the the Slim Line Oversized Joy to the World Word Die, from black card stock, three times. I adhered those die cuts together, and then stamped and gold heat embossed the " 'tis the season" sentiment from the Lots of Christmas Cheer Stamp Set, onto green card stock. Then I cut that embossed sentiment into a strip. I added a strip of gold card stock, and layered all of these elements together on top of a die cut vellum circle.
I attached the card front to a white card base, made from heavyweight card stock. To finish the card, I added a few gems from the Candy Cane Gem Mix.
There are so many adorable and fun new items in today's release. To see the full release in the Picket Fence Studios shop, click here.
Thanks for stopping by!

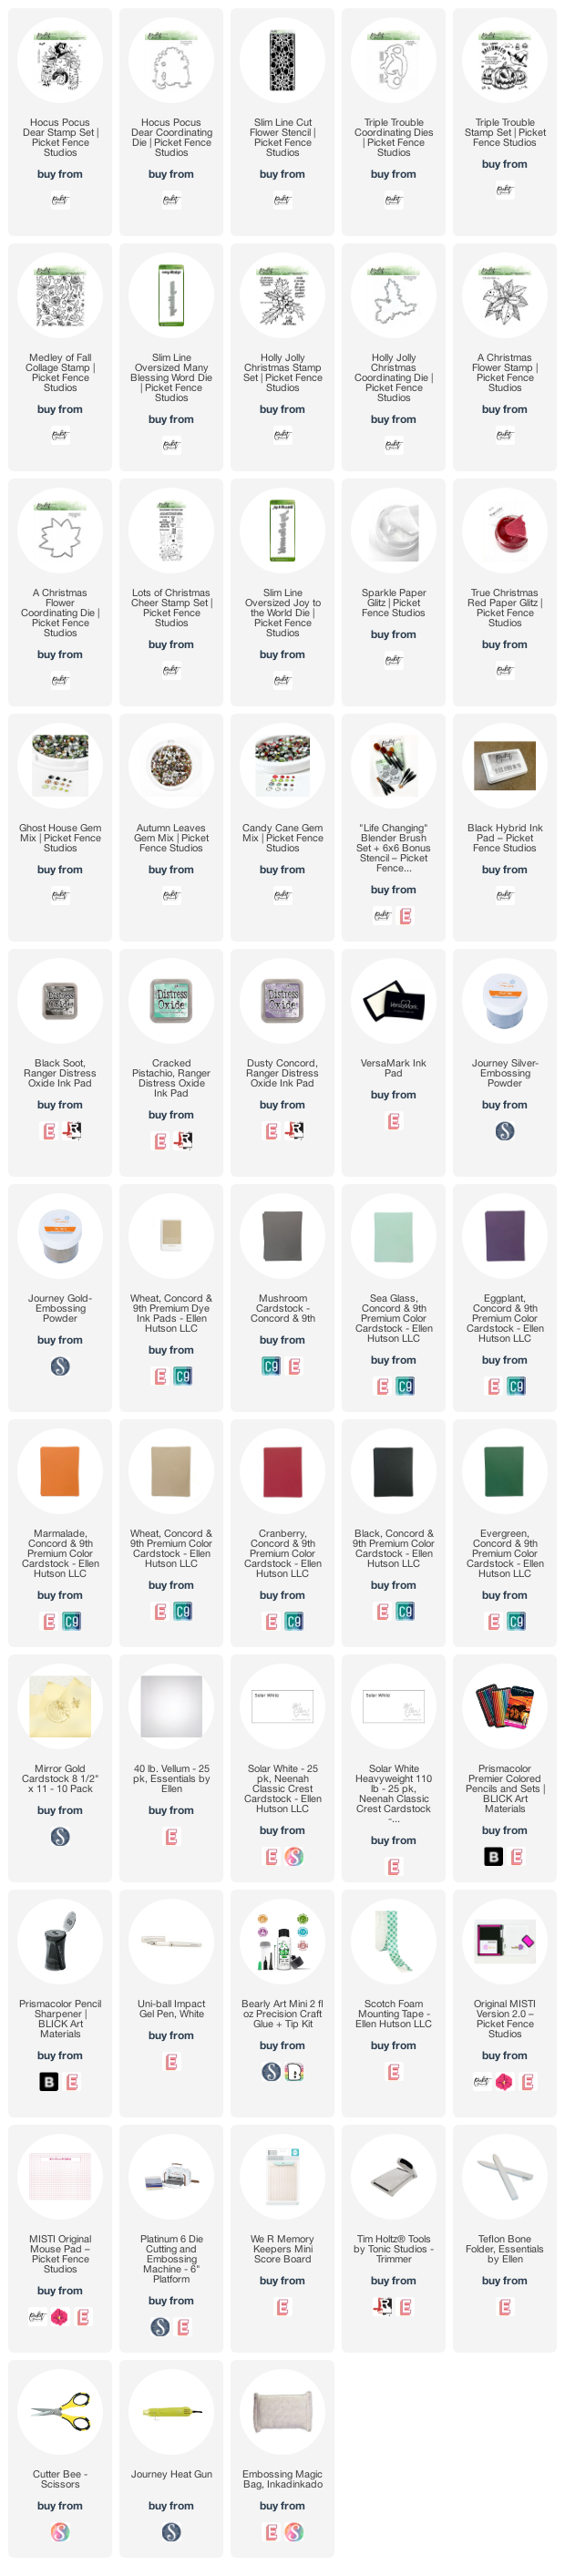
Use this easy list to find the products I used in my projects. (Contains affiliate links - where I earn a commission from purchases made from my links, at no cost to you. Your support helps me keep this blog going, and continue to create - Thank you! Affiliates and disclosures can be found here.) Please note, when possible, I try to offer multiple sources for the items I use.
If the supply list below is not visible in your browser, please click here to view it.
Thanks for stopping by!
Use this easy list to find the products I used in my projects. (Contains affiliate links - where I earn a commission from purchases made from my links, at no cost to you. Your support helps me keep this blog going, and continue to create - Thank you! Affiliates and disclosures can be found here.) Please note, when possible, I try to offer multiple sources for the items I use.
If the supply list below is not visible in your browser, please click here to view it.
No comments:
Post a Comment
I love comments! If you have any feedback or questions, please feel free to leave them here!