I had the opportunity this month, to take the December coloring class for Sweet Sentiment. Jammie colors beautiful images with Copic markers, and does a coloring class each month. There are even previous months classes available, if you want to take several. As part of the December class, you get a kit with a full size stamp set, some embellishments, a list of all the Copic markers used in the project - along with the Spectrum Noir conversions - and a step by step video tutorial on how she has colored the image. The stamp set is exclusive to Sweet Sentiment - the first in a new line.
I started coloring images for cards nearly a decade ago. I quickly learned that it was a bit more difficult than I originally thought. Trying to get the perfect color combo, and even just achieving a smooth blend takes practice. I'm still learning, and I find that I pick up new things to try, nearly every time I work along with a coloring tutorial, or just watch an artist work through a project. New techniques, new color combos, there's always more to learn. In this coloring tutorial, I found that Jammie explained things very well - including the whys of things, which always sucks me in - the class was thorough enough to be great for beginners, but not at all overly simplified. I was hesitant at the darkest shading color she used for skin, but was pleasantly surprised by how well it worked. I loved the technique she used to "blush" the image as well.
 |
| Get the December Class kit here |
I stamped the image onto Sweet Sentiment Coloring paper, in Barely There Amalgam ink. Then I colored the image along with the video tutorial. Once colored, I fussy cut the image and added her to a background created from Cozy Prints papers. The sentiment came from the stamp set, and was stamped in Blue Lagoon ink onto Cool Pool card stock. I added the card front it to a white top fold card base. I added a few rhinestones around the sentiment, and a little Sparkle Silk was water colored onto the gift.
Lately, I've been experimenting more with under painting (adding a layer of color for vibrancy) with Copics, and then finishing off the details with pencils. I wanted to try this way of coloring with this image. I found that I was incorporating a few of the techniques, and new uses for a color I would never have considered for that use, from the video into the pencil coloring. Pencils do result in a "softer" image,
For this card, I stamped and colored the image onto a card front sized piece of Sweet Sentiment coloring paper. Again, this was under painted with Copics, using some of the colors from the same batch I used in the first piece, then the I added details and shading with my Prismacolor pencils, I added a circle to the background, colored the same as the image and the lots and lots of white dots were added with my gel pen. The sentiment was stamped in Catalina Splash ink, and then the card front was matted with white card stock, and then attached to a top folding white card base.
I had a lot of fun with this December class. Even if you have done Copic coloring for some time, I always encourage learning more. (Plus you get that super cute stamp set with this class!) You never know when you're going to find a technique that takes your coloring up a notch!
Thanks for stopping by!

Supplies Used**:
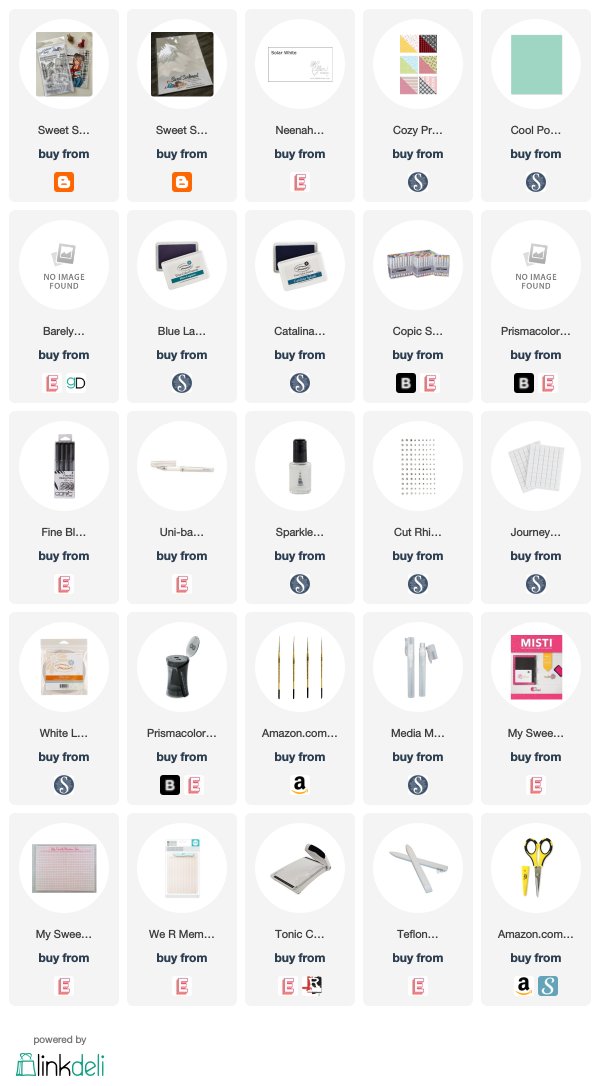
Use this easy list to find the products I used in my projects. (Contains affiliate links - where I earn a commission from purchases made from my links, at no cost to you. Your support helps me keep this blog going, and continue to create - Thank you! Affiliates and disclosures can be found here.) Please note, when possible, I try to offer multiple sources for the items I use. Products with two or more logos - underneath, or on the side, give you options of where to purchase, in case the item has sold out at one shop. To visit the first store, click on the photo of the item. To visit the second (or greater) source, click the logo for the second shop - you will still be taken directly to the product.


Just spotted this on SCS. So beautiful! Gorgeous coloring.
ReplyDeleteWow, Sara! Copics with pencils...new thought for me. Your artwork is beautiful! Thanks for the amazing tip!
ReplyDelete