Showing posts with label Ink Blending. Show all posts

Tuesday, September 15, 2020

Peace on Earth | Blending Brush Painting Video Tutorial

Hello!

As I said in yesterday's release post, I had one more card to share with you, using a new stamp set from Picket Fence Studios.  This card features what I call Blending Brush Painting.  Blending Brush Painting is technically just ink blending, but rather than just creating a simple gradient, you are creating a "scene" with some detail.  I shared a tutorial in a previous post, creating an Under the Sea Scene.  


For this particular card, I filmed a video, showing the step-by-step tutorial to create the background.  Each time you do ink blending, there is a little variation - sometimes intentional, sometimes not.  But, by following the same steps, you will get fairly close. This tutorial also includes a little "craft fail" - that was TOTALLY my own fault - that I explain in the video.  If the video below does not appear for you, 
please click this link to be taken to the video.


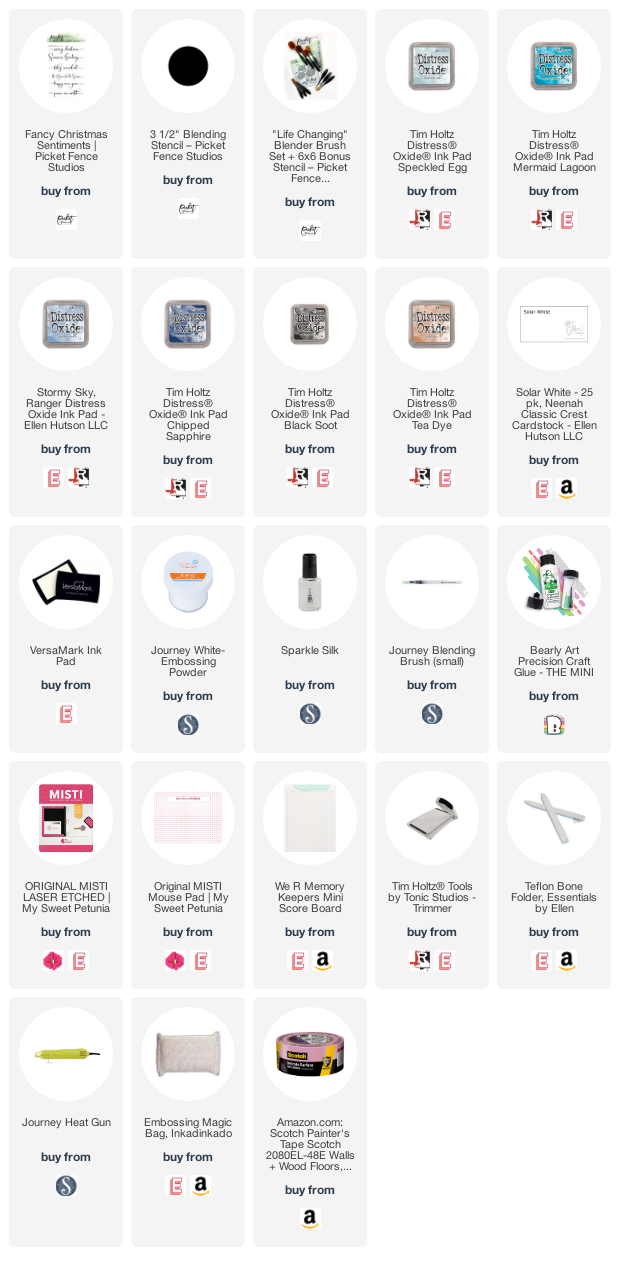
I started with an A2 piece of card stock taped to my work surface.  I taped the Blending 3.5" Circle Stencil, to the bottom of the panel, and inked up the earth, using Speckled Egg, Mermaid Lagoon, and Chipped Sapphire Distress Oxide Inks, and the Life Changing Blender Brushes.  Then I used a water brush, to add some atmosphere to the planet, by creating some swirly clouds.  One of the smaller blending brushes was used with Tea Dye Distress Oxide Ink, to create land masses on the planet.  


Once the earth was completed, I switched the stencil pieces around so that I could ink the space around the earth.   Once again, I used the Life Changing Blender Brushes, this time with Speckled Egg, Stormy Sky, Chipped Sapphire, and Black Soot Distress Inks.  Once the blending was to my liking, I used my water brush and Sparkle Silk to create stars.  

After drying, I carefully removed the tape, and white heat embossed the "Peace on Earth" sentiment from the brand new Fancy Christmas Sentiments stamp set.  The panel was trimmed by 1/4" on all sides, and adhered to a white note card.  


I think sometimes this type of blending looks intimidating, but it really is just a simple matter of layering inks, while blocking out shapes.  I hope you try this, and if you do, tag me on social media (@muchlovesara) so that I can see what you've created! 

Thanks for stopping by!


Supplies Used:

Use this easy list to find the products I used in my projects. (Contains affiliate links - where I earn a commission from purchases made from my links, at no cost to you. Your support helps me keep this blog going, and continue to create - Thank you! Affiliates and disclosures can be found here.)

Friday, February 14, 2020

Picket Fence Studios February Release

Hello & Happy ♥ Day!

Today is super exciting for me.  It's release day for Picket Fence Studios, and my first release as an official member of their design team!  I have SIX cards to share with you today, featuring these new products, so lets jump right into this fun release!


Picket Fence Studios, Watercolor Trees and Bushes, Ink Blending, Distress Oxide Inks, life Changing Blending Brush, Sunset card

The first card I'm sharing today was created with the Watercolor Trees and Bushes Stamp Set.   I used Distress Oxides to blend together a background image, and then stamped my trees and shrubs with Picket Fence Studios Black Hybrid Ink Pad.  The top portion of the background was splattered with some sparkle, before the sentiment was heat embossed.  


♥   ♥   ♥   ♥   ♥

Picket Fence Studios, Ink Blending, Distress Ink, Stenciling, Life Changing Blending Brush, Heat Embossing, Funky Leaves Stencil, Favorite Notification Stamps

The second card today, was created by ink blending Distress Inks through the Funky Leaves Stencil.  I faded the inks towards the bottom of the card front, so that the very bottom had no ink.  Then I heat embossed a sentiment from the Favorite Notification stamp set.   


♥   ♥   ♥   ♥   ♥


Picket Fence Studios, dry embossing, embossing technique, stencil, heat embossing, wedding card, handmade card, hand stamped card

Using another stencil, I created the third card.  This time, I dry embossed the Fancy Flourishes Stencil  onto white card stock.  Then I stamped, and heat embossed, a sentiment from the Fancy Sentiments Stamp Set onto a piece of vellum to overlay the background.  A few Fashion Gold pieces were added to finish off this quick and easy wedding card.


♥   ♥   ♥   ♥   ♥


Picket Fence Studios, Rainbow Stamping, Sentiments as Background, Repeat Stamping, Hello Card, Any Occasion

This colorful hello card, also features the Fancy Sentiments Stamp Set.  I stamped the hello in different colors of True Color Fusion Ink, and then stamped a small sentiment from the Tightening Her Bra Strap Stamp Set (this set has a coordinating set of dies), in black ink onto River Stone card stock - which was also used to mat the card front.  A few rhinestones finished this card.


♥   ♥   ♥   ♥   ♥


Picket Fence Studios, Work Card, Career Card, Retirement Card, Blueprint Sketch, Office

This card was inspired by the fact that, when I received these stamps, the first thing I thought - before I even actually processed that the image was an office sketch - was that it was a blueprint.  So the image in the Here is Where I Work Stamp Set, was stamped and white heat embossed onto a piece of Huckleberry Fusion card stock.  Then, I took a white pencil and my T-square ruler, and drew lines every half inch to create the grid look.  It took a bit to choose a sentiment, because I really wanted to use one of the snarky ones from the Work Sucks Stamp Set, but in the end I chose one from the initial set.  The sentiment was white heat embossed onto Black Licorice card stock.


♥   ♥   ♥   ♥   ♥

Picket Fence Studios, Coffee, Valentine, Love, Handstamped card, diy card, coffee sleeve, corrugated stock, coffee rings, Paper Glaze

The final card, gets a portion of it's sentiment from the Favorite Notification Stamp Set, previously mentioned.  When I saw the Coffee Word Die (Shown below is also the Hello Word Die which is also new this month) I knew I had to combine these sentiments.  I have an arrhythmia, which sometimes doesn't like it when I am over-caffienated.  Me and my weird humor just HAD to use that!  The background was created by first dipping the rim of a shot glass into the Brown Dahlia Paper Glaze, and placing it onto the paper with a slight twist of the wrist to smudge it.   Then I put a small amount of paper glaze into a pallet, and mixed it with water so that I could splatter it across the card front, and create some "puddles".  I die cut the sentiment from Dark Roast card stock, and Corrugated Stock.  I also die cut a heart from Rich Coral card stock.  The smaller sentiment was white heat embossed on the same Dark Roast card stock.


I hope you enjoyed the cards I shared with you today.  This release was fun to work with, my brain was spinning with ideas.

Thanks for stopping by!


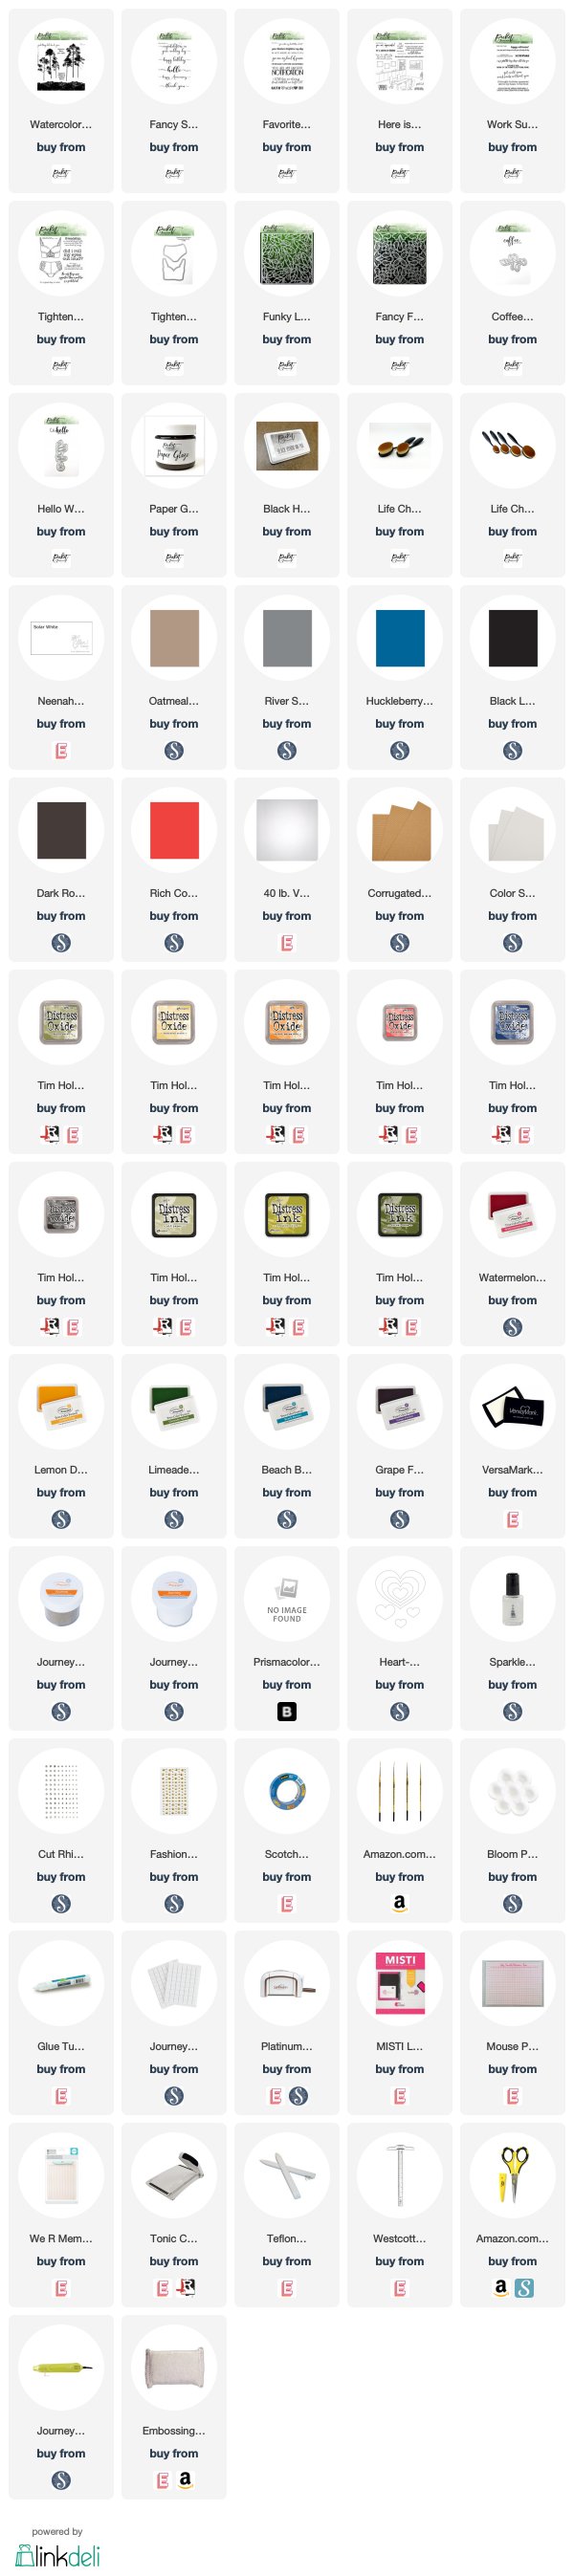
Supplies Used**:
Use this easy list to find the products I used in my projects. (Contains affiliate links - where I earn a commission from purchases made from my links, at no cost to you. Your support helps me keep this blog going, and continue to create - Thank you! Affiliates and disclosures can be found here.) Please note, when possible, I try to offer multiple sources for the items I use. Products with two or more logos - underneath, or on the side, give you options of where to purchase, in case the item has sold out at one shop. To visit the first store, click on the photo of the item. To visit the second (or greater) source, click the logo for the second shop - you will still be taken directly to the product..

**If a particular item I used was out of stock when I was preparing my post, or the item I used was discontinued, I have provided a link to a similar item - that is available - when a substitution would not affect the card design.

Monday, February 3, 2020

Under the Sea Ink Blended Background Video Tutorial | ft Life Changing Blender Brushes and Picket Fence Studios Stamps

Hello!

A little bit ago, I shared some ink blending panels I had made, in a post here on the blog, as well as in a post on Instagram.  I had multiple requests for a tutorial about how I created the scenes, so I went ahead and made a video for the one that most people were requesting - the ocean backdrop.  

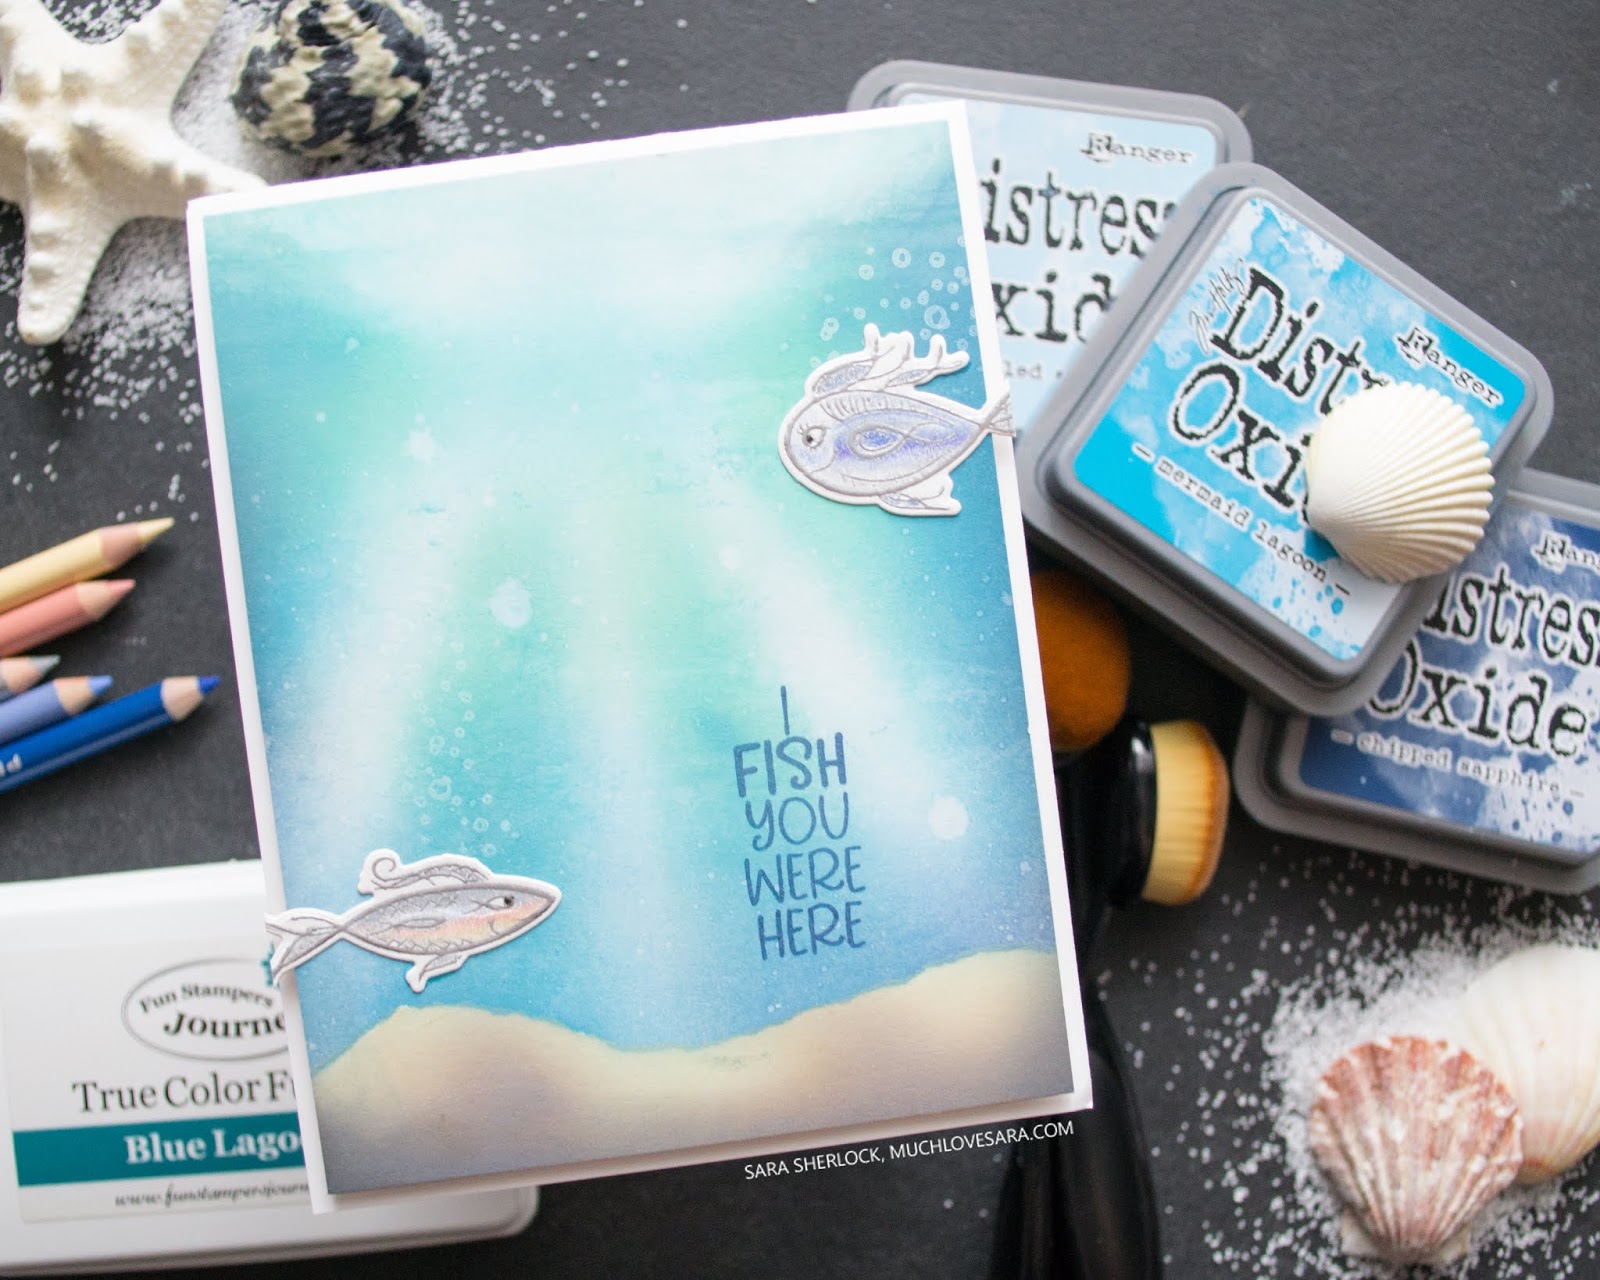
Card featuring Picket Fence Studios One Year Older Stamp Set, showing colored pencil colored fishes swimming through an ink blended ocean background created with Distress Oxide inks, and the Life Changing Blender Brushes.

For the ink blending, I used the Picket Fence Studios Life Changing Blender Brushes, and Distress Oxide Inks.  I blended my ink onto Sweet Sentiment Premium Coloring Paper - which takes ink beautifully, and has a little sparkle that I really like for this ocean background.  All of the supplies used, are listed at the end of this blog post. 

If the embedded player below does not work, find the video here


As shown in the video tutorial, I first taped down the panel, and then ripped a piece of tape along the length, to mask off the "ocean floor".  I blended the ink on the water portion, by using the Tumbled Glass Distress Oxide Ink to block out where I wanted the lightest portions of my image to be.  Then I built up the color by adding Peacock Feathers, Cracked Pistachio, Mermaid Lagoon, and Chipped Sapphire.  Once I had the color where I wanted it, I used a spray bottle to add some water droplets, and gathered up a plastic shopping bag - that I then sprayed with water - to create ripples in the water surface.

I added the negative of the mask onto the project, before pulling away the mask the covered the bottom of the panel.  Then, I blended Antique Linen, Pumice Stone, and Ground Espresso Inks to the area to create the ocean floor.  I removed the masking, and blended just a little Black Soot around the side and bottom edges of the image to create a slight vignette.  Then I removed the tape keeping the panel on my surface.  I trimmed the panel down to a card front size, and then set it aside to work on the images.

 An ink blended ocean background created with Distress Oxide inks, and the Life Changing Blender Brushes.

I stamped a couple of the fish from the Picket Fence Studios One Year Older Stamp set, in Versamark Ink, and heat set them with Silver Embossing Powder.  Then I colored them in using Prismacolor Pencils.  I topped the coloring with some shimmer from the Tonic Nuvo Shimmer Pen, and let that dry, before die-cutting the images with the coordinating die set.  

Card featuring Picket Fence Studios One Year Older Stamp Set, showing colored pencil colored fishes swimming through an ink blended ocean background created with Distress Oxide inks, and the Life Changing Blender Brushes.

I used my MISTI to stamp the sentiment, from the One Year Older Stamp set, in Blue Lagoon Ink.  Stamping over the Distress Oxide inks did mean that I needed to stamp twice to get the ink to the saturation the I liked.  I figured out the placement of my fish, and then stamped the bubbles from the stamp set so that they would be above the fish.  The bubbles were again, stamped twice, using Whip Cream Ink.  Then I adhered the fish down with liquid glue.

Card featuring Picket Fence Studios One Year Older Stamp Set, showing colored pencil colored fishes swimming through an ink blended ocean background created with Distress Oxide inks, and the Life Changing Blender Brushes.

I popped the whole card front up on foam squares, and attached that to a top folding white card base.  Then I trimmed off the portion of the fishes tails that hung over the card base.

If you try this, be sure to share it with me - either in a comment below, or tag me on Instagram @muchlovesara

Thanks for stopping by!


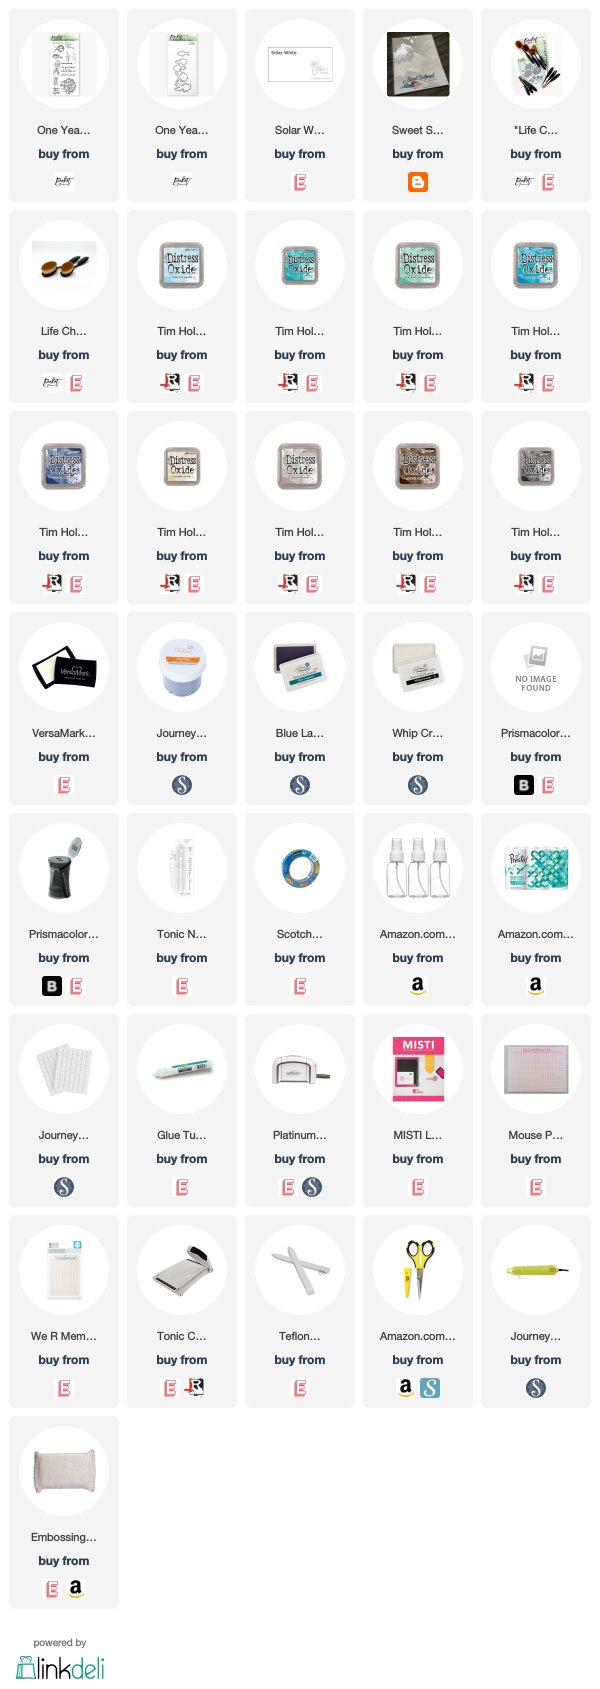
Supplies Used**:
Use this easy list to find the products I used in my projects. (Contains affiliate links - where I earn a commission from purchases made from my links, at no cost to you. Your support helps me keep this blog going, and continue to create - Thank you! Affiliates and disclosures can be found here.) Please note, when possible, I try to offer multiple sources for the items I use. Products with two or more logos - underneath, or on the side, give you options of where to purchase, in case the item has sold out at one shop. To visit the first store, click on the photo of the item. To visit the second (or greater) source, click the logo for the second shop - you will still be taken directly to the product. 


**If a particular item I used was out of stock when I was preparing my post, or the item I used was discontinued, I have provided a link to a similar item - that is available - when a substitution would not affect the card design.

Friday, January 24, 2020

Creating for Creativation | Picket Fence Studios January Release

Have you ever had something happen, that, at the time, you had no idea the impact that it would have?  A few months ago, I was asked to do a few ink blended panels, using the Life Changing Blender Brushes from Picket Fence Studios.  Being someone who likes to push myself, I decided to see just how far I could go, creating with the two brushes I had.  I created a few backgrounds, and snapped a photo of each, just so I had reference about what ink colors I had used for the panel.  No pretty photos - just a quick snap with my cell phone.  


(ETA: I've had many questions about how I did the Blended Backgrounds.  I created another Under the Sea background, and made a video, showing you how I achieved these Blending Brush Paintings.  I hope this helps those who wanted to know how to begin creating backgrounds like these.) 


And off the backgrounds went.  Suddenly, a few days later, I was creating more cards for display at Creativation, which was super exciting. I sent those off just weeks ago, and suddenly found that i was GOING to Phoenix for the show for the first time!  It was a whirlwind and so exciting!


I shared some photos on my Instagram stories (see the "Creativation" tab in the Hightlights), but I wanted to pop in today, and share the card projects that I made to be part of the Picket Fence Studios booth.  There are a lot of photos on this post, and it would be difficult to give full directions for so many cards, so I have linked the stamp sets below each photo, and included what coloring mediums used on those cards that have coloring.  All of the stamp and dies will also be listed and linked at the bottom of the post.

And now I will stop rambling, so you can see the pretty photos!

Using "Pain In My Ass" Stamp Set

Using "A Bride's Bouquet" Stamp Set
Coloring Medium: Prismacolor Pencils

Using "Swallowtail Beauty" Stamp, and "Seriously Absolutely Always" Stamp Set
Coloring Medium: PanPastel

Using "Eat, Sleep, Yoga" Stamp Set, and coordinating dies
Coloring Medium: Copic Markers, and Prismacolor Pencils

Using "Beauty and Song" Stamp Set
Coloring Medium: Fun Stampers Journey Color Splash pencils

Using "Glass Window Rainbow" Die, and "Seriously Absolutely Always" Stamp Set

Using  "Girls of All Seasons" Stamp Set, and coordinating dies,
and "Boys of All Seasons" Stamp Set and coordinating dies
Coloring Medium: Copic Markers and Prismacolor Pencils

Using "Peach and Piper Checking the Post" Stamp Set, and coordinating die
and "Loads of Mail" Stamp
Coloring Medium: Copic Markers and Prismacolor Pencils

Using "Walk Crawl or Run" Stamp Set
Coloring Medium: Copic Markers and Prismacolor Pencils

Using Eiko Girl Stamp, and coordinating die
Coloring Medium: Copic Markers and Prismacolor Pencils

I think the last two cards are absolutely my favorites, but it is so hard to choose!  Which is your favorite? 

Thanks for stopping by!


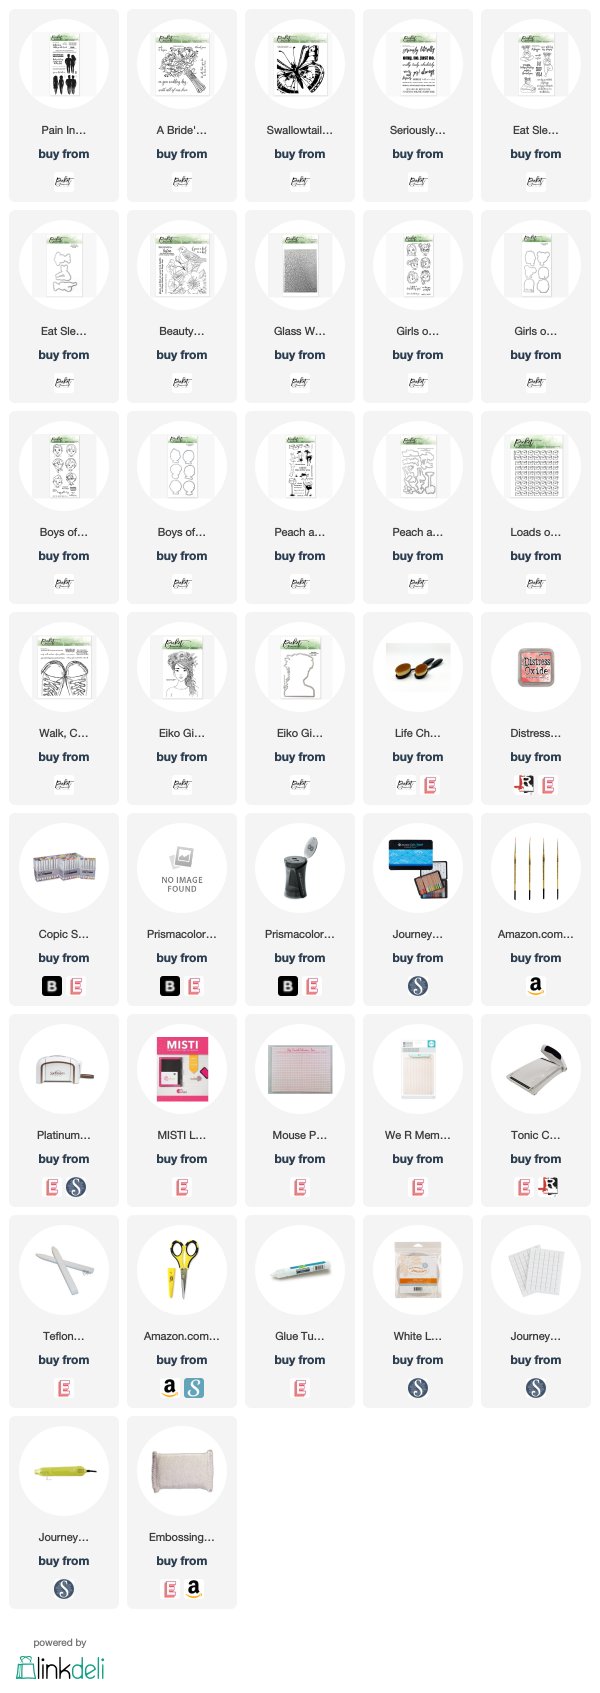
Supplies Used**:
Use this easy list to find the products I used in my projects. (Contains affiliate links - where I earn a commission from purchases made from my links, at no cost to you. Your support helps me keep this blog going, and continue to create - Thank you! Affiliates and disclosures can be found here.) Please note, when possible, I try to offer multiple sources for the items I use. Products with two or more logos - underneath, or on the side, give you options of where to purchase, in case the item has sold out at one shop. To visit the first store, click on the photo of the item. To visit the second (or greater) source, click the logo for the second shop - you will still be taken directly to the product. 
**If a particular item I used was out of stock when I was preparing my post, or the item I used was discontinued, I have provided a link to a similar item - that is available - when a substitution would not affect the card design.