
Hello!
As I said in yesterday's release post, I had one more card to share with you, using a new stamp set from Picket Fence Studios. This card features what I call Blending Brush Painting. Blending Brush Painting is technically just ink blending, but rather than just creating a simple gradient, you are creating a "scene" with some detail. I shared a tutorial in a previous post, creating an Under the Sea Scene.
 |
For this particular card, I filmed a video, showing the step-by-step tutorial to create the background. Each time you do ink blending, there is a little variation - sometimes intentional, sometimes not. But, by following the same steps, you will get fairly close. This tutorial also includes a little "craft fail" - that was TOTALLY my own fault - that I explain in the video. If the video below does not appear for you,
I started with an A2 piece of card stock taped to my work surface. I taped the Blending 3.5" Circle Stencil, to the bottom of the panel, and inked up the earth, using Speckled Egg, Mermaid Lagoon, and Chipped Sapphire Distress Oxide Inks, and the Life Changing Blender Brushes. Then I used a water brush, to add some atmosphere to the planet, by creating some swirly clouds. One of the smaller blending brushes was used with Tea Dye Distress Oxide Ink, to create land masses on the planet.

Once the earth was completed, I switched the stencil pieces around so that I could ink the space around the earth. Once again, I used the Life Changing Blender Brushes, this time with Speckled Egg, Stormy Sky, Chipped Sapphire, and Black Soot Distress Inks. Once the blending was to my liking, I used my water brush and Sparkle Silk to create stars.
After drying, I carefully removed the tape, and white heat embossed the "Peace on Earth" sentiment from the brand new Fancy Christmas Sentiments stamp set. The panel was trimmed by 1/4" on all sides, and adhered to a white note card.

I think sometimes this type of blending looks intimidating, but it really is just a simple matter of layering inks, while blocking out shapes. I hope you try this, and if you do, tag me on social media (@muchlovesara) so that I can see what you've created!
Thanks for stopping by!

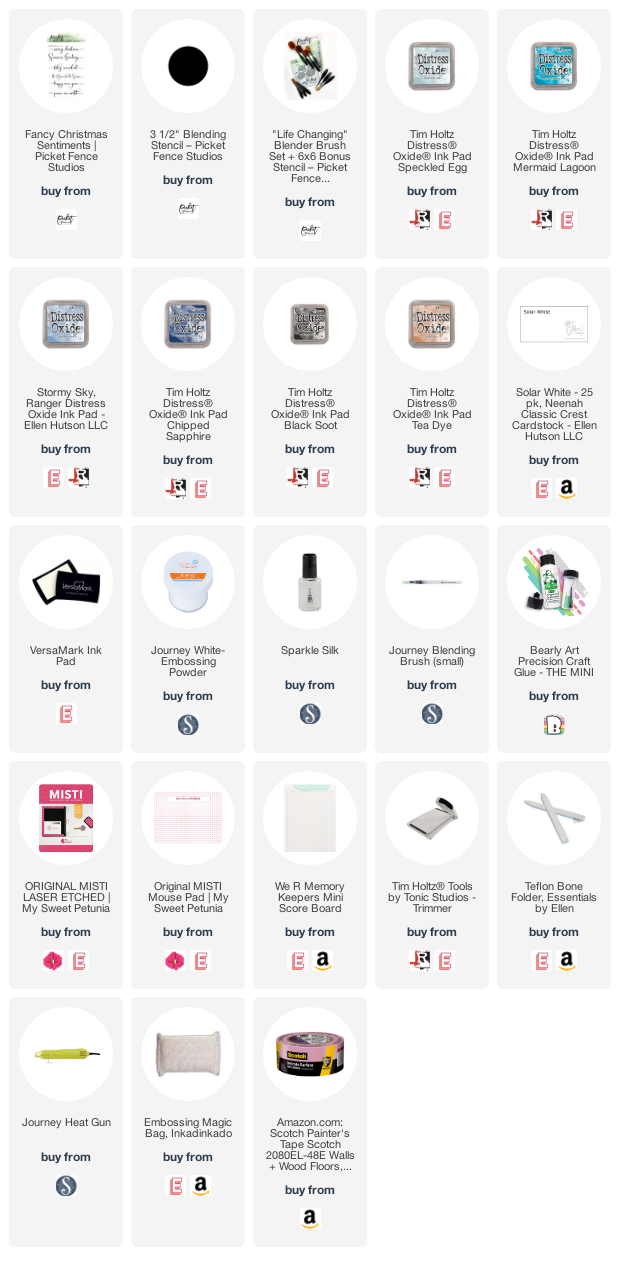
Use this easy list to find the products I used in my projects. (Contains affiliate links - where I earn a commission from purchases made from my links, at no cost to you. Your support helps me keep this blog going, and continue to create - Thank you! Affiliates and disclosures can be found here.)
Sara
ReplyDeleteWhat a beautiful card! Love it!