
Today I'm sharing more cards I created, using the Picket Fence Studios February Release.
Card #1 | Hang with Your Chicks
For this card, I die cut numerous circles using the Misshapen Stitched Circle Dies. I laid them out in the pattern I wanted, and then adhered them on a white card front. I trimmed the edges of the circles, that overlapped the card front.

I used a gray ink, to stamp my sentiment, along with several little chicks, from the Eastertime Stamp Set. I colored in the chicks with a yellow pencil.

I adhered the card front to a white card base, and added a few scattered Penny and Henny Sequin Mix Plus pieces to finish off the card.
Card #2 | He is With You
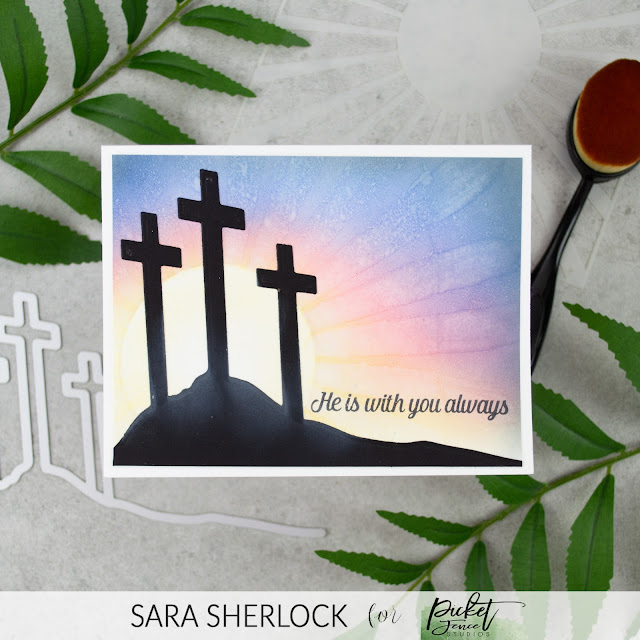
I started my ink blending using the Blending 2.5" Circle Stencil to create the sun behind the crosses. Using my Life Changing Blending Brushes, I blended Scattered Straw, Festive Berries, Prize Ribbon, and Black Soot Distress Oxide Inks to create the sunset look. Once my blend was how I wanted, I laid the Burst of Sun Stencil over the top of the card front, and sprayed a bit of water over it. Then I used the Scattered Straw ink that was left on the brush to brush onto the die cut - to look as though the sun rays were coming between the crosses.
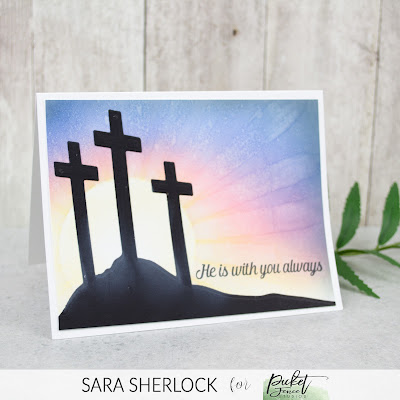
I finished off the card, by stamping the sentiment from the Every Good and Perfect Gift Stamp Set, and then adhering the card front to a white card base.
As soon as I saw the little Peep candy shaped dies in the Eastertime Coordinating Die Set, I knew I needed to do this shaker card.
I inked the Lots of Blossoms Stencil onto a piece of card stock, to create my card front. I then die cut a piece of acetate with the A2 Full Front Shaker Die. I wrapped that around my card front, and adhered the bottom and sides. Inside the shaker, I added the die cut bunnies, some of the Peter Cottontail Sequin Mix Plus, and some of the Iridescent Clear Shaker Garnish. Then I sealed the top of the shaker.
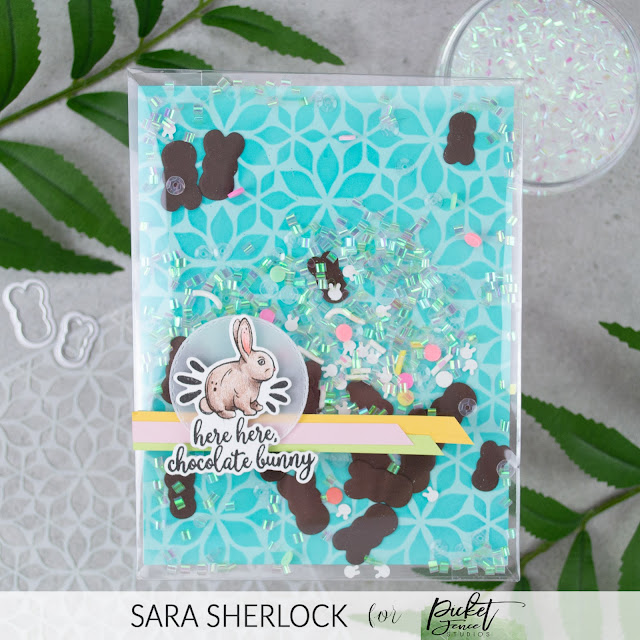
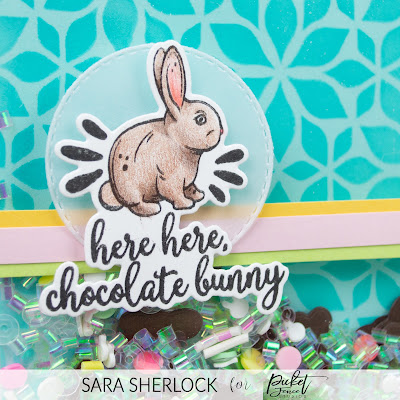
I stamped and colored in the bunny sentiment from the Eastertime Stamp Set, and then die cut it using the Coordinating Dies. I layered that onto the front of the shaker along with a vellum circle, and some angle cut banners.
I finished by adding the shaker card front, to a white card base.
That's it for today. Which was your favorite card?
Thanks for stopping by!

Supplies specific to this card, are listed, and linked, in the blog post.
To see the basic tools that I use on nearly every card, please click here.
No comments:
Post a Comment
I love comments! If you have any feedback or questions, please feel free to leave them here!