
Wednesday, March 2, 2022
Instagram Hopping featuring Glassboard Studios
Hello!

Glassboard Studio started out selling whiteboards, using glass instead of standard materials. It didn’t take long to realize that they were still super boring. The
CEO, Bill, decided to find a way to print beautiful images on the back of these boards.
Glass surfaces are perfect for crafting and mixed media art. They are quick and easy to clean, heat resistant, and do not stain. The glass craft mat features a grid for easy alignment in 1-inch and 1/4-inch increments, 1/8-inch tick marks along the border and center lines, and diagonal lines at 30, 45, and 60 degrees. An option to add metal backing to create a magnetic surface is an added bonus as rare earth magnets can hold paper, cardstock, stencils, fabric, and more in place.
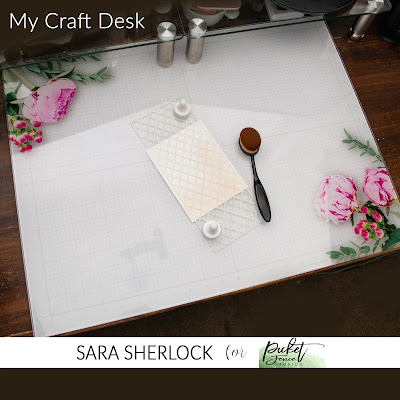
Let's be real. I'm a complete klutz. I drop my phone, brushes, ink pads, and sometimes larger tools - I get ink, glue, and Paper Glaze EVERYWHERE when I create (It's a nightmare to keep the computer monitor that's on my desk clean!). I absolutely adore my Glass Craft Mat for it's durability. It's so easy to clean with a little plastic scraper for globby stuff, and glass cleaner for the smudgy stuff. And after multiple oopsies, there's not a scratch or ding on it! I chose the floral mat, and, because I have a larger desk, I chose one of the larger sized mats to make certain I had plenty of room to work on. I love it!
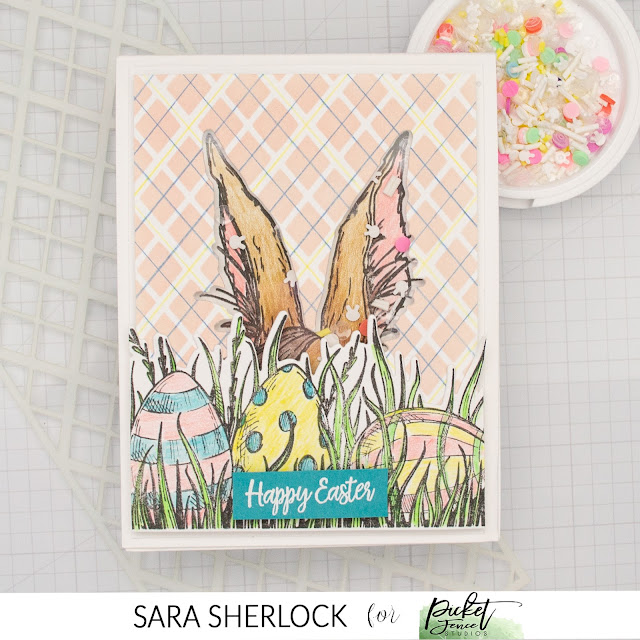
Once my patterned panel was how I wanted, I trimmed it down to card front size. I used the grass die from the Hippity Hoppity to All Coordinating Die Set as a guide for where to place the bunny ears die, so that the bottom would be covered. Then I taped the die in place, and die cut the ears. I pulled out my MISTI, and laid my card front over a white piece of card stock. I used the die cut space to line up my bunny ears stamp from the Hippity Hoppity to All Stamp Set. Once the stamp was in place on the door of the MISTI, I removed the plaid panel, and stamped the ears in Black Hybrid Ink. I also stamped a separate piece of white cardstock with the grass and eggs image.
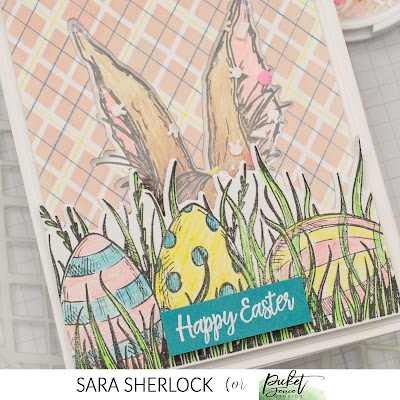
I finished the card by white heat embossing the sentiment onto some teal paper, and popping that up with more foam. The card front was adhered to a white card base.
Be sure to head over to Instagram to join us on the Hop today!
Thanks for stopping by!

Thanks for stopping by!
Supplies specific to this card, are listed, and linked, in the blog post.
To see the basic tools that I use on nearly every card, please click here.
Subscribe to:
Post Comments (Atom)
No comments:
Post a Comment
I love comments! If you have any feedback or questions, please feel free to leave them here!