
It's the 14th of the month, and that means it is time for another new release from Picket Fence Studios! There's a whole bunch of new products this month, and many are Easter themed. Though my favorite of favorite new products this month are the GIANT extra wide foam rolls! They are available in true white, or black, and you can also get sheets that are perfectly cut to size for card fronts.
Find the full release in the shop now.
Card #1 | Easter Wishes
For this first card, I used the new Bunny Dear Stamp Set, along with the coordinating die. I colored her in with my Polychromos pencils.
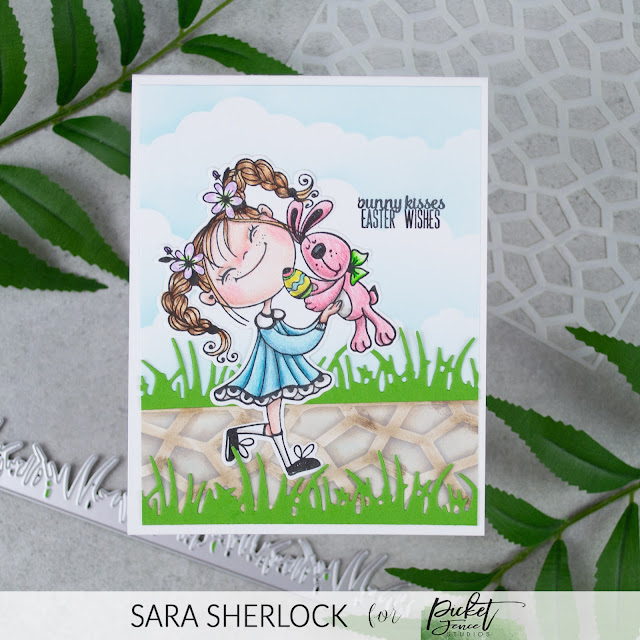
Once my image was done, I created the background with the new Cobblestone 6x6 stencil, the Slim Line Cloud Coverage Stencil, and my Life Changing Blender Brushes. Once the background was inked, I lined the edges with grass cut with the Slim Line Short Grass Die. I stamped the sentiment with Black Hybrid Ink.

Everything was then adhered together and put on a white card base.
Card #2 | Bunnies & Chocolate
This little treat box was super fun to make. I started out by stamping and coloring in the Hoppin' Down the Bunny Trail Stamp Set. Then I colored it in with my Polychromos pencils. I die cut the image with the coordinating die, and then set it aside.

I created the box, by cutting a piece of card stock to 7" wide by 4.25" tall. I scored it at 0.5", 1.25", 3.75" and 4.5" along the width, and once more at 0.75" on the height. Then I cut the small tabs apart on the last score to create the bottom of the box. I taped off the tabs, and used the Slim Line Flowers and Polka Dot Fun Stencil, to create a pattern on the box. Then I die cut an oval from the panel that would be the front of the box. I backed that with acetate. Then, I die cut two pieces of paper lace, using the A2 Lattice Oval and Trimmings Die Set. These wrapped perfectly around the top of the box.

I stamped the little "chocolate enclosed" sentiment, and adhered the bunny ears, before assembling the box. The 0.75" depth was perfect for some mini Cadbury eggs, or even a smaller chocolate bunny.
Card #3 | Taurus Girl
This card began by stamping the new Taurus Girl Stamp in a light ink, and then I colored it in with my Polychromos pencils. Once the coloring was completed, I die cut the image with the coordinating die.

The background was created, by layering the new Slim Line Cobblestone Stencil over kraft card stock. I first dry embossed the stencil, so that the stones sat a bit higher, then I inked the stencil with the Life Changing Blender Brushes. Then I removed the stencil, and used one of the finer brushes to ink in the mossy areas. I die cut a vellum circle to put behind the image, and then copper heat embossed the sentiment onto a strip of card stock, which I then added small strips of green card stock to the edges, to give it a little separation.

The completed card front was then attached to a white card base.
And that's it for today. Be sure to stop by next week, when I'll be showcasing an additional three cards I made with today's release. Again, you can find the full release in the shop now.
Thanks for stopping by!

Supplies specific to this card, are listed, and linked, in the blog post.
To see the basic tools that I use on nearly every card, please click here.
No comments:
Post a Comment
I love comments! If you have any feedback or questions, please feel free to leave them here!