
Thursday, July 14, 2022
July 2022 Release for Picket Fence Studios
Hello!
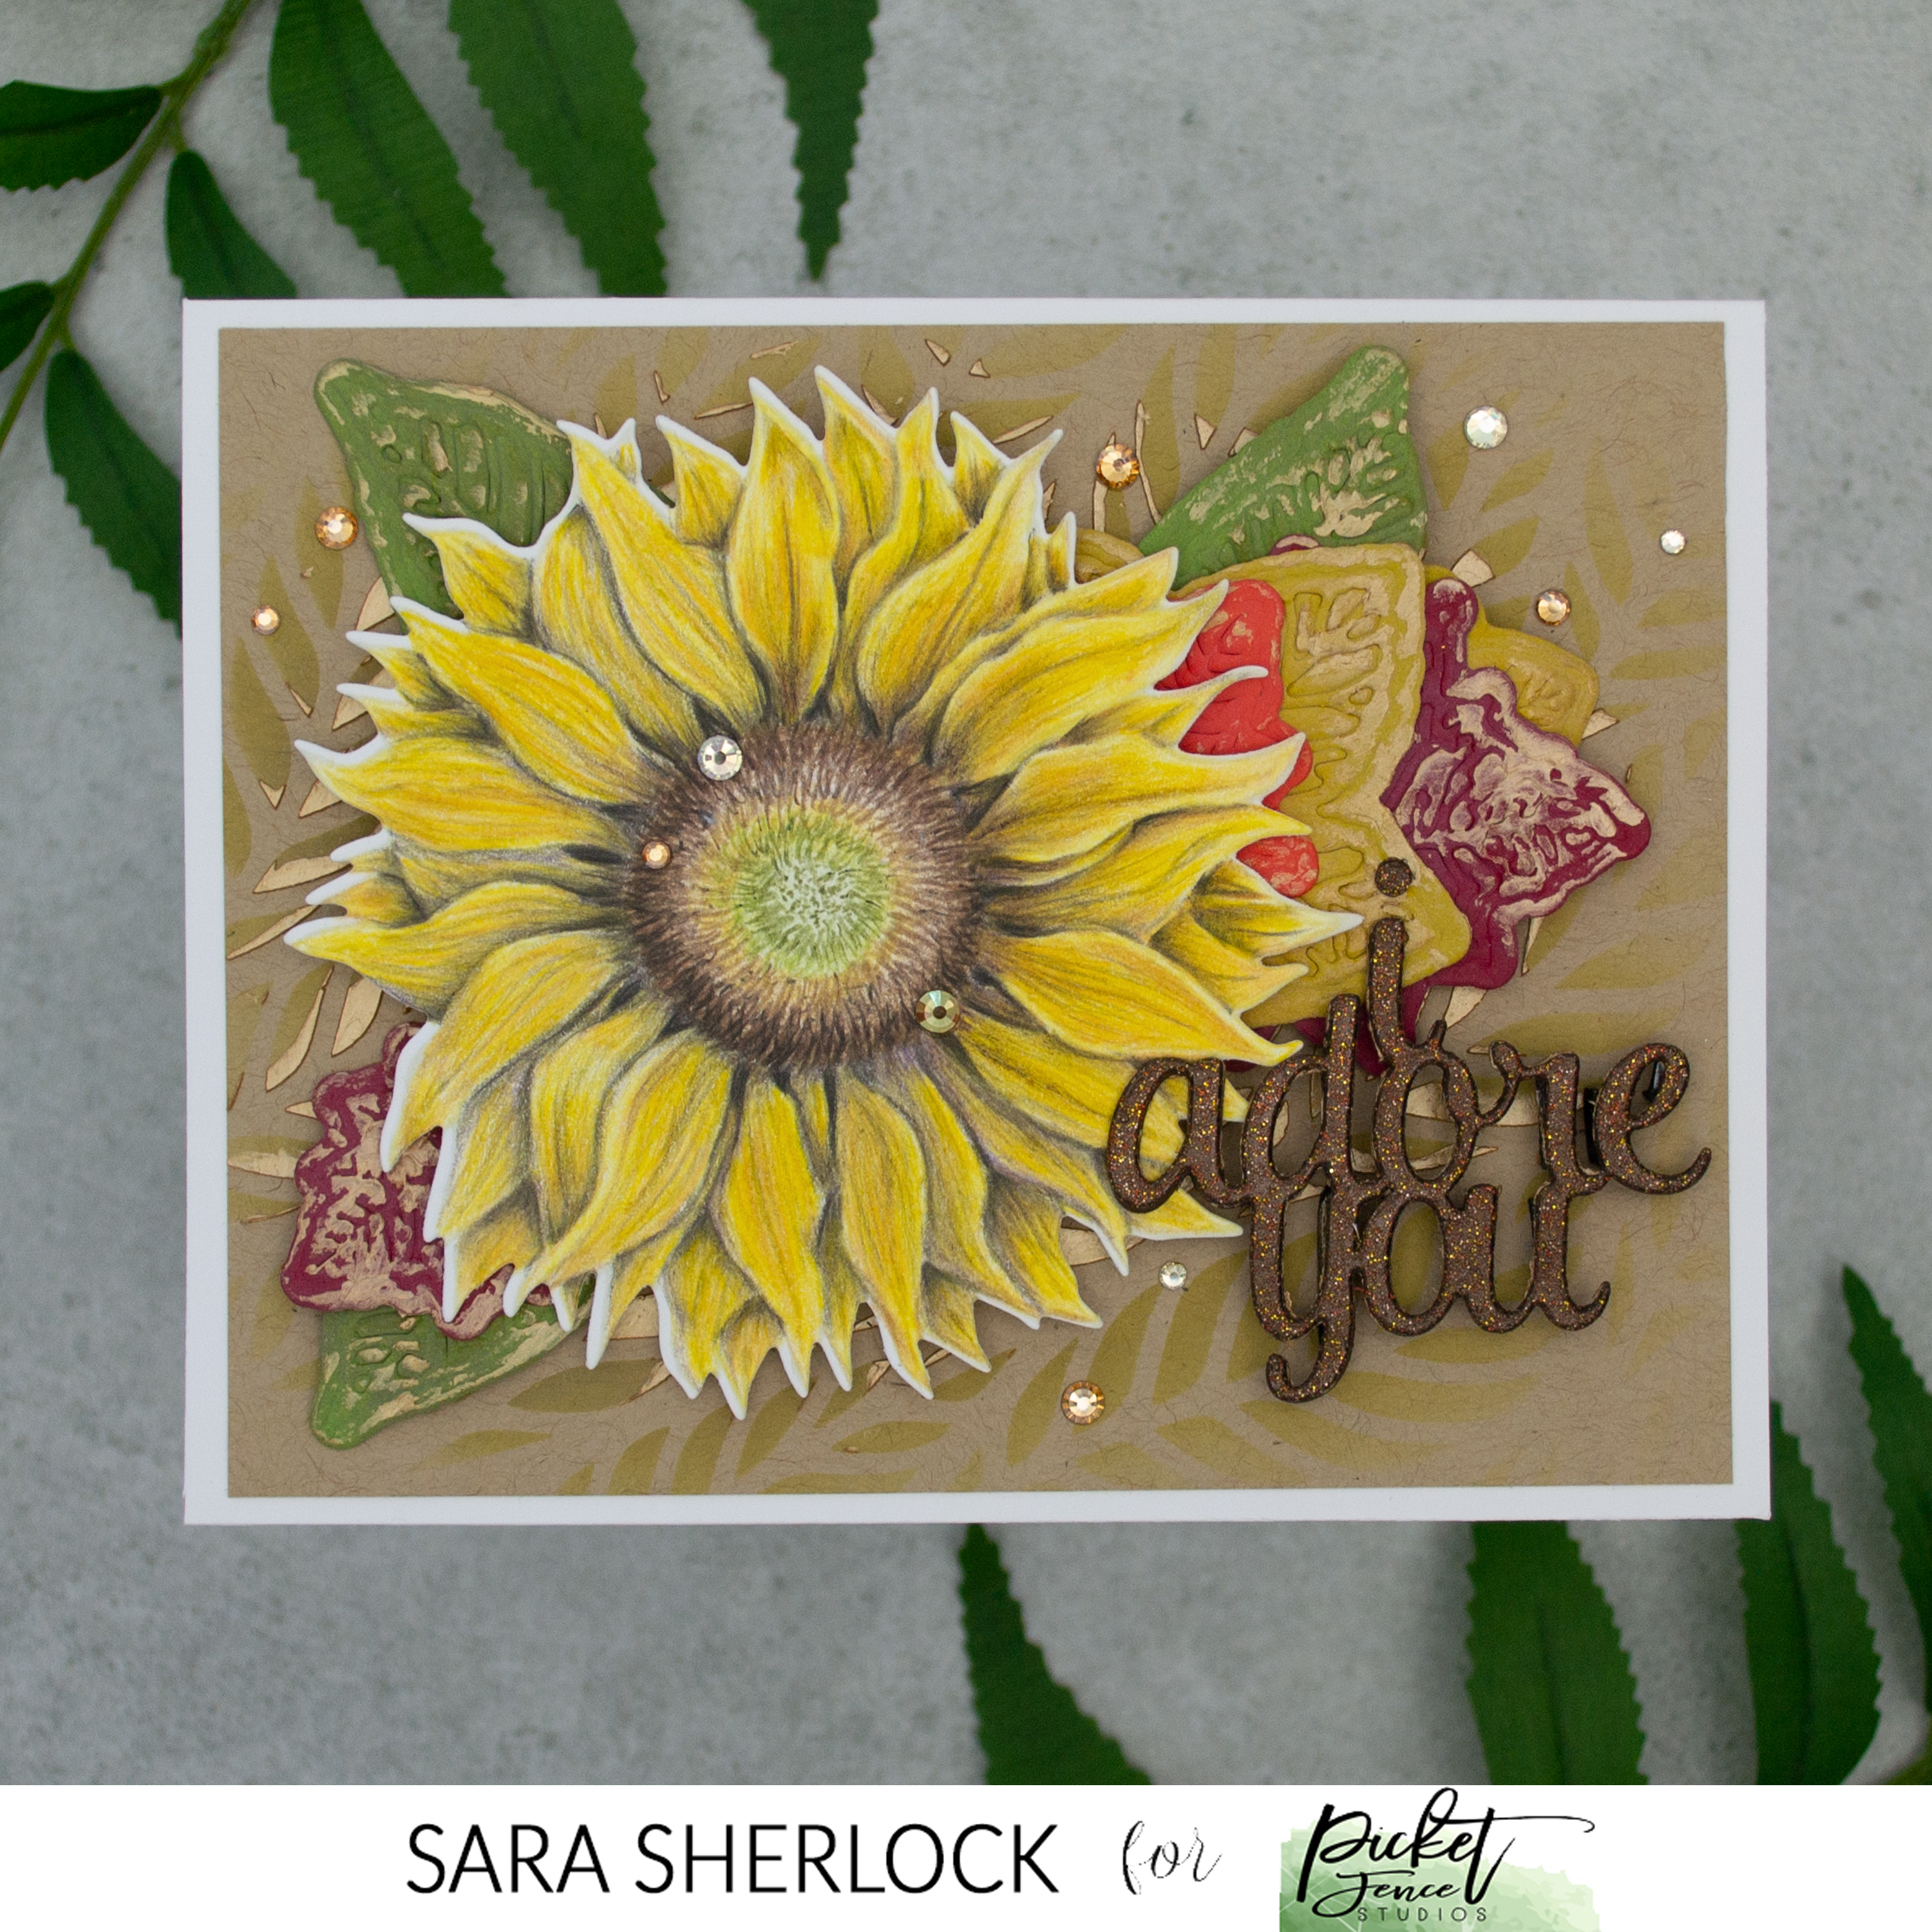

I also die cut the More Ash Leaves, More Maple Leaves, and More Oak Leaves dies from multiple colors of card stock. I placed them behind the sunflower on a card front to figure out my layout, then adhered small bundles together. Then, using my fingertip, I brushed some of the gold color Paper Glaze from the Santa's Favorite Colors Ombré set onto the leaves.
I adhered the multiple die cuts of the sentiment together, then spread a thin cover of the Paper Glitz: Pecan Pie Filling over another piece of card stock. Once that was dry, I die cut the sentiment one more time, and adhered that to the stacked die cuts.

For the card background, I laid the Shadow of Leave 6x6 stencil over kraft card stock, and used a Life Changing Blender Brush to add a bit of Forest Moss Distress Oxide Ink through the stencil. Then I used a Mixed Media Spatula, to add a few random small dabs of the gold Paper Glaze I used on the leaves. I pulled the stencil off, and allowed the background to dry.

I assembled the card together, and attached it to a white card base. Then, I finished it off by adding gems from the Sands of Time Gem Mix randomly to the card.
For the second card today, I started by stamping the Forever Sunflower Seeds stamp over kraft card stock. This stamp is a repeating stamp, so you can line it up and stamp it to create the size background you need. Once it was stamped, I used a white colored pencil to color a highlight onto each of the seeds - which goes really quickly!

I stamped a few of the A Sunflower images onto yellow card stock, using kraft colored ink. I die cut them with the coordinating die. Using a Life Changing Blender Brush, I added Gathered Twigs Distress Oxide Ink to the center of the flowers. Then, I added a little water to small amounts of the new Paper Glaze Luxe Coffee Beans, and Paper Glaze Luxe Aztec Sunflower, and then watercolored over the top of the flowers with the two colors. This added a really sparkly layer to the flowers.
I prepared the sentiment by putting the stamp, from the Fancy Autumn Sentiments Set, in my MISTI. I inked the top half of the stamp with Crackling Campfire Distress Ink, then inked the bottom half with Ground Espresso Distress Ink. I stamped the sentiment, then reinked the stamp and stamped again. The moisture in the ink blended the colors together. I then die cut the sentiment using the coordinating die.

The card front was assembled and added to a card base. Then I used a few of the embellishments in the Fall Flowers Sequin Plus Mix to finish the card.
Be sure to join us this week for the 7 in 7 event. 7 in 7 is a series of live videos, in the PFS Community Group on Facebook, where different designers walk you through projects they created using the new products. We begin each month with a review of all the new items by the owner of Picket Fence Studios, Nicole Petersen. I will be teaching a class on July 19th with the card shown below. Join me to see this pretty fall card come together.

 |  |
Don't miss out on a thing in the latest release! I'll be back soon with more fun cards featuring these new products.
Thanks for stopping by!

Supplies specific to this card, are listed, and linked, in the blog post.
To see the basic tools that I use on nearly every card, please click here.
Subscribe to:
Post Comments (Atom)
No comments:
Post a Comment
I love comments! If you have any feedback or questions, please feel free to leave them here!