Hello!
A little bit ago, I shared some ink blending panels I had made, in a post here on the blog, as well as in a post on Instagram. I had multiple requests for a tutorial about how I created the scenes, so I went ahead and made a video for the one that most people were requesting - the ocean backdrop.
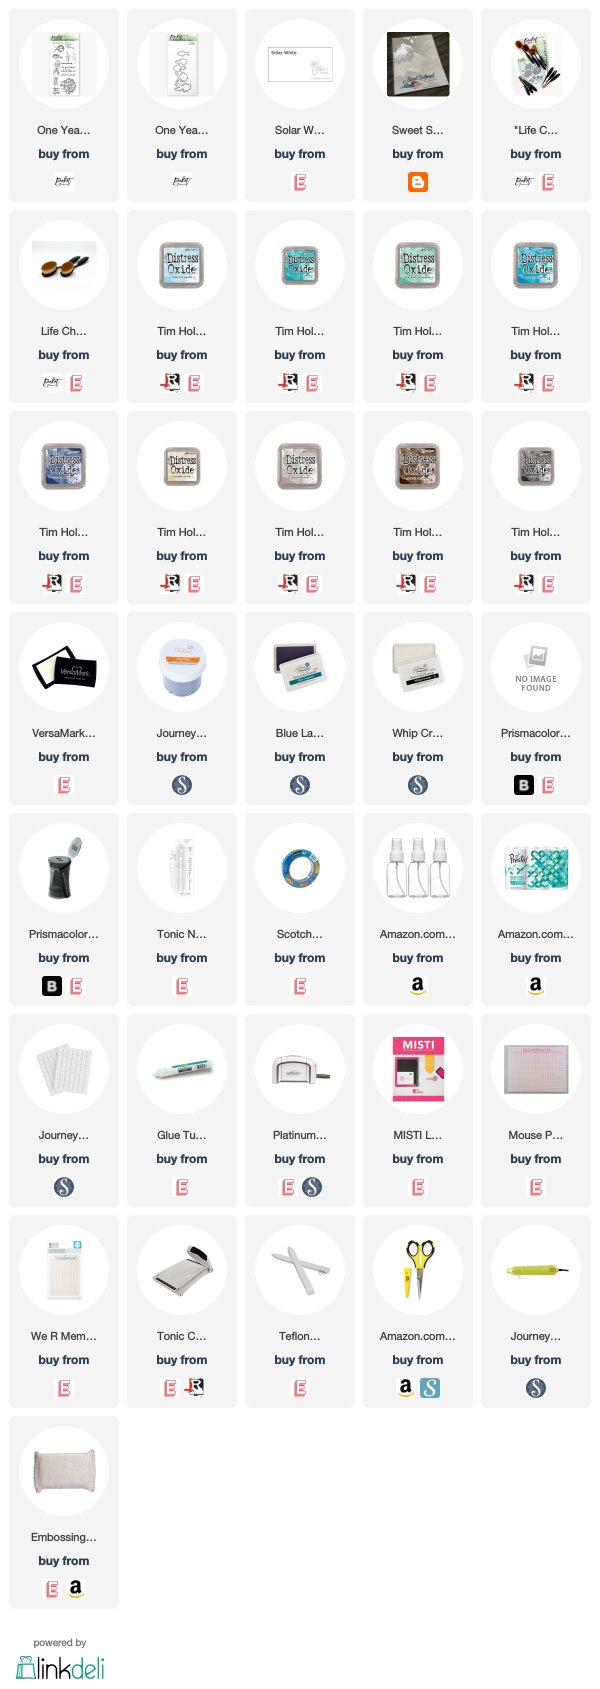
For the ink blending, I used the Picket Fence Studios Life Changing Blender Brushes, and Distress Oxide Inks. I blended my ink onto Sweet Sentiment Premium Coloring Paper - which takes ink beautifully, and has a little sparkle that I really like for this ocean background. All of the supplies used, are listed at the end of this blog post.
If the embedded player below does not work, find the video here.
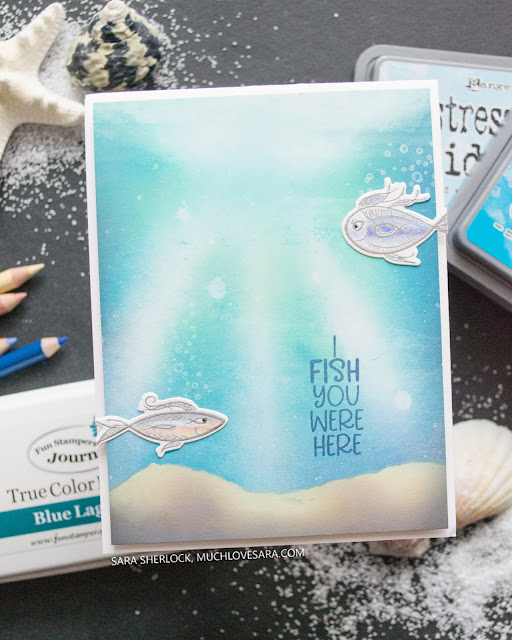
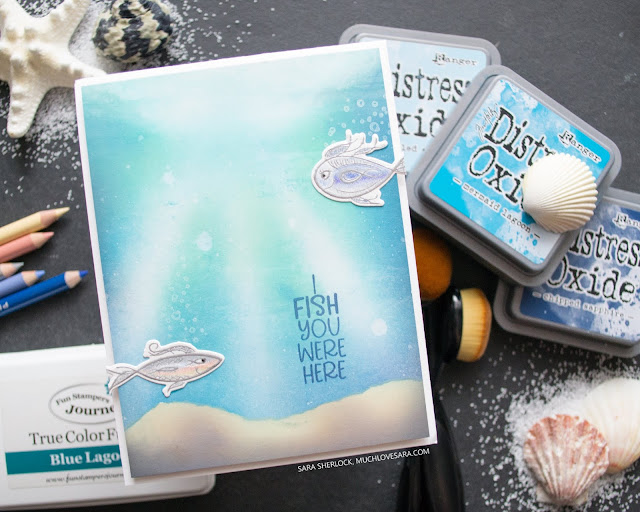
As shown in the video tutorial, I first taped down the panel, and then ripped a piece of tape along the length, to mask off the "ocean floor". I blended the ink on the water portion, by using the Tumbled Glass Distress Oxide Ink to block out where I wanted the lightest portions of my image to be. Then I built up the color by adding Peacock Feathers, Cracked Pistachio, Mermaid Lagoon, and Chipped Sapphire. Once I had the color where I wanted it, I used a spray bottle to add some water droplets, and gathered up a plastic shopping bag - that I then sprayed with water - to create ripples in the water surface.
I added the negative of the mask onto the project, before pulling away the mask the covered the bottom of the panel. Then, I blended Antique Linen, Pumice Stone, and Ground Espresso Inks to the area to create the ocean floor. I removed the masking, and blended just a little Black Soot around the side and bottom edges of the image to create a slight vignette. Then I removed the tape keeping the panel on my surface. I trimmed the panel down to a card front size, and then set it aside to work on the images.
I stamped a couple of the fish from the Picket Fence Studios One Year Older Stamp set, in Versamark Ink, and heat set them with Silver Embossing Powder. Then I colored them in using Prismacolor Pencils. I topped the coloring with some shimmer from the Tonic Nuvo Shimmer Pen, and let that dry, before die-cutting the images with the coordinating die set.
I used my MISTI to stamp the sentiment, from the One Year Older Stamp set, in Blue Lagoon Ink. Stamping over the Distress Oxide inks did mean that I needed to stamp twice to get the ink to the saturation the I liked. I figured out the placement of my fish, and then stamped the bubbles from the stamp set so that they would be above the fish. The bubbles were again, stamped twice, using Whip Cream Ink. Then I adhered the fish down with liquid glue.
I popped the whole card front up on foam squares, and attached that to a top folding white card base. Then I trimmed off the portion of the fishes tails that hung over the card base.
If you try this, be sure to share it with me - either in a comment below, or tag me on Instagram @muchlovesara
Thanks for stopping by!

Use this easy list to find the products I used in my projects. (Contains affiliate links - where I earn a commission from purchases made from my links, at no cost to you. Your support helps me keep this blog going, and continue to create - Thank you! Affiliates and disclosures can be found here.) Please note, when possible, I try to offer multiple sources for the items I use. Products with two or more logos - underneath, or on the side, give you options of where to purchase, in case the item has sold out at one shop. To visit the first store, click on the photo of the item. To visit the second (or greater) source, click the logo for the second shop - you will still be taken directly to the product.

**If a particular item I used was out of stock when I was preparing my post, or the item I used was discontinued, I have provided a link to a similar item - that is available - when a substitution would not affect the card design.


Sara, this technique made me want to dust off my oxides and get inky! Thank you!!
ReplyDelete