Showing posts with label Gina K Designs. Show all posts

Thursday, August 20, 2020

Just A Note | Crafty Friends Blog Hop ft Gina K Designs

Hello!

It's that time of the month again!  Time for another Crafty Friends Blog Hop.  If you have not joined us for one of our hops before, the Crafty Friends Blog Hop is a group of friends who have all shared some common crafty beginnings, and we hop each month with a spotlight on a company we love. 


This month we have chosen to spotlight Gina K Designs.  Gina has kindly shared a coupon code with our hoppers, good for 20% off orders placed today and tomorrow - use the code CRAFTYFRIENDS20 to get the discount.  

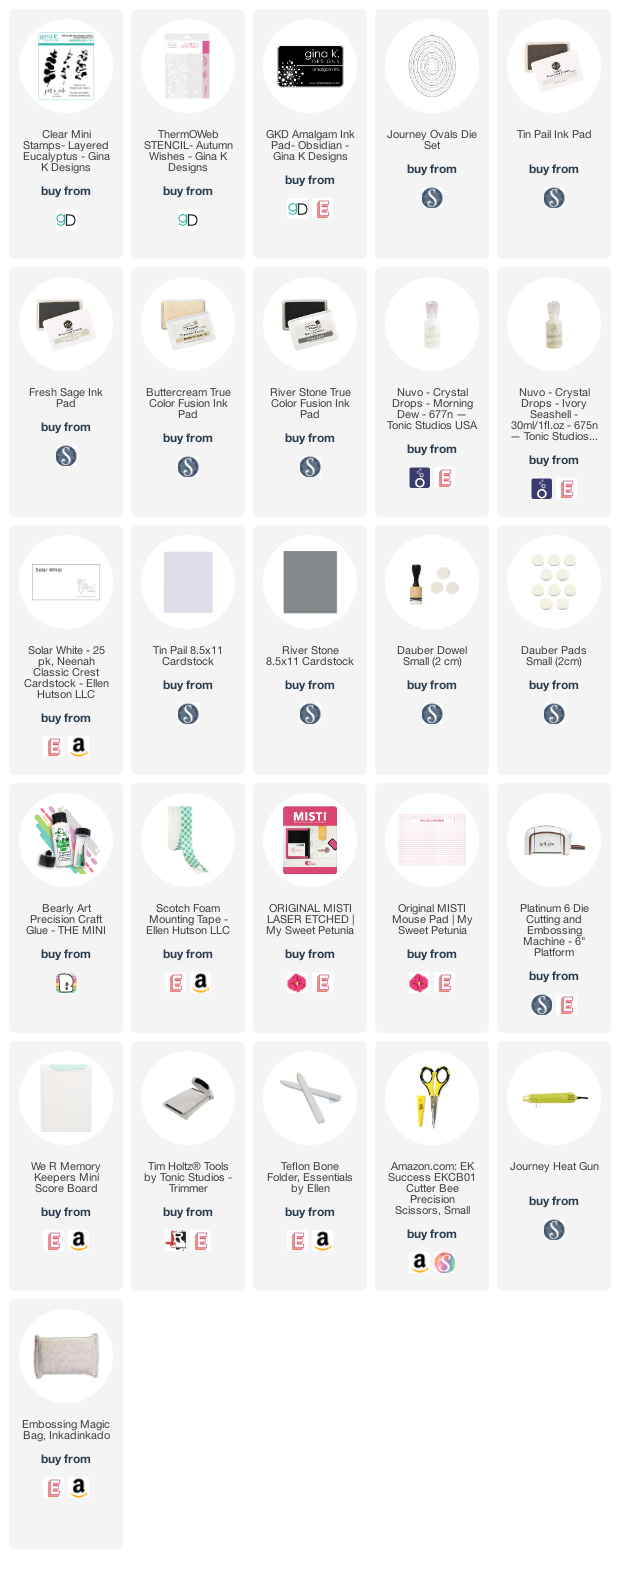
For today's card, I chose to use the Layered Eucalyptus Stamp Set, and the Autumn Wishes Stencil.  I started with placing the stencil on a light gray card stock, and daubing the coordinating gray ink onto it.  Then, I moved the stencil to the other side of the card stock, and daubed ink through again.  I matted this panel with River Stone card stock, and moved onto my images. 


I moved onto the stamps set - and I hate to even tell you how many times I stamped the Eucalyptus stems, trying to find the PERFECT combination of colors that I wanted. Eventually I settled on stamping the solid leaves image in Fresh Sage, and then in Tin Pail.  I moved to the stem stamp, and used River Stone to stamp that.  The stamp that adds some detail to the leaves was stamped with Butter Cream.  Finally, I stamped the solid leaves stamp, one more time, in Tin Pail.  I repeated this onto another piece of white card stock.  Then I fussy cut one of the stems, and die cut the other with an oval die.  I also die cut a second oval from River Stone card stock. 


I stamped the sentiments from the Layered Eucalyptus Stamp Set onto the stamped oval, using Gina K Amalgam Ink.  Then I layered up my piece using liquid adhesive and foam tape.  A few drops of Nuvo Ivory Seashell, and Morning Dew drops finished off the card.  

While you are hopping along with us, don't forget to hop over to Gina K Designs (link will open in a new tab) and use the code CRAFTYFRIENDS20 to get the discount on your purchase - but it's only good for today and tomorrow, so hurry!  

From here, the next stop in today's hop, is Lydia at Understand Blue.  

For your convenience, here is a list of all of the stops today, just in case you get turned around.  

Jenny Hall
Tanya Boser
Illina Crouse
Maria Willis
Becky Roberts
Sandi MacIver
Sue Plote
Sara Sherlock (You are here)
Lydia Fiedler
Jill Hilliard


Thanks for stopping by!


Supplies Used:

Use this easy list to find the products I used in my projects. (Contains affiliate links - where I earn a commission from purchases made from my links, at no cost to you. Your support helps me keep this blog going, and continue to create - Thank you! Affiliates and disclosures can be found here.)

Please note, when possible, I try to offer multiple sources for the items I use.

Thursday, February 20, 2020

Glitzy Anniversary | Crafty Friends Blog Hop ft Gina K Designs

Hello!

It's that time of the month again!  Time for another Crafty Friends Blog Hop.  If you have not joined us for one of our hops before, the Crafty Friends Blog Hop is a group of friends who have all shared some common crafty beginnings, and we hop each month with a spotlight on a company we love. 


This month we are featuring Gina K Designs!  As with other months, Gina K has provided our readers with a special coupon code, good for the next few days.  Use the code CRAFTYFRIENDS20 for a 20% discount.  (Pssst - Check out the "What's new" category for some really fun stuff.  Glow in the dark Crystalline drops?!  Flocked Foil?!) Thanks so much to Gina K!


Handmade card, stenciling, glitter, glitz gel, inking, distress oxide ink, anniversary card, elegant card, diy anniversary

For the card today, I started with a piece of Tin Pail card stock.  I added the Autumn Wishes stencil on top - taping it down, and covering the floral pieces, so I did not ink those portions.  I inked up the stencil with Weathered Wood Distress Oxide Ink, and then pulled up the stencil and cleaned the ink off of the stencil with a wipe.  I laid the stencil back over my card front, but slightly higher and to the left, then added white Glitz Glitter Gel through the stencil.  Then I pulled up the stencil and cleaned it thoroughly.

Handmade card, stenciling, glitter, glitz gel, inking, distress oxide ink, anniversary card, elegant card, diy anniversary

While the stenciled panel dried, I inked a couple of strips of Tin Pail card stock with the Weathered Wood ink, to create the matting strips on the top and bottom.  I adhered those to the card front, and then heat embossed the Happy Anniversary sentiment from the Scripty Sayings 2 Stamp Set(P.S. There are a whole bunch of these Scripty Style Stamp Sets, and they are gorgeous!)  I embossed the sentiment in silver, and then wrapped it around the stenciled panel and adhered the excess vellum to the back of the card front.  I attached the card front to a white card base, and added a few pearls for decoration.  

Handmade card, stenciling, glitter, glitz gel, inking, distress oxide ink, anniversary card, elegant card, diy anniversary

I really like how this sparkly card turned out.  This was my first time playing with Glitz Glitter Gel, and it is gorgeous.  I may have just developed a need for every color...

The next stop on the hop is Lydia, over at Understand Blue

For your convenience, here is a list of all of the stops today, just in case you get turned around.  


Sara Sherlock


Thanks for stopping by!

Supplies Used**:
Use this easy list to find the products I used in my projects. (Contains affiliate links - where I earn a commission from purchases made from my links, at no cost to you. Your support helps me keep this blog going, and continue to create - Thank you! Affiliates and disclosures can be found here.) Please note, when possible, I try to offer multiple sources for the items I use. Products with two or more logos - underneath, or on the side, give you options of where to purchase, in case the item has sold out at one shop. To visit the first store, click on the photo of the item. To visit the second (or greater) source, click the logo for the second shop - you will still be taken directly to the product. 
**If a particular item I used was out of stock when I was preparing my post, or the item I used was discontinued, I have provided a link to a similar item - that is available - when a substitution would not affect the card design.

Friday, July 26, 2019

Stenciled Sweetness

Hello!

I have a fun card to share with you today.  I love the look of a beautiful stenciled design.  I had this Gina K Designs Water Droplets Stencil on my desk, and have been debating what I wanted to do with it first.  I chose to do some ink blending, using three different colors of Distress Oxide ink.

This pretty colorful design was created by ink blending through a Gina K Designs stencil.  For the full details, visit the blog post for this card.

I taped the card front to my work surface, and then adhered the stencil on top of that.  I started with the Scattered Straw ink on my blending brush, and blended that up from the bottom corner, then I added the Shaded Lilac, before finally adding the Worn Lipstick.  With the stencil still taped down, I used a mister to drop some water onto the inked background.  You can get larger droplets by spraying your hand, and letting the water drip off.  I let that dry, then removed the stencil, and flicked the Nuvo shimmer pen over the surface for some sparkly droplets - if you squeeze the pen over a scrap of paper, to get the brush tip full, then you get a pretty splatter.  Once that was dry, I trimmed down the stenciled panel.  

This pretty colorful design was created by ink blending through a Gina K Designs stencil.  For the full details, visit the blog post for this card.

I stamped and heat embossed my sentiment - from theGina K Designs Make A Wish stamp set - on to vellum. Then, I die cut the circle and stitching.  I attached the vellum circle slightly off the edge, and trimmed the excess.  Then I adhered the card front panel to my card base with foam squares.  A few scattered white nuvo drops finished off the card.

I love the saturation from the Distress Ink blending.  This card is so colorful and fun.  I hope you give it a try.

Thanks for stopping by!


Supplies Used:
Use this easy list to find the products I used in my projects. (Contains affiliate links - where I earn a commission from purchases made from my links, at no cost to you. Your support helps me keep this blog going, and continue to create - Thank you! Affiliates and disclosures can be found here.) 

Friday, June 14, 2019

Mint & Navy Wish

Hello!

Inspiration is a fickle thing.  When I have no time to create, I have ideas like crazy..  But yet, when I actually have time to sit to create - I draw a complete blank.  Thankfully, looming deadlines can make me snap out of it.  One of my grandson's has a birthday this weekend, and I had to get a card made, and quickly in order to get it in the mail in time!   Gina K's Make a Wish Stamp Set to the rescue.  

Sweet, and easy, birthday card created using the Gina K Designs Make a Wish stamp set.

I started by stamping my center cupcake and sentiment, then stamped the background with mint colored cupcakes, and layered navy cupcakes on top of that.  I used some Lawn Fawn inks, from a new-to-me set, for the colored inks.  (I've included the set, as well as the larger individual pads in the supply list, because I know some prefer the larger pads.)  I layered my background onto a piece of Cool Pool cardstock, and then onto a Denim Days card front.

Sweet, and easy, birthday card created using the Gina K Designs Make a Wish stamp set.

On a separate scrap of paper, I stamped the cupcake I was going to color with black amalgam ink.  I colored in the cupcake with my copic markers, and then fussy cut the image.  I attached that to my card with foam squares.  I used Nuvo drops to create sprinkles on my cupcakes, as well as adding a few to the card front. 

Copic Colors Used:
B23, B39, E33, E37, E29, 0
Sweet, and easy, birthday card created using the Gina K Designs Make a Wish stamp set.

This quick, and fun, card managed to get to the post office, just in the nick of time!

Thanks for stopping by!

Supplies Used:
Use this easy list to find the products I used in my projects. (Contains affiliate links - where I earn a commission from purchases made from my links, at no cost to you. Your support helps me keep this blog going, and continue to create - Thank you! Affiliates and disclosures can be found here.)