
Hello!
It's that time of the month again! Time for another Crafty Friends Blog Hop. If you have not joined us for one of our hops before, the Crafty Friends Blog Hop is a group of friends who have all shared some common crafty beginnings, and we hop each month with a spotlight on a company we love.

This month we are featuring Gina K Designs! As with other months, Gina K has provided our readers with a special coupon code, good for the next few days. Use the code CRAFTYFRIENDS20 for a 20% discount. (Pssst - Check out the "What's new" category for some really fun stuff. Glow in the dark Crystalline drops?! Flocked Foil?!) Thanks so much to Gina K!


For the card today, I started with a piece of Tin Pail card stock. I added the Autumn Wishes stencil on top - taping it down, and covering the floral pieces, so I did not ink those portions. I inked up the stencil with Weathered Wood Distress Oxide Ink, and then pulled up the stencil and cleaned the ink off of the stencil with a wipe. I laid the stencil back over my card front, but slightly higher and to the left, then added white Glitz Glitter Gel through the stencil. Then I pulled up the stencil and cleaned it thoroughly.

While the stenciled panel dried, I inked a couple of strips of Tin Pail card stock with the Weathered Wood ink, to create the matting strips on the top and bottom. I adhered those to the card front, and then heat embossed the Happy Anniversary sentiment from the Scripty Sayings 2 Stamp Set. (P.S. There are a whole bunch of these Scripty Style Stamp Sets, and they are gorgeous!) I embossed the sentiment in silver, and then wrapped it around the stenciled panel and adhered the excess vellum to the back of the card front. I attached the card front to a white card base, and added a few pearls for decoration.

I really like how this sparkly card turned out. This was my first time playing with Glitz Glitter Gel, and it is gorgeous. I may have just developed a need for every color...
The next stop on the hop is Lydia, over at Understand Blue.
For your convenience, here is a list of all of the stops today, just in case you get turned around.
Sara Sherlock

Thanks for stopping by!

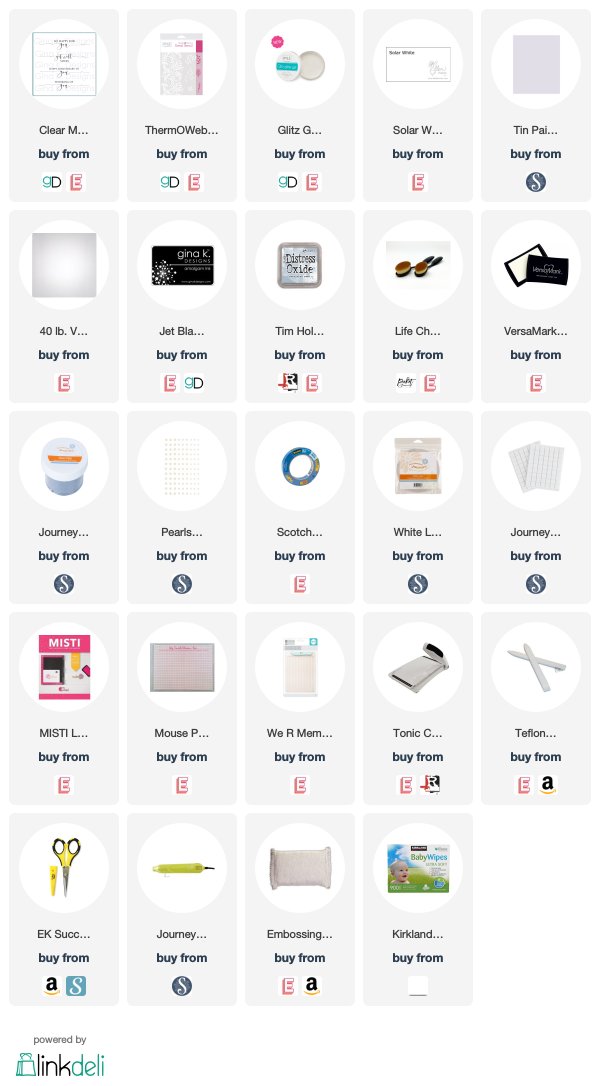
Use this easy list to find the products I used in my projects. (Contains affiliate links - where I earn a commission from purchases made from my links, at no cost to you. Your support helps me keep this blog going, and continue to create - Thank you! Affiliates and disclosures can be found here.) Please note, when possible, I try to offer multiple sources for the items I use. Products with two or more logos - underneath, or on the side, give you options of where to purchase, in case the item has sold out at one shop. To visit the first store, click on the photo of the item. To visit the second (or greater) source, click the logo for the second shop - you will still be taken directly to the product.
oh how lovely, love all your layers and that stencil is absolutely fabulous
ReplyDeleteWhat an elegant and striking card this is! Just beautiful!
ReplyDeleteSo soft and beautiful with lots of texture = LOVE!
ReplyDeleteSo elegant, Sara!! I love the blending with the glittery paste.
ReplyDelete