
Hello!
It's the 14th of the month, which means that there is a new release from Picket Fence Studios. If you've been putting off making your Christmas cards - you're in luck! This month is full of fun wintery sets, along with some Christmas. These sets are always perfect to not only use on Christmas cards, but also on thank you cards following the holiday. My new favorite stamp is out this month, in the beautiful script of Hark, the Angels Sing. And there are several new dies that are AMAZING when you layer varying colors and patterns. As always, I have the entire release listed below, so that you can peek at all the new offerings, and then I have a couple of cards to share with you showcasing some of the new products.
The October 2022 Release:
If the list below does not load for you, you can click here to view it in another window.
Specific products used in the cards below will be listed separately at the bottom of the post.

Card #1: Holly Jolly Gnome
There was zero chance that I was going to let this month pass without coloring up the adorable Jolly Christmas Gnome image. I mean - just look at that cute face!

I stamped him in fadeout ink, onto paper made for pencils. Then I colored him in with my Polychromos pencils. While I had the stamp set out, I also stamped and white heat embossed the sentiment. I then die cut both pieces with the coordinating dies.


I stamped him in fadeout ink, onto paper made for pencils. Then I colored him in with my Polychromos pencils. While I had the stamp set out, I also stamped and white heat embossed the sentiment. I then die cut both pieces with the coordinating dies.

I die cut some scenery from the A2 Evergreens on a Hill Die. This die is open on the bottom so that you can set your hill as high, or low, on your card as you choose. I used my Polychromos pencils again, to add detail to the trees. Then I inked the snowy hill with my Life Changing Blender Brushes, and Tumbled Glass and Shaded Lilac Distress Oxide Inks. Finally, I sponged a little Paper Glitz: Sparkle onto the snow to give a little shimmer.

Using my brushes, I blended another panel with Speckled Egg and Unchartered Mariner Distress Oxide Inks for a beautiful wintery sky. I added some foam tape (die cut with the coordinating die to match exactly!) to the back of my gnome, and adhered the pieces together. The card front was added to a white card base.
Card #2: Merry & Bright Falling Snow
I love snowflakes - not so much the snow on the ground - but I love big fat snowflakes drifting down from the sky. They are so pretty! So it's no surprise that I love the new Falling Snowflakes Stencil.

For this card, I spritzed the back of the stencil with some repositionable adhesive spray - this is really important with a stencil like this so that the delicate little arms of the snowflakes stay in place. You get a cleaner look to the finished inking, but it also protects the stencil from being damaged. I used my Life Changing Blender Brushes and Speckled Egg, Evergreen Bough, and Uncharted Mariner Distress Oxide Inks to blend the background - fading from almost nothing to the darkest color.

From the Welcome Winter Wreath Stamp Set, I stamped one of the cardinal images, and one of the holly berry images in Black Hybrid Ink. I colored in the images with Polychromos pencils. I stamped and white heat embossed the sentiment. Then I die cut each of these pieces with the coordinating dies. I die cut an additional two of the sentiment die cut, and stacked them together to give it a little added thickness.

I adhered all of the pieces together and then added the card front to a white card base. As a final touch, I added tiny highlights to the cardinal's eye, and the berries with a white gel pen.
That's it from me today!
Be sure to check out the entire release, either above, or on the Picket Fence Studios website. There will be bundles listed in the shop, where you can save a bit by purchasing some products together. Or, you can purchase the entire release!
Thanks for stopping by!

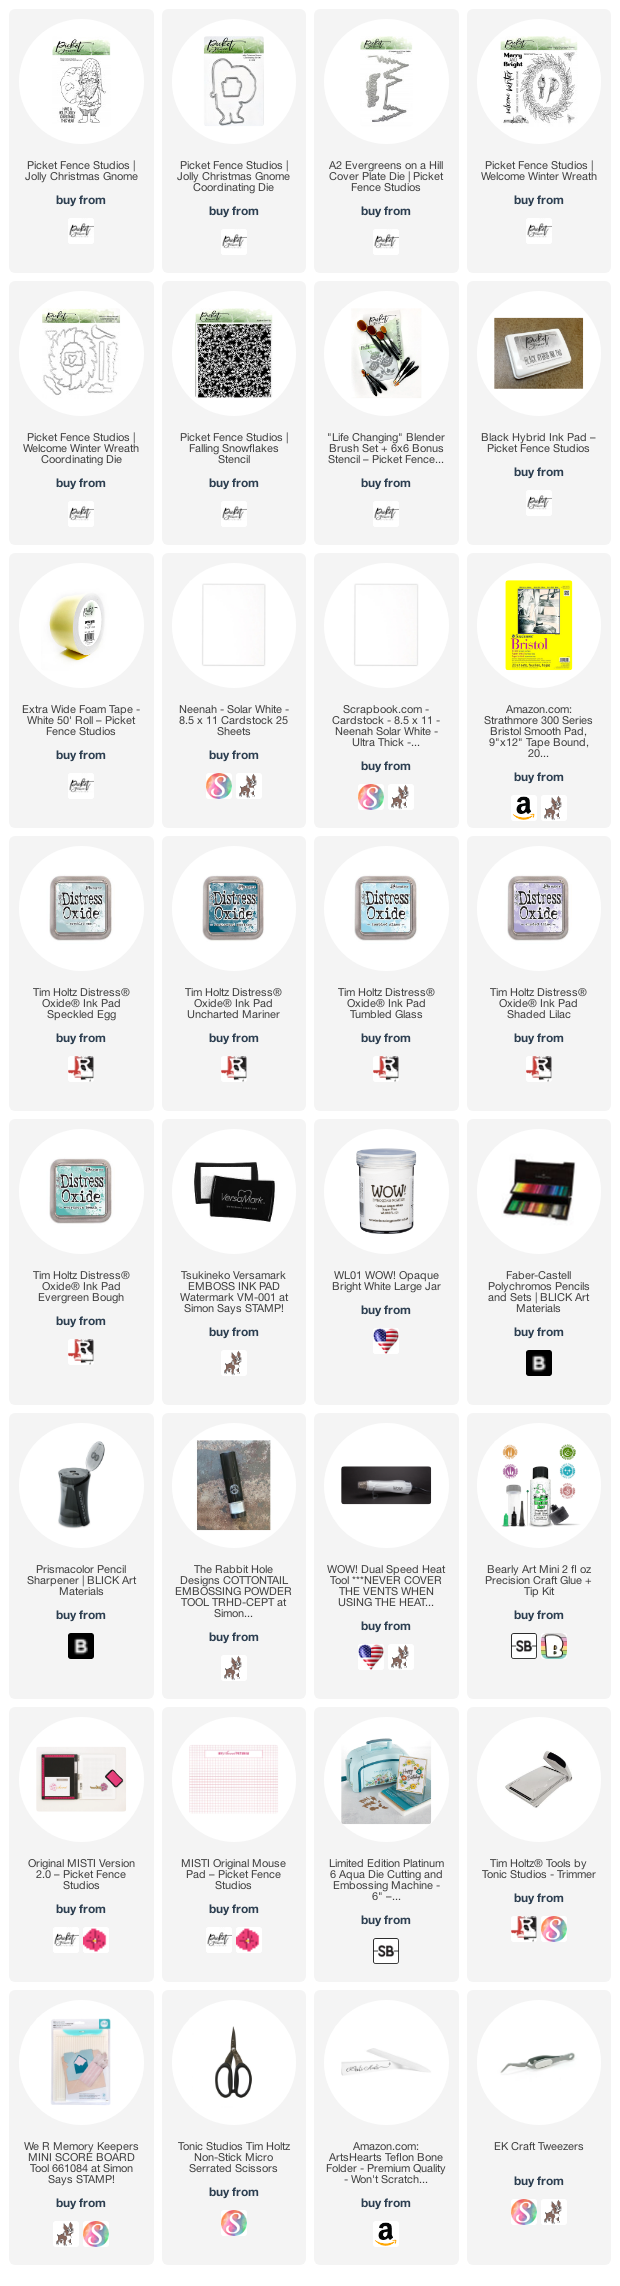
Supplies Used:
Use this easy list to find the products I used in my projects. (Contains affiliate links - where I earn a commission from purchases made from my links, at no cost to you. Your support helps me keep this blog going, and continue to create - Thank you! Affiliates and disclosures can be found here.) Please note, when possible, I try to offer multiple sources for the items I use.
If the supply list below is not visible in your browser, please click here to view it.
If the supply list below is not visible in your browser, please click here to view it.
No comments:
Post a Comment
I love comments! If you have any feedback or questions, please feel free to leave them here!