
Hello!
Full September 2022 Release
If for some reason the thumbnails fail to load in your browser, click here
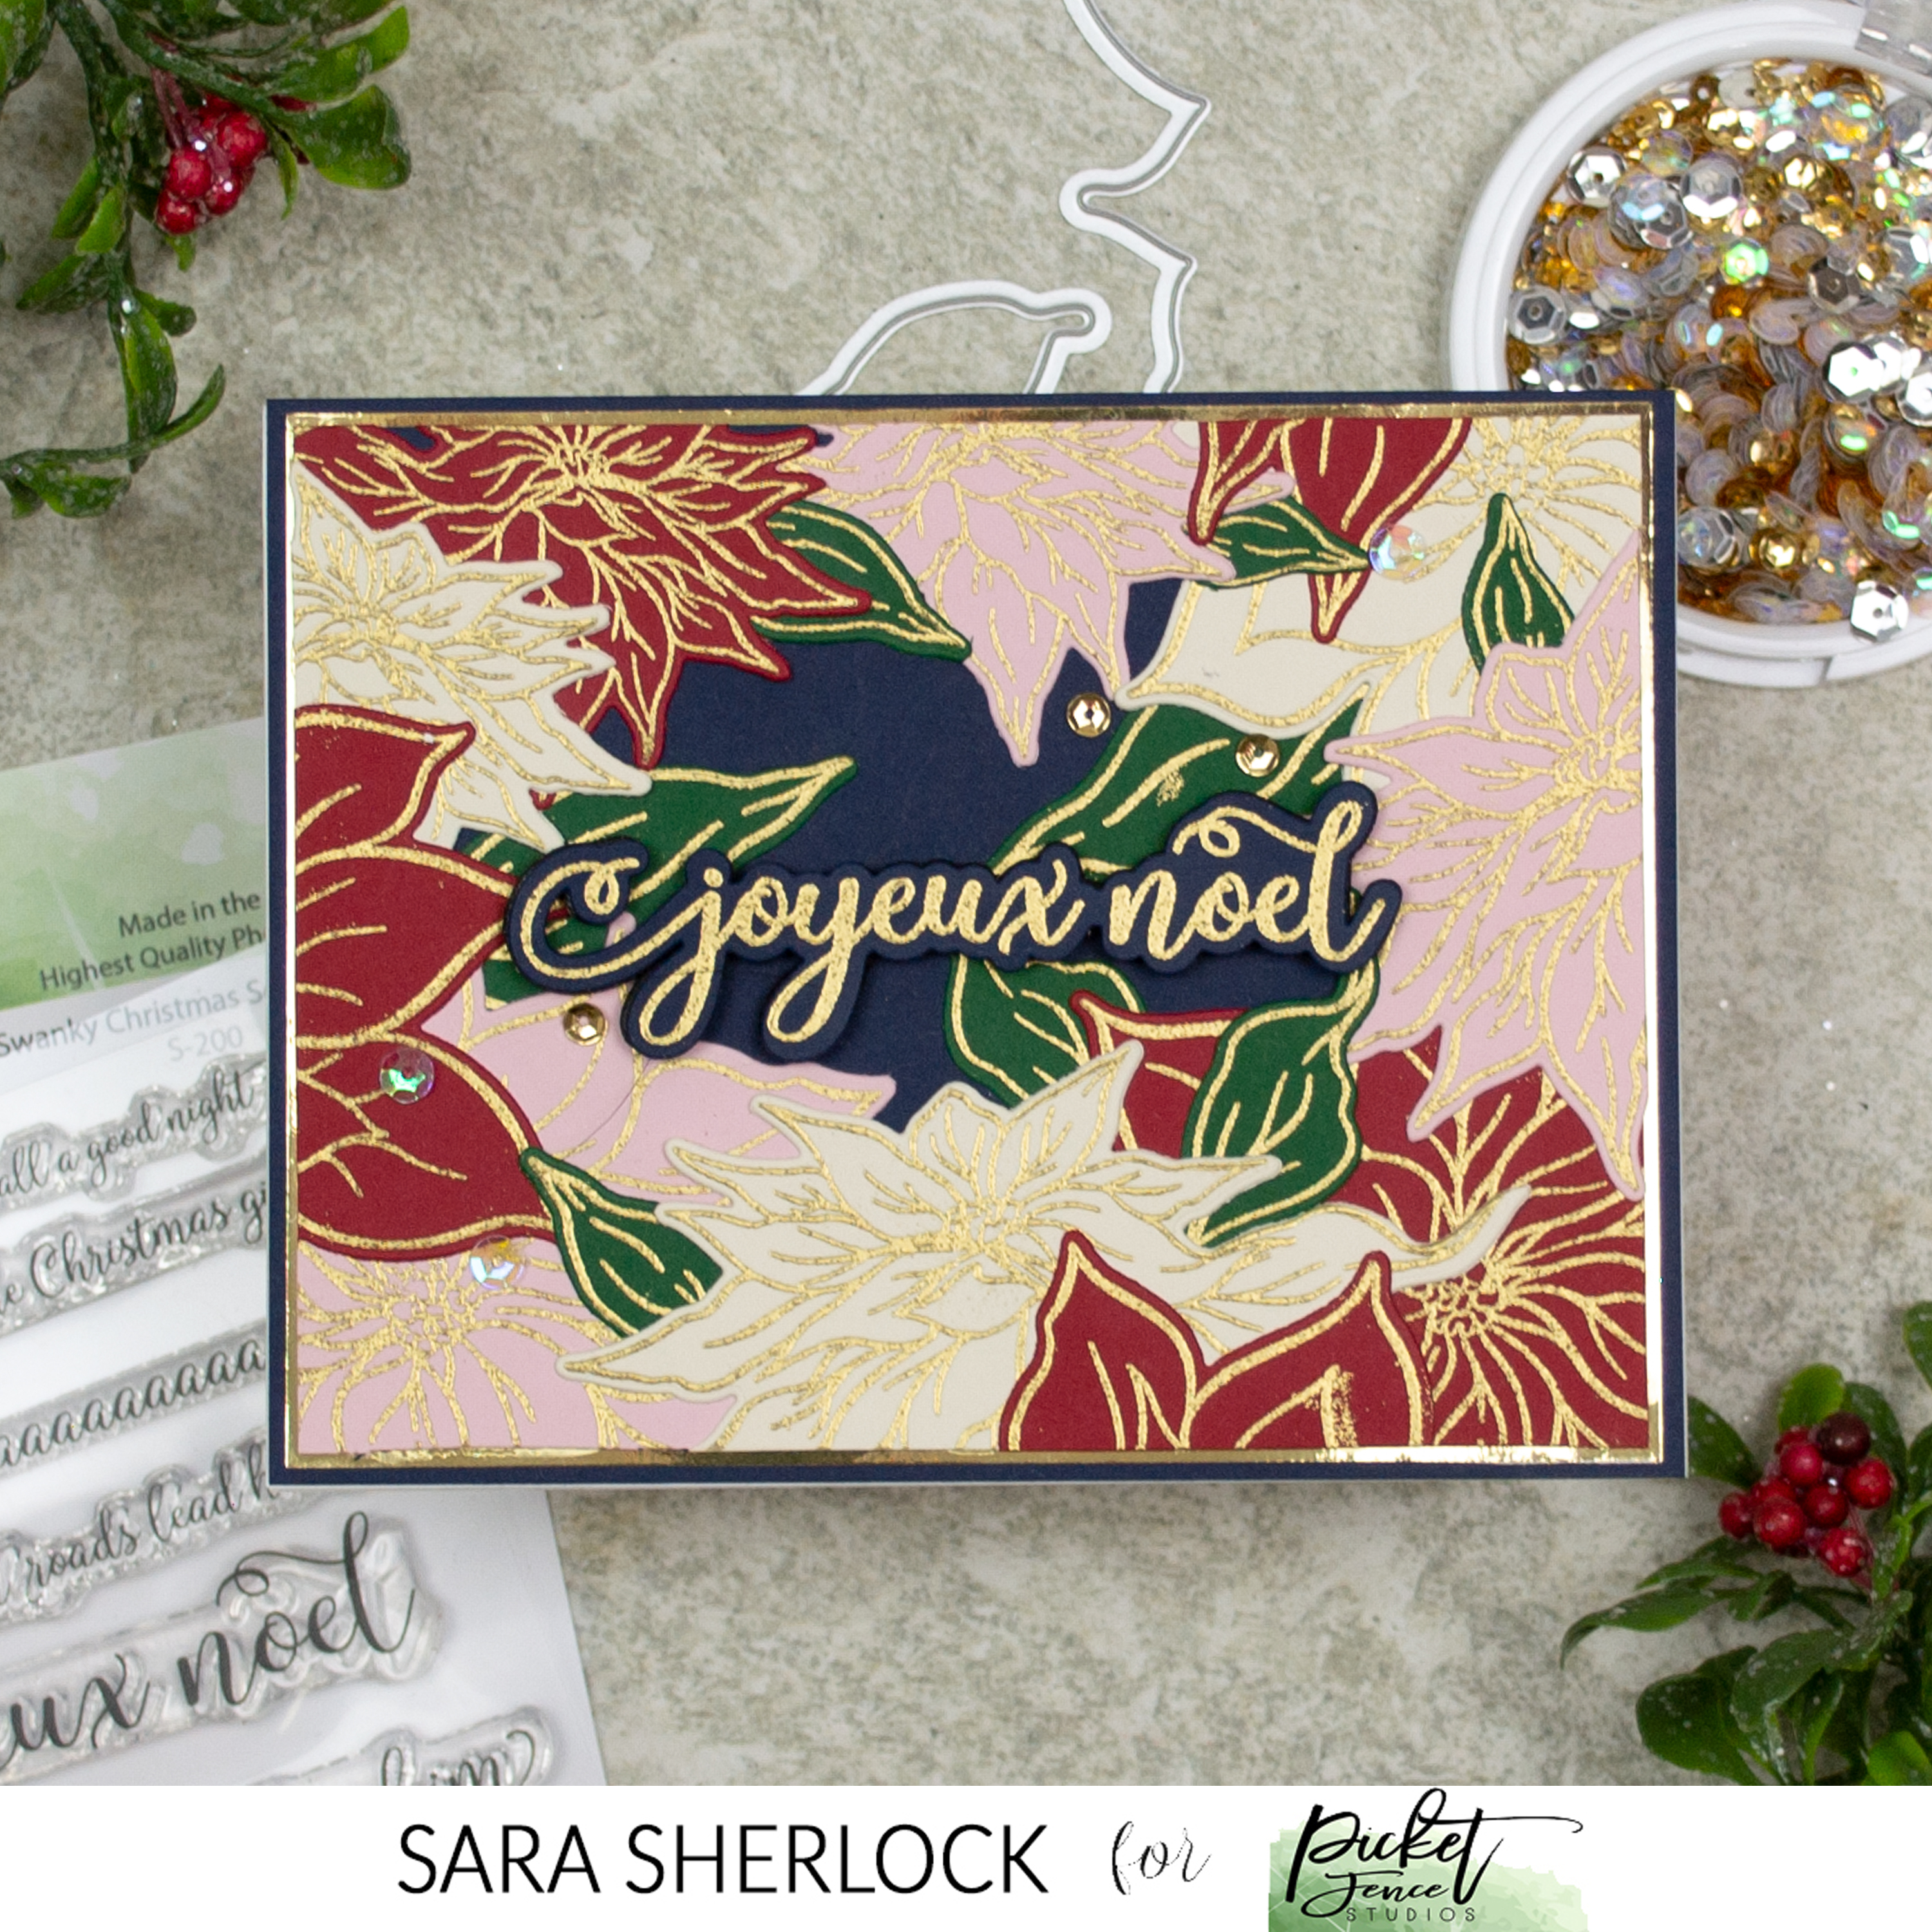
I cut a piece of navy card stock to 4"x5.25", and started layering the floral pieces around the edge. I adhered all the pieces down, tucking leaves in here and there. Once I filled in the framing, I trimmed the excess away from the panel with scissors. I then stamped and heat embossed a sentiment from the Swanky Christmas Sentiments Stamp Set, and die cut it with the Coordinating Die. That was adhered to the center of the panel.

I matted the layered panel onto gold card stock, and then onto another panel of navy, before adhering it to a white card base. A few of the A Classic Christmas Sequins finished the card. The finished card is quite heavy and thick, so if mailed, it would be best mailed in a bubble mailer with additional postage.
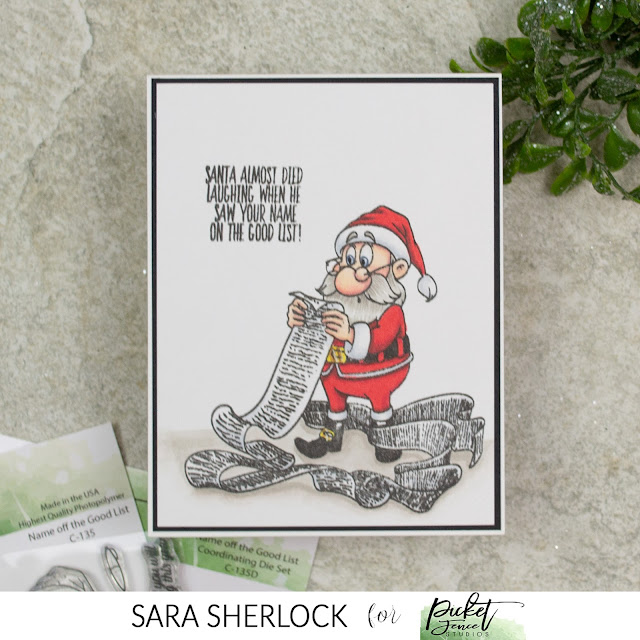
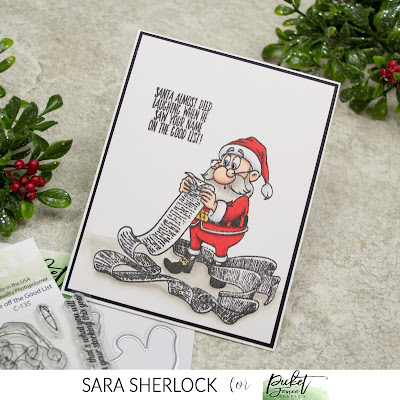
The second card I'm sharing today, is much more simple, and could even be done as a one layer card if you preferred.

Use this easy list to find the products I used in my projects. (Contains affiliate links - where I earn a commission from purchases made from my links, at no cost to you. Your support helps me keep this blog going, and continue to create - Thank you! Affiliates and disclosures can be found here.) Please note, when possible, I try to offer multiple sources for the items I use.
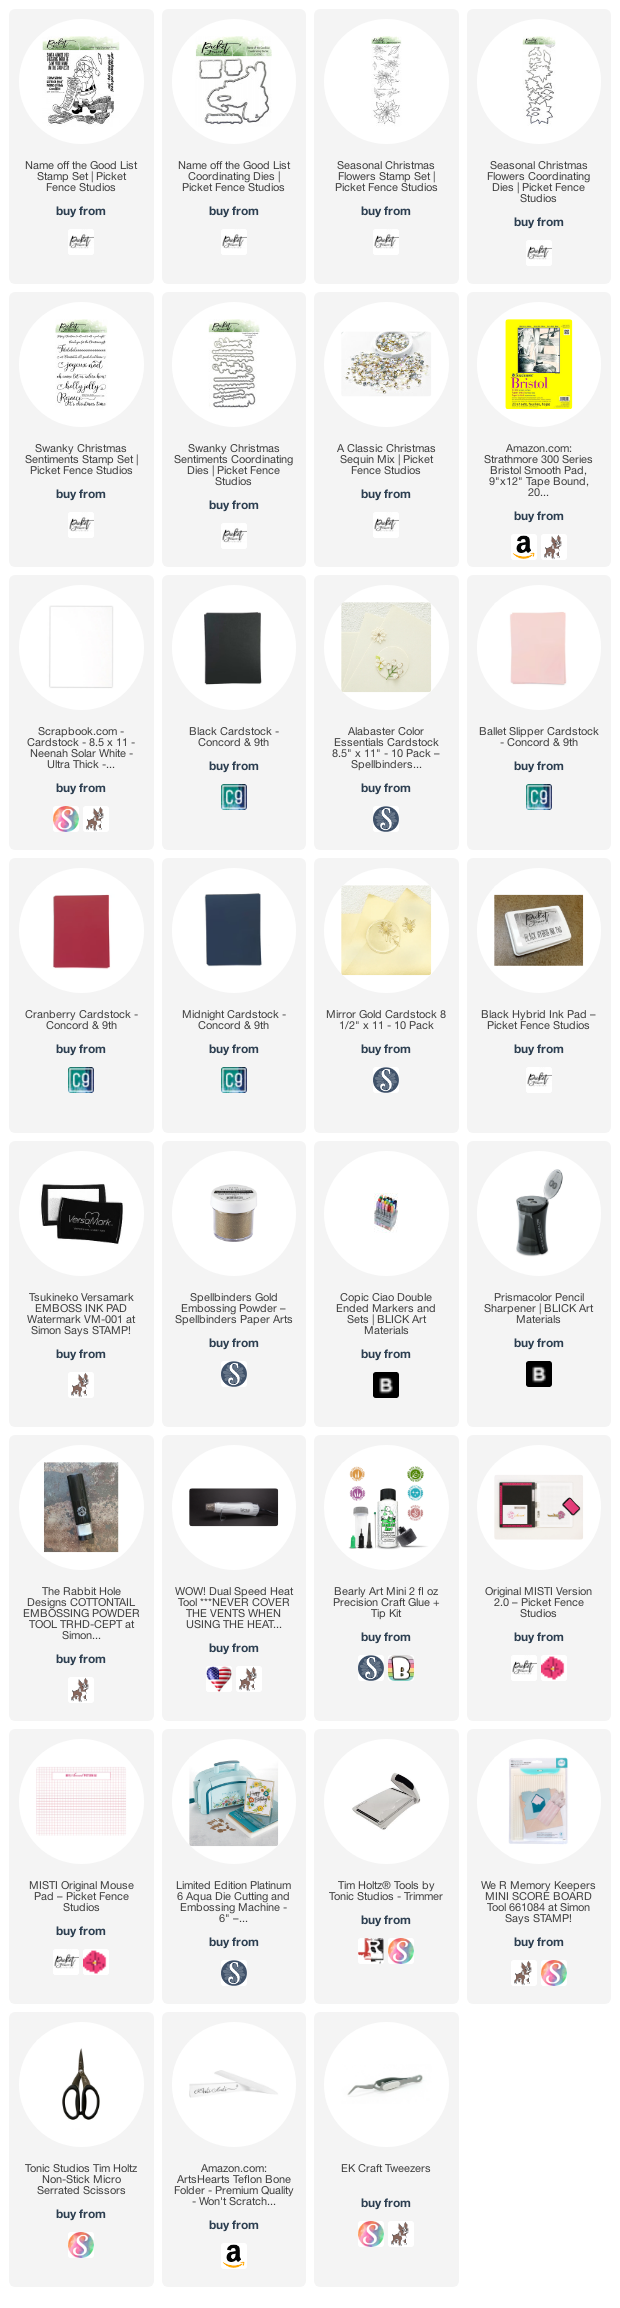
If the supply list below is not visible in your browser, please click here to view it.

I stamped the image from the Name Off the Good List Stamp Set, along with one of the sentiments, onto bristol paper, with the Black Hybrid Ink Pad. This stamp set does come with a Coordinating Die, which I chose not to use, but it is available. I then colored up the image using my Copic Ciao markers.

Once the image was colored, I simply layered the panel onto a piece of black card stock, then onto a white card base. Super simple, and flat - unlike the first card!
I'll let you in on a little secret as well - all of the stamp sets I used today are currently available as part of bundles over on the Picket Fence Studios shop. So be sure to go check out the bundles available with this release.
Thanks for stopping by!
Supplies Used:
Use this easy list to find the products I used in my projects. (Contains affiliate links - where I earn a commission from purchases made from my links, at no cost to you. Your support helps me keep this blog going, and continue to create - Thank you! Affiliates and disclosures can be found here.) Please note, when possible, I try to offer multiple sources for the items I use.
If the supply list below is not visible in your browser, please click here to view it.
No comments:
Post a Comment
I love comments! If you have any feedback or questions, please feel free to leave them here!