


To begin, I stamped the images onto a card front piece of white card stock. Then I stamped them again onto some painters tape to create a mask. Using my craft knife, I quickly cut out the images - they don't need to be perfect, we just make sure the lightest areas of the images are covered. I put the masks on the images, and then put a strip of painters tape across the entire card front. Using the Life Changing Blending Brush, and a cloud stencil, I inked clouds into the sky. I used Tumbled Glass for all of the clouds, and added a little Mermaid Lagoon to the cloud lines closest to the "ground". Then I carefully pulled up the tape, and put a fresh strip down, so as not to transfer any ink. I inked Oatmeal Cookie beneath this tape line. Once my inking was done, I stamped my sentiment. I wanted to make sure that it was very dark and crisp, which is why I waited until after inking.

After the background inked, I colored in my images. I used a very light touch with the pencils, adding multiple layers of color. When each layer was complete, I used a little Mona Lisa Odorless Paint Thinner to blend everything together. This keeps the "tooth" of the paper intact, rather than burnishing with the pencil to blend.
Pencil Colors Used:
02, 05, 08, 010, 014, 017, 020, 021, 023, 024, 025, 033, 034, 039, 041, 044, 047
Once the image was colored, I layered my card front onto another piece of white card stock, and then added this to a white card base. I used my Punch Press to "chew" away a portion of the side of the card (this does go through all of the layers of the card). Then, using a small sponge dauber, I inked that portion with Oatmeal Cookie, and Dark Roast inks. A little dab of shimmer, from my Nuvo Shimmer pen, on flame was the final touch.

I love this cute little birthday card, and hope my son-in-law will appreciate it! Don't forget, there's only a couple of days to use the 20% off coupon code at Hero Arts.

Sara Sherlock (You are here!)
Click the image below to head off to see what Lydia has created!


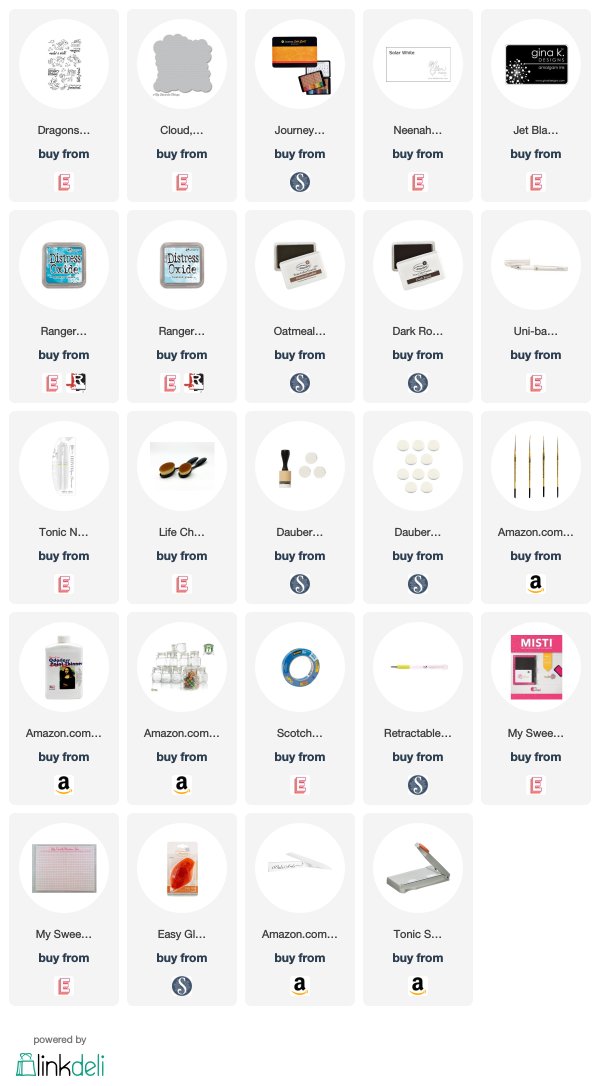
Supplies Used:
Use this easy list to find the products I used in my projects. (Contains affiliate links - where I earn a commission from purchases made from my links, at no cost to you. Your support helps me keep this blog going, and continue to create - Thank you! Affiliates and disclosures can be found here.) Please note, when possible, I try to offer multiple sources for the items I use. Products with two or more logos - underneath, or on the side, give you options of where to purchase, in case the item has sold out at one shop. To visit the first store, click on the photo of the item. To visit the second (or greater) source, click the logo for the second shop - you will still be taken directly to the product.

What a fun and oh so clever card!!!
ReplyDeletehaha, adorable, love the burn spot.
ReplyDeleteOhhh I love this so!!!
ReplyDeleteI didn't see the burn area for a while because your coloring is amazing! Love this project, Sara!
ReplyDeleteThis is just amazing, Sara! The background...the coloring...the burn. Every details is just perfect.
ReplyDelete