
Hello!
As I stated in last Friday's post, I was asked to guest design for Concord & 9th during September - their holiday release month! For the Fridays in September, I'll be showcasing a few items from the release - with directions as to how I made the projects.
 |
| The 2019 Holiday Release |
**Warning: this is a long post with multiple cards and lots of photos. It may take a moment to load completely, if you are on a mobile device. All products used for each card will be listed in the directions, as well as listed and linked at the bottom of the post for your convenience. Affiliate links used - full disclosures can be found here.**
Today's post features cards made with the Merry Shapes Bundle, and the Mistletoe Messages Bundle.
For this first card, I began by stamping the "J", "O", and "Y" letters, from the Merry Shapes Stamp Set, onto a piece of white card stock. I used Candy Apple, Lemon Drop, and Limeade Splash inks, and each letter was double stamped using the MISTI. I left the "J" stamp in place, and on the other end of my MISTI, I stamped the ornament in the Candy Apple Ink, along with one of the starlight candies, and stamped an additional two of the candies with the Limeade Splash ink.

Once all of the ink from the initial stamping was dry (I did use my heat tool to ensure that they would be totally dry), I stamped in Versamark, and heat embossed, the ornament topper and the star shape in the center of the "O". I then put the candy cane stripe stamp onto a clear block. I made sure my "J" stamp was clean, and dry, and I inked up the striped stamp in Versamark, and kissed it to the "J" stamp. This is done by pressing the stamping surface of both stamps together - lining up the curve of the candy cane with the curve of the "J". Then, I pressed the "J" over the top of the previous red stamping. This allowed me to heat emboss white candy cane stripes onto the "J". While I had all of the embossing materials out, I stamped and heat embossed the "Happy Holidays" sentiment onto a strip of Black Licorice card stock.
I used the coordinating dies from the Sew Merry Die Set, to die cut the ornament and candies out. I fussy cut the letters, and angle cut the sentiment banner. On a card front sized piece of card stock, I stamped the string stamp from the Merry Shapes Stamp Set, in the same Limeade Splash, and Lemon Drop colors previously used. I also stamped the solid tree shape in Limeade Splash, and Tin Pail Ink. A generous sprinkling of Sparkle Silk was added, before moving on to assembly.

Using liquid glue, I adhered the ornament and candies directly to the card front. I added the letters with foam squares, and then layered the sentiment banner over them. I matted the card front with white card stock, and then added that to a white card base.
♥ ♥ ♥ ♥ ♥
This second card began by die cutting the tree and tree stitching dies from the Sew Merry Die Set, five times out of the heavy weight card stock provided in the Sew Essentials kit. Now, I'm not a stitcher (anything involving a needle usually results in me stabbing myself), but my mom tried REALLY hard to teach me counted cross stitch when I was young. I hated it, and do not even attempt it anymore, but I did decide when I was looking at these trees that needed stitching that a criss cross stitch would really add to the "Tree" texture, so that's how I stitched them. (Tip: the Die Release Tool is super helpful in getting rid of any card stock left in the stitching holes after they are die cut.) Three trees were done in the darker green in the kit, and two in the softer sage color.

Once I had the trees done, I put a strip of painters tape across a white card front piece of card stock. I blended a bit of Tumbled Glass Distress Oxide Ink to the upper portion of the card front. I sprinkled some Sparkle Silk on this inked area as well, before carefully removing the tape. I lined my trees up where I wanted them, and lightly penciled a mark where the trunks should go. Then, in Dark Roast Ink, I stamped the small rectangle stamp from the Merry Shapes Stamp Set. I used liquid glue to attach the trees to the appropriate places on the card front, and also to adhere a few Gold Friendship Sequins to one of the trees.

On a strip of Fresh Forest card stock, I stamped the sentiment in Versamark Ink, and heat embossed it in gold. I angle cut the end of this strip, and then attached it on top of the trees with liquid glue. I prepped my card base, by adding strips of Whip Cream Sparkle Washi Tape to the edges, then attached my card front with foam squares.
♥ ♥ ♥ ♥ ♥
The third card today, is probably the fastest of the bunch. It's so easy! I began by die cutting the leaves and berries, from the Mistletoe Messages Die Set, out of the red and green foil from the Holiday Foil Paper Pack. I also die cut the bow from white card stock, and die cut the leaves from a card front sized piece of Black Licorice card stock, which we will use the negative in the card today.

I heavily powdered the Black Licorice piece with my Embossing Magic Bag, and stamped the "Noel" from the Mistletoe Messages Stamp Set, with Versamark Ink, and heat embossed it in white. I did the same with the small cluster of stars, however, they were a bit easier to repetitively stamp using a tiny clear block. Once the embossing powder was dry, I brushed the white powder off. Some remained, but I like the chalky effect.

I created a card base from Candy Apple card stock, and adhered my card front directly to the base with liquid glue. I quickly added the green foil leaves in the negative space, which allowed me to shift the card stock perfectly into place. I attached the bow, and red foil berries over the leaves.
♥ ♥ ♥ ♥ ♥
The final card today is probably my favorite of the bunch. I love the softness, with just a little shine added. I began by die cutting two sets of leaves from Fresh Sage card stock, using the Mistletoe Messages dies. I also die cut two sets of the berries from Buttercream card stock, and a bow from the gold foil in the Neutrals Foil Pack.

For stamping on this card, I stamped the sentiment from the the Mistletoe Messages Stamp Set in Versamark, and heat embossed it in gold, onto a piece of Tin Pail card stock. I also stamped the Woven Stripes Background Stamp, onto a card front sized piece of white card stock, using Gina K Black Amalgam Ink. I rotated that, and stamped again to create the plaid.
I attached the leaves, berries, and bow into place on the Tin Pail piece, and trimmed it down slightly, using my paper trimmer. I layered that over the plaid piece, and then matted the card front onto a piece of Black Licorice card stock. The card front was then adhered to a white card base.

Thanks for stopping by!

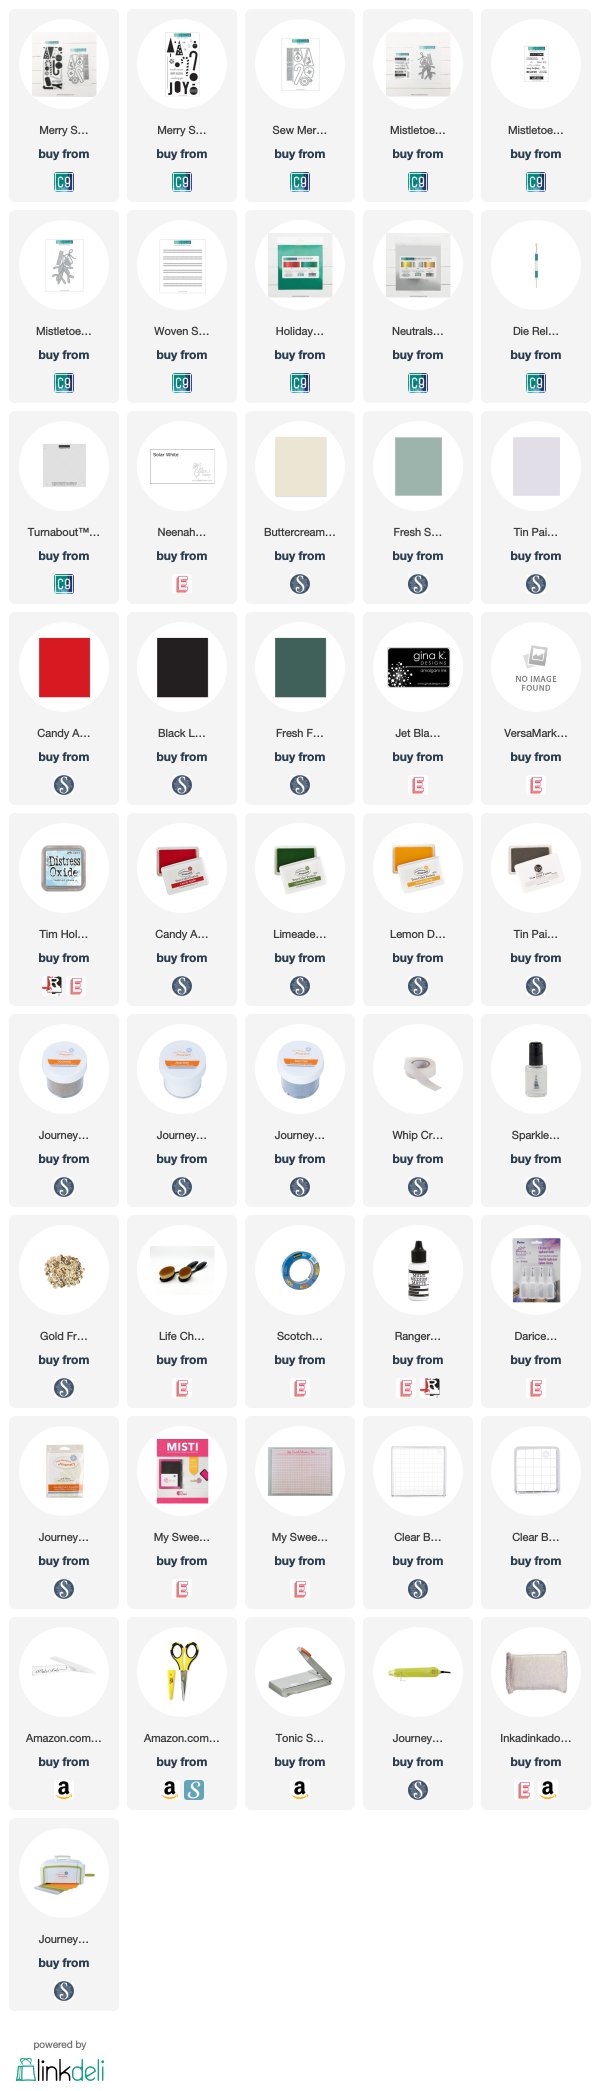
Supplies Used:
Use this easy list to find the products I used in my projects. (Contains affiliate links - where I earn a commission from purchases made from my links, at no cost to you. Your support helps me keep this blog going, and continue to create - Thank you! Affiliates and disclosures can be found here.) Please note, when possible, I try to offer multiple sources for the items I use. Products with two or more logos - underneath, or on the side, give you options of where to purchase, in case the item has sold out at one shop. To visit the first store, click on the photo of the item. To visit the second (or greater) source, click the logo for the second shop - you will still be taken directly to the product.

No comments:
Post a Comment
I love comments! If you have any feedback or questions, please feel free to leave them here!