
Showing posts with label Spellbinders. Show all posts
Showing posts with label Spellbinders. Show all posts
Friday, January 21, 2022
Classically Becca Collection at Spellbinders
Hello!
I have a couple of cards to share with you today, featuring some beautiful dies from the newly released Classically Becca collection at Spellbinders. I love lacey and pretty cards, but the bulky cards become costly to mail. These pretty dies let you create cards that have that lacey feel, without too much bulk.
Today's first card, was created using the A2 Filigree Marquee Etched Dies.
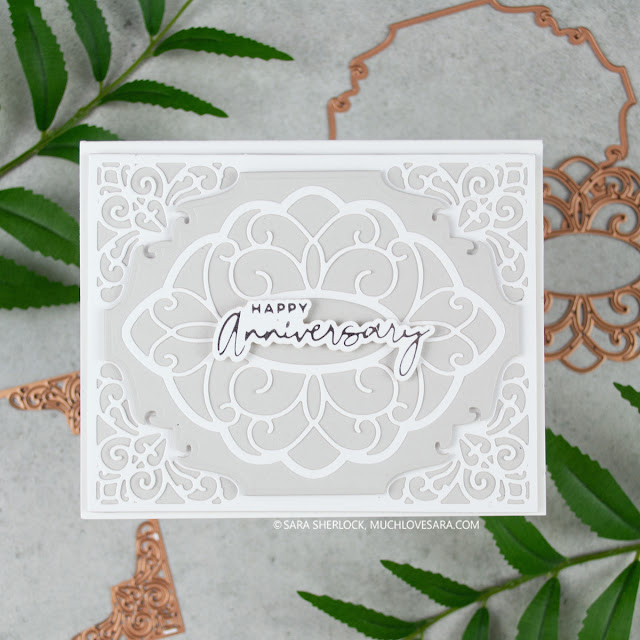
I used Silver Fox Card Stock, combined with my usual white card stock. I layered the die cuts together with liquid glue, and foam. The sentiment was created with my Glimmer Machine (which I finally decided needed to stop intimidating me, and used!) - which I used with Yana's Special Sentiments plates, and silver foil.
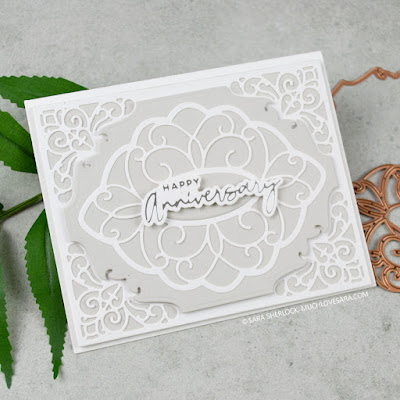
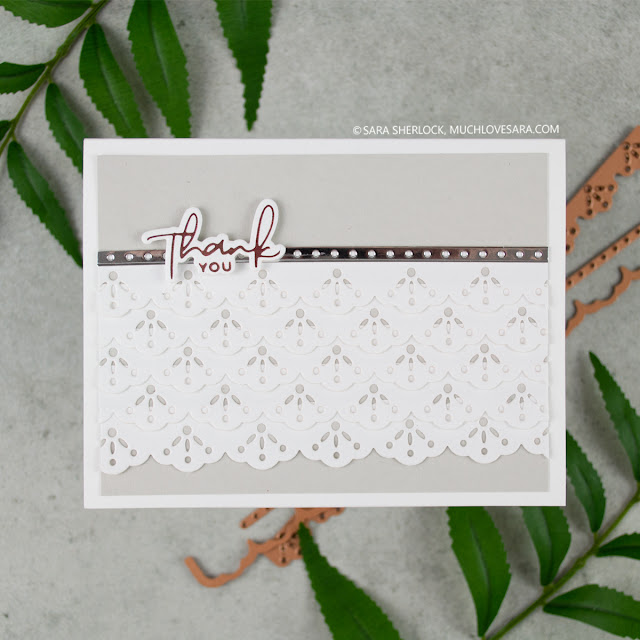
I, again, used the Silver Fox Card Stock, combined with my usual white card stock. The sentiment was created with the Glimmer Machine, Yana's Special Sentiments plates, and pink foil.
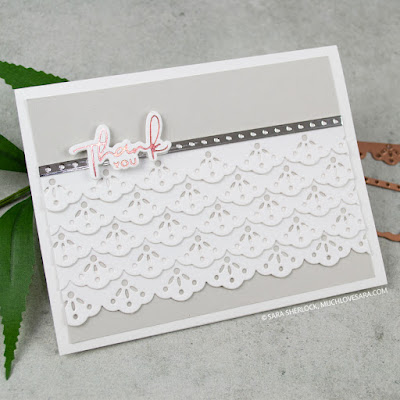
I really enjoyed these dies, and I love how clean the cards look with the simple gray and white color palette. Be sure to check out all of Spellbinders new January 2022 Product Arrivals.
PS: Were you starting to think I forgot? The winner of the stamps from last week's giveaway is Cheryl W! Cheryl, please send me your mailing address so that I can ship your prize to you!
Thanks for stopping by!

PS: Were you starting to think I forgot? The winner of the stamps from last week's giveaway is Cheryl W! Cheryl, please send me your mailing address so that I can ship your prize to you!
Thanks for stopping by!
Supplies specific to this card, are listed, and linked, in the blog post.
To see the basic tools that I use on nearly every card, please click here.



Friday, August 20, 2021
Add to Cart Collection by Becky Roberts
Hello!
I'm so excited to share this post with you. My dear friend, Becky Roberts, has been at it again. This time, she has created the most adorable dies and stamp collection - Add to Cart - with Spellbinders.
Even though I'm currently away from my craft room and only have a minimum of supplies, I just had to play with these products. So I created three little Gift Card Sleeves, and adorned them with the new dies.

The first gift card envelope, features the 3D Shopping Cart Dies, along with the Shopping Cart Holiday & Presents Dies . I added a little detail to the tree with some Prismacolor Pencils, as well as adding some sparkle to the vellum ribbons with a Nuvo Shimmer Pen.

This second gift card sleeve, also features the 3D Shopping Cart Dies, along with the Shopping Bag Etched Dies. I added some detail to the pink bag, with my Mini Score Board, and added some strips of white paper to the blue bag.

For the final gift card envelope, I used the Shopping Card Party On! Etched Dies. I added some color to the "bubbly" in the champagne flutes, with a colored pencil, and added the sparkle to the background with embossing powder.

Thanks for stopping by!

Monday, August 9, 2021
Chill Bear, Warm Wishes | Spellbinders Be Merry Collection
Hello!


Thanks for stopping by!
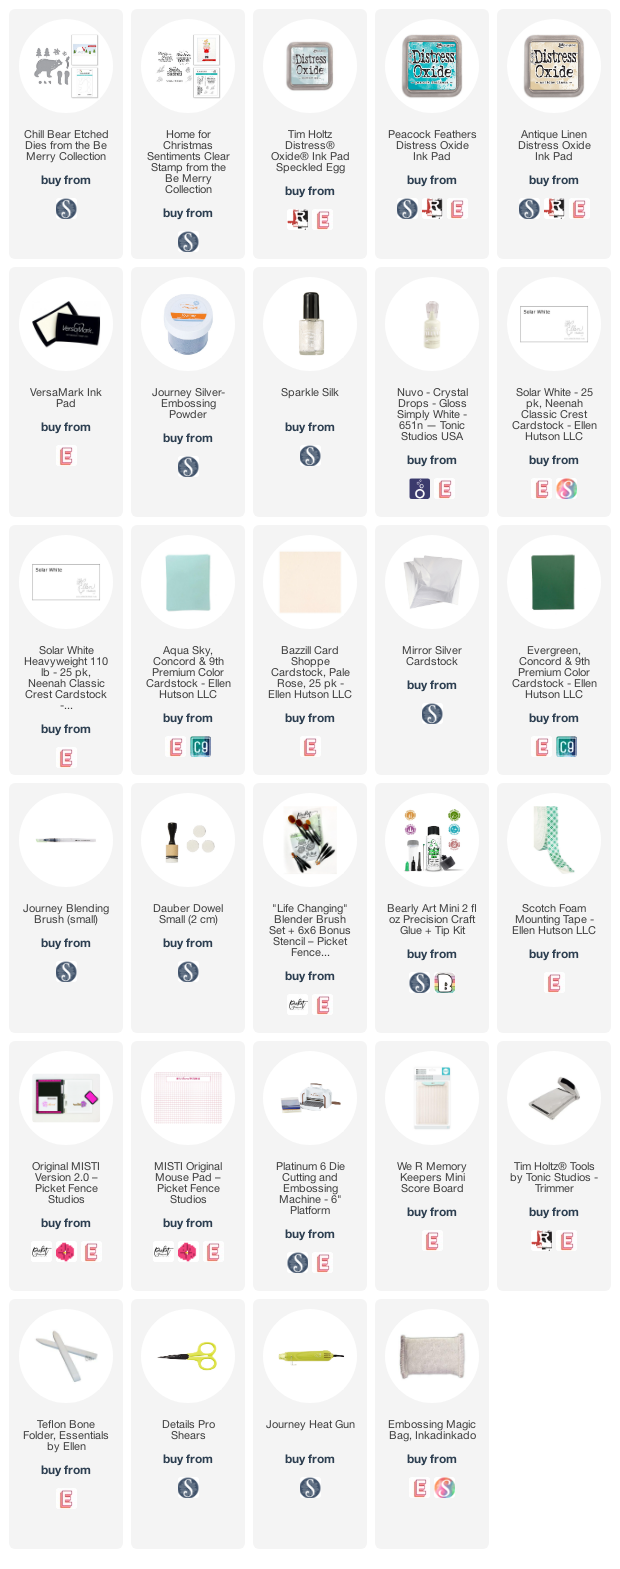
Use this easy list to find the products I used in my projects. (Contains affiliate links - where I earn a commission from purchases made from my links, at no cost to you. Your support helps me keep this blog going, and continue to create - Thank you! Affiliates and disclosures can be found here.) Please note, when possible, I try to offer multiple sources for the items I use.
If the supply list below is not visible in your browser, please click here to view it.
Get a little update on what's been going on in my life here.
Today, I have a sweet Winter themed card to share with you - hopefully to add a little "chill" to your hot August day. This card was created using the Chill Bear Etched Dies from the Be Merry Collection at Spellbinders, along with the Home for Christmas Sentiments Clear Stamp from the Be Merry Collection.

I die cut the bear elements, and inked the edges with a foam dauber, then I used a small blending brush to pull the ink into shadowed areas. I used a black pen to draw in the eye, and then a white gel pen to add a little highlight.
I stamped and silver heat embossed the sentiment, then die cut a few snowflakes and a bunch of trees. For the card background, I inked the sky, and then freehand cut the slopes for the hills. I edged each hill with a little sparkle - made by thinning Sparkle Silk with a little water, and also edged the tree die cuts from earlier.

Everything was adhered together using liquid glue and foam tape. At the last minute, I wanted to add a bit more texture to the top right corner, so I die cut a few more of the snowflakes. I matted the card front onto white card stock, and then adhered that to a white card base. To finish the card off, I added some more of the thinned Sparkle Silk inside the die cut snowflakes on the card front, and added some white Nuvo drops.
Thanks for stopping by!
Use this easy list to find the products I used in my projects. (Contains affiliate links - where I earn a commission from purchases made from my links, at no cost to you. Your support helps me keep this blog going, and continue to create - Thank you! Affiliates and disclosures can be found here.) Please note, when possible, I try to offer multiple sources for the items I use.
If the supply list below is not visible in your browser, please click here to view it.
Thursday, April 22, 2021
Sweet Street Bakery Treat Box
Hello!
Have you seen the Sweet Street by Tina Smith Collection, at Spellbinders? It's adorable dies, a stamp set, and sprinkles all with a confectionary theme. I happen to love cute treat packaging, so when Spellbinders offered me a chance to play with these products, I was excited to create something fun.

I started the project with the Sweet Treat Box Die Set. I cut the treat box out of Rustic Rose Card Stock, and also cut the interior rectangle. From the scrap piece that was cut to create the window, I die cut a few of the hearts. I applied some Stick It to the back of a piece of Onyx Card Stock, and die cut the "You are Sweet" sentiment three times, then stacked the sentiments to give it more dimension.
I used the Sweet Confections Label and Banner Die Set to cut the banner elements. The label shape, along with the corrugated embossing, were cut from Oatmeal Cookie Card Stock (cut twice - one label shape will go inside of the box). The fishtail banner shape was cut from Mirror Gold Card Stock. I assembled the label using liquid adhesive, and then applied a bit of glue to the corners, and added a few Sweet Sprinkles Embellishments.

Finally, to create the box, I cut a panel, of Rustic Rose Card Stock, that was 5.25" x 6.5". Each side of the panel was scored at 0.25" and 0.75". Along the short ends of the box, I cut as shown in the graphic below (Please note: the graphic is NOT to scale). All of the red portions were removed, the blue portions were freed on all but one side (this leaves flaps that close up the corners neatly). When assembling, adhesive will go on the yellow portions.

I used White Liner to adhere a bit of acetate on the back of the window for the box top. Once that was adhered, I added the second label shape I had cut to the back of the acetate. Then I lined up the sentiment label on the front side of the box, and adhered it with some foam tape.

Finally, I added a few cookies inside the box (use a cellophane bag, or wrapped treats, so that there won't be grease spots on your card stock!), which allows the box top to remain "closed" until the recipient opens it to remove the treat. I removed the white liner, and adhered the box to the box top.
This wound up being a really cute little package for a few cookies. The depth of the box can be easily increased to accommodate more dimensional treats. Be sure to head on over to check out the Sweet Street by Tina Smith Collection, at Spellbinders.
Thanks for stopping by!
Use this easy list to find the products I used in my projects. (Contains affiliate links - where I earn a commission from purchases made from my links, at no cost to you. Your support helps me keep this blog going, and continue to create - Thank you! Affiliates and disclosures can be found here.) Please note, when possible, I try to offer multiple sources for the items I use.
If the supply list below is not visible in your browser, please click here to view it.
