
Hello!
I have a couple of cards to share with you today. This month, Picket Fence Studios released two stencils that had a similar pattern. This allows you to get the one that fits the size card you typically make. I loved the pattern and had to use both!
I started with the A2 Rose Lines Stencil. For this card, I pressed Scattered Straw, Peacock Feathers, and Abandoned Coral Distress Inks onto the stenciln (in that order, so as not to contaminate the ink pads). Then, I laid the stencil onto a piece of white card stock, and ran it through my die cutting machine to emboss the stencil into the card stock. I trimmed the panel down, and added a bit of Extra Wide Foam Tape to the back.
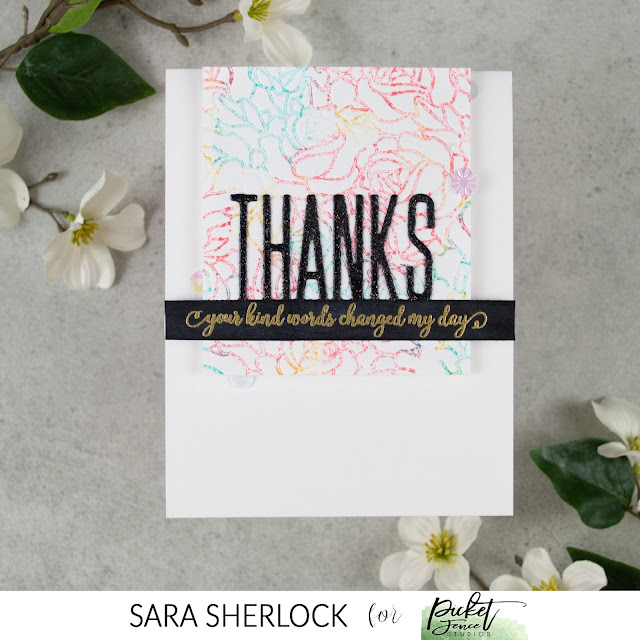
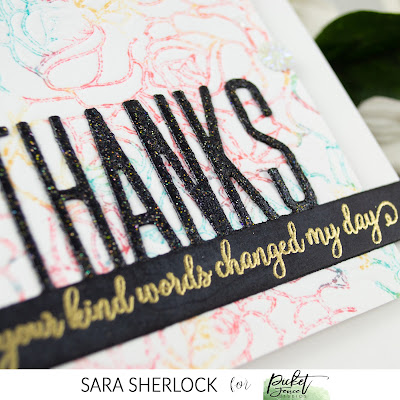
I then die cut the Thanks Word Topper Die from black card stock. I stamped a sentiment from the Swanky Friendship Sentiments Stamp Set, and heat embossed that in gold, onto the banner of the die cut. I taped off the banner - once the embossing cooled - and spread a little Black Rainbow Paper Glitz over the letters.
Once the Paper Glitz had dried, I adhered the embossed panel, and the die cut to a white card base. A few scattered White Bottlecap Flowers Sequins finished off the card.
My second card today, features the Slim Line Rose Lines Stencil. I sprayed the back of the stencil with Pixie Spray, and laid it across a panel of white card stock. I used a spatula, to spread Pink Carnation Paper Glaze through the stencil. Immediately after, I daubed a few spots with some Boysenberry Violet Paper Glaze, and pulled the spatula across the stencil horizontally.
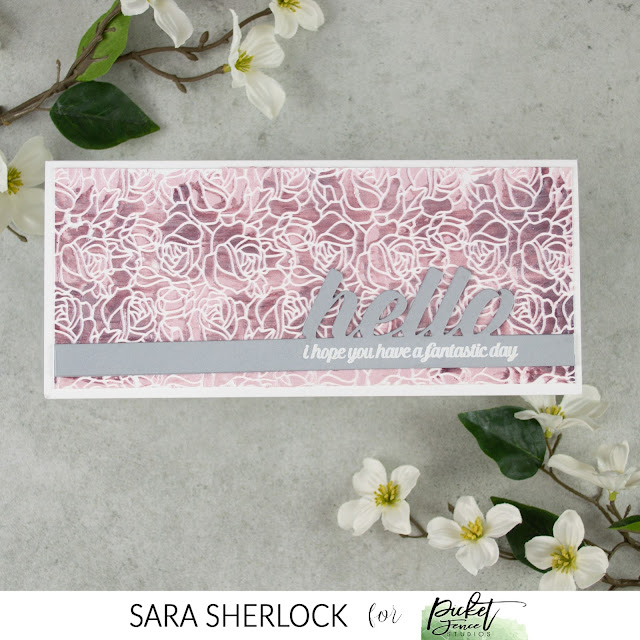
I die cut the Slim Line Hello Word Topper Die, multiple times, from gray card stock. Before adhering the die cuts together, I stamped, and white heat embossed a sentiment from the Word Die Topper Subtitles Stamp Set. Then, I adhered the die cuts on top of one another.

Thanks for stopping by!

Supplies specific to this card, are listed, and linked, in the blog post.
To see the basic tools that I use on nearly every card, please click here.
Beautiful cards Sara!!
ReplyDeleteBeautiful cards!
ReplyDelete