
Hello!
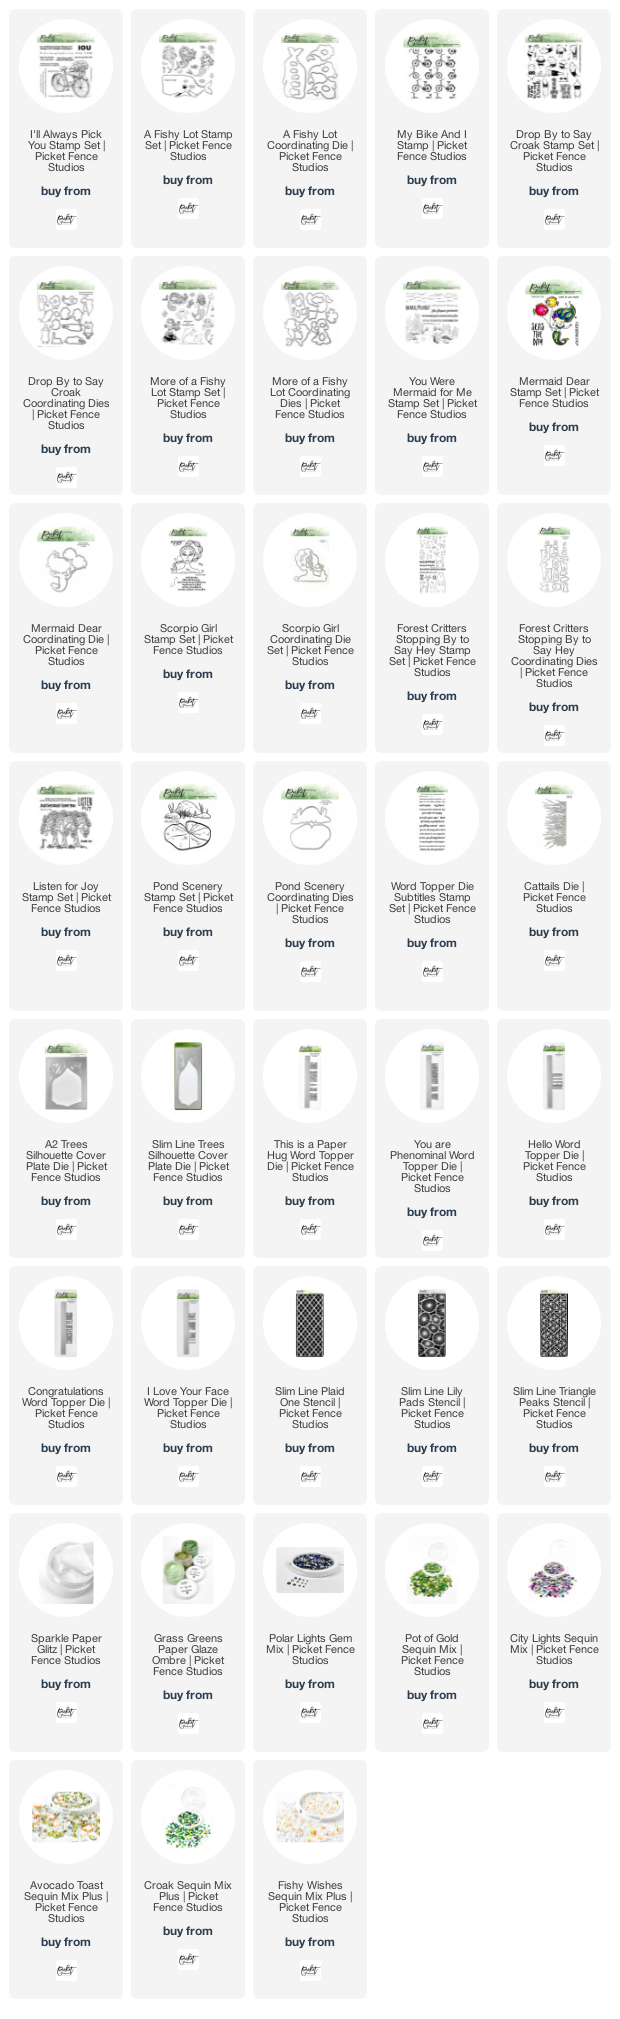
It's the 14th of the month, which means it's time for a new release from Picket Fence Studios. I have multiple cards to share with you today, so, let's take a quick peek of the entire release before we dive into the cards. This month there are lots of fun new mermaid stamp sets, a few fun new sequin mixes with added embellishments, and SPARKLE Paper Glitz!
(All of the supplies used on the individual cards, will be listed at the bottom of the post, for reference.) If the list below is not visible in your browser, please click here to view it.
Card # 1 | What I would Do
This first card today, features the new I'll Always Pick You Stamp Set, along with the My Bike and I Stamp.
I began by stamping the bike image from the I'll Always Pick You Stamp Set, in Black Hybrid Ink, onto white card stock. I colored in the image with Prismacolor pencils. Then I stamped my chosen sentiment onto a strip of gray card stock, again using the same ink. I matted the colored image with the same gray card stock.

I stamped the My Bike and I Stamp, onto aqua card stock, using the coordinating ink. This stamp can be lined up to be repeated, so I stamped it multiple times to fill the card front. I layered the larger bike image on top of this background, using foam tape, and then layered the sentiment overlapping that, with more foam. The card front was attached to a white card base. A small scattering of sparkle from the Spring Fling Sequin Mix finished the card.
I knew when I saw that adorable bear in the Forest Critters Stopping By to Say Hey Stamp Set, I knew I had to use it. I stamped multiple critters onto white card stock, using Black Hybrid Ink. I colored the images in with Prismacolor Pencils, then die cut the images using the Coordinating Die Set.

While my die cutting machine was out, I also die cut the Cattails Die from some green card stock, along with cutting the A2 Trees Silhouette Cover Plate Die from dark brown card stock. I used a brown Copic marker, to color in the brown spikes of the cattails.
I used the Slim Line Cloud Coverage Stencil, and Salvaged Patina Distress Oxide Ink on a Life Changing Blending Brush, to create the background on my white card base. I then laid all my elements out on my card front, to line up where I wanted to stamp the sentiment. I chose two of the sentiments from the Forest Critters Stopping By to Say Hey Stamp Set, and stamped them in Black Hybrid Ink, using my MISTI (this is super helpful when stamping over a Distress Oxide background, as it can take multiple stampings to get a rich black color). I then adhered all of the die cuts, using liquid glue, and foam tape.
Card # 3 | Mermaids & Bubbles
The adorable mermaids on this card, are from the A Fishy Lot Stamp Set. I stamped the images in Black Hybrid Ink, onto white card stock, and colored them in using Prismacolor pencils. Then I die cut the images using the Coordinating Dies.

The sentiment from this card, was from the You Were Mermaid For Me Stamp Set, and was stamped and then white heat embossed, onto a strip of dark aqua card stock.
For the background on this card, I wanted to use the bubbles from the A Fishy Lot Stamp Set, but they were smaller than what I was thinking. I chose to create some larger bubbles on the background, using the Blending 2.5" Circle Stencil, some Life Changing Blending Brushes, and Distress Oxide Inks. The video below shows the process I used to create the bubbles (plus, as a bonus, you'll see an additional card at the end, that will be on the Picket Fence Studios Blog tomorrow!).

On a separate piece of watercolor paper, I added a patch of blue using Salvaged Patina, and Speckled Egg, Distress Oxide Inks. I allowed both pieces to completely dry before continuing. Then I die cut the image with the Coordinating Die. I lined the image up on the background, to figure out the sentiment placement, then I stamped the sentiment with Black Hybrid Ink. I added the image to the card front with foam tape, and then added the card front to a white card base, using more foam tape.
Card #5 | All the Fish in the Sea
I had enjoyed watercoloring the previous card so much, I decided to continue that technique with this final card. I started by stamping and white heat embossing the images from the You Were Mermaid for Me Stamp Set, onto watercolor paper. I stamped and heat embossed my chosen sentiment onto dark aqua card stock as well, and set the sentiment aside.

Colors Used: Salvaged Patina (Water, and mermaid tail), Peacock Feathers (water), Tattered Rose (skin on both merpeople, starfish, flower bases), Rustic Wilderness (Merman's tail, and seaweed), Abandoned Coral (coral, flowers, mermaid's top), Antique Linen (sand), Pumice Stone (rocks, and merman's hair), Fossilized Amber (tube sponges), Scattered Straw (mermaid's hair, crown, trident).
Once the images were fully dried, I trimmed the background panel, and die cut the merpeople, using the Coordinating Dies. I assembled the pieces together using foam tape, and adhered the card front to a white card base.
This new release was so fun - I had a blast with the different mermaid sets, but there is so much more to chose from as well. Be sure to check out the full release in the Picket Fence Studios Shop now, and join me tomorrow over on the Picket Fence Studios blog, to see how I completed the card with that bubble background I showed in the video!
Thanks for stopping by!

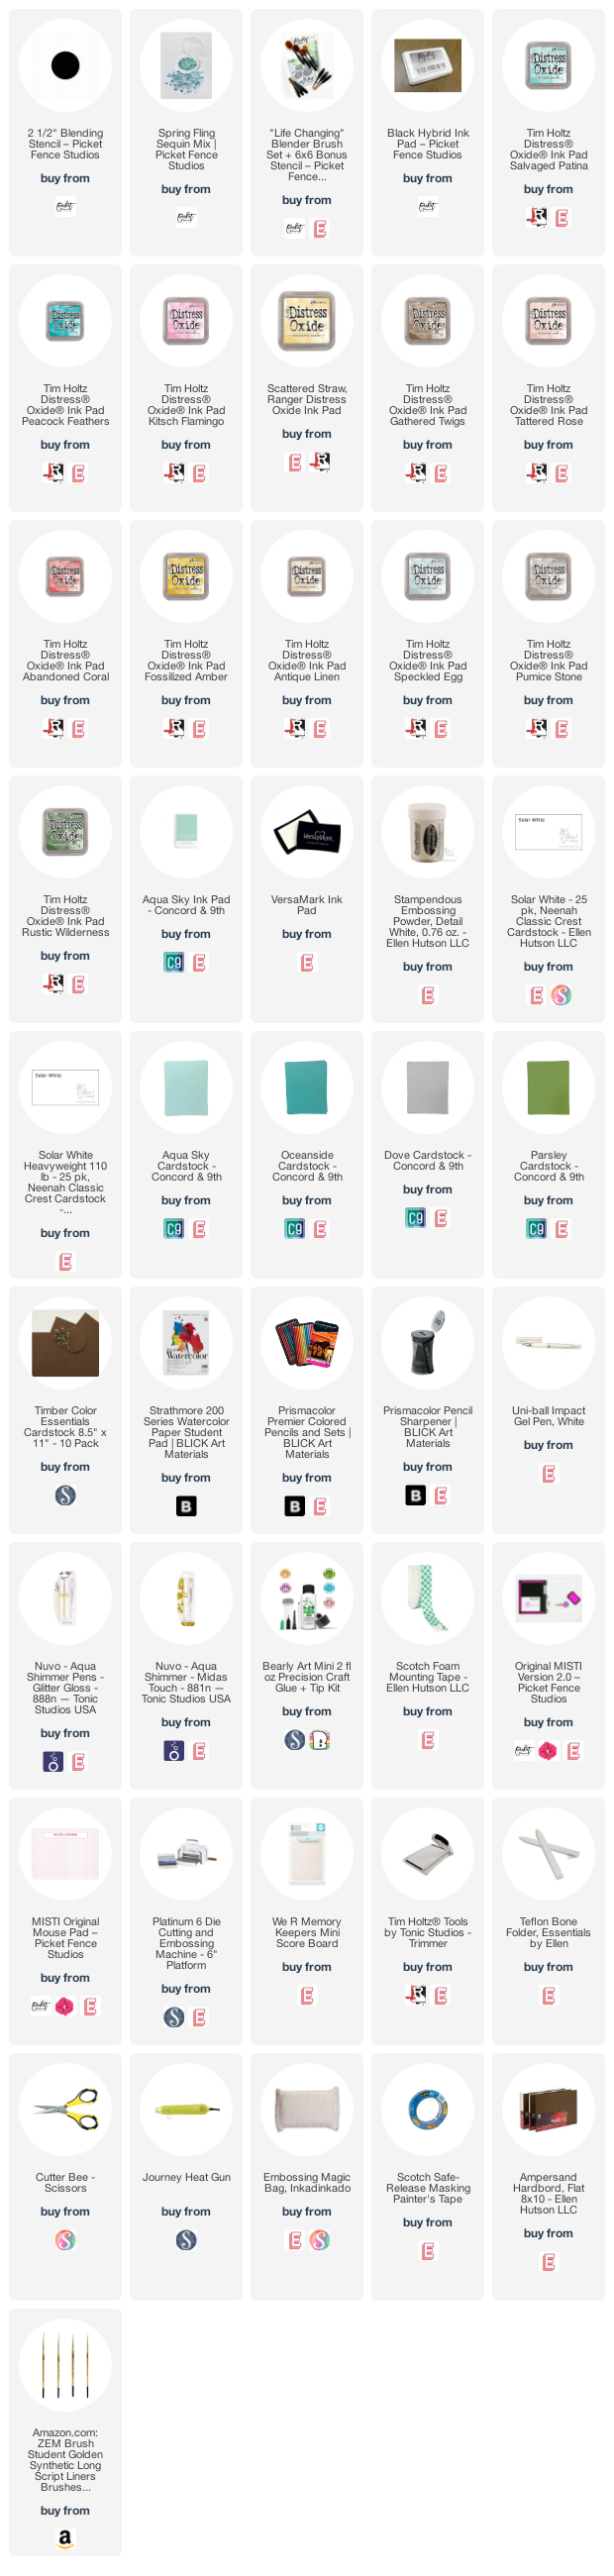
Use this easy list to find the products I used in my projects. (Contains affiliate links - where I earn a commission from purchases made from my links, at no cost to you. Your support helps me keep this blog going, and continue to create - Thank you! Affiliates and disclosures can be found here.) Please note, when possible, I try to offer multiple sources for the items I use.
If the supply list below is not visible in your browser, please click here to view it.
No comments:
Post a Comment
I love comments! If you have any feedback or questions, please feel free to leave them here!