

Hello!
It's the 14th of the month, which means it's time for a new release from Picket Fence Studios. I have multiple cards to share with you today, so, let's take a quick peek of the entire release before we dive into the cards. This month there are lots of new stencils. some Slimline Die Cutting System inserts, and new Ombre Paper Glaze sets.
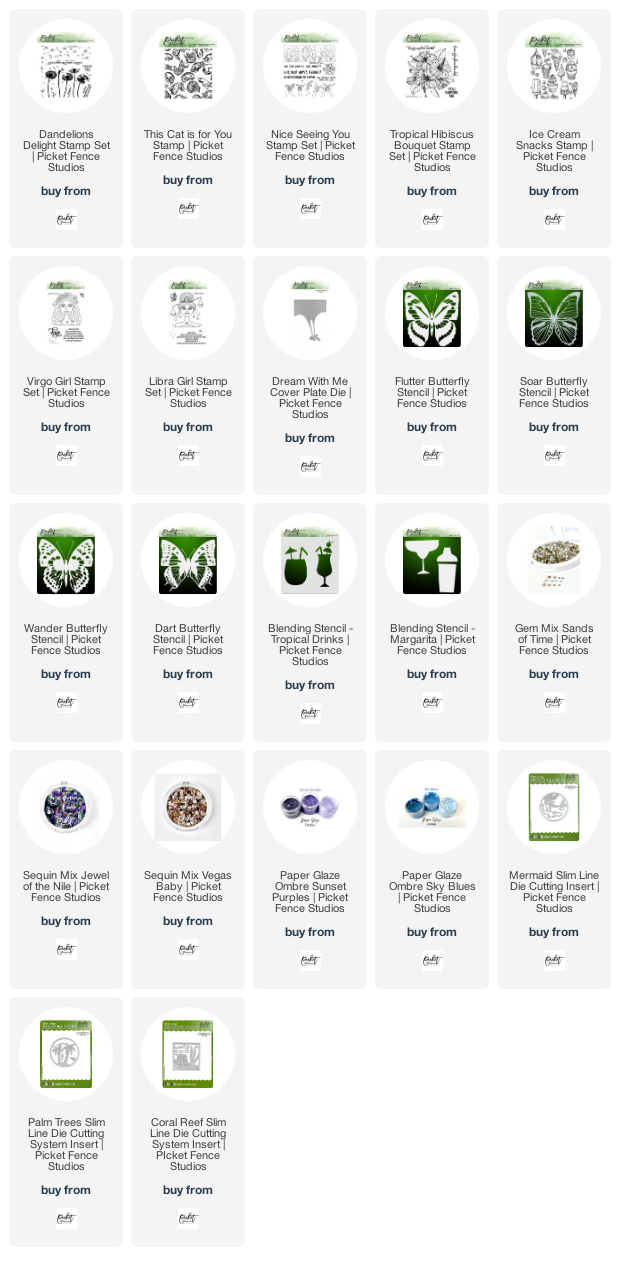
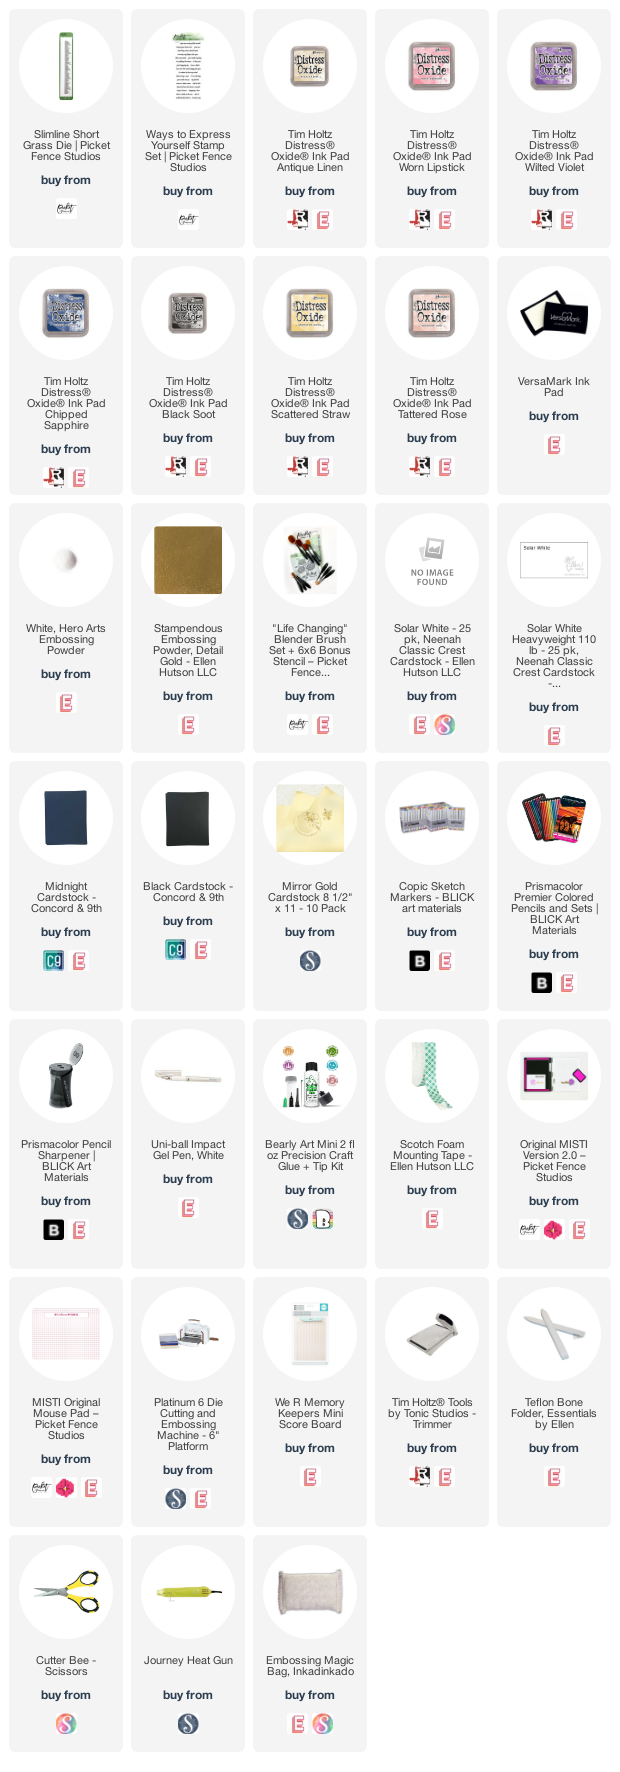
(All of the supplies used on the individual cards, will be listed at the bottom of the post, for reference.) If the list below is not visible in your browser, please click here to view it.
Card #1 | Dream With Me
My first card today, began with the new Dream With Me Cover Plate Die. I cut the die from black cardstock, and then backed it with gold foil cardstock. I lined a small scrap of blue cardstock up with the moon portion of the die, and cut that out, then inlaid the moon into the diecut. While I had my die cutting machine out, I also cut the Slim Line Short Grass Die from black cardstock.

Using a few Life Changing Blender Brushes, I ink blended a panel of white cardstock with Distress Oxide Inks. From bottom to top, I used: Antique Linen, Worn Lipstick, Wilted Violet, Chipped Sapphire, and Black Soot. I splattered a little water over the background, and allowed it to dry, before adhering the die cuts. Using my MISTI, I lined up the sentiment from the Ways to Express Yourself Stamp Set, and stamped the sentiment in Versamark before heat embossing it in gold.
The card front was added to a card base, made of heavy weight white cardstock, and a few of the new Sands of Time Gem Mix gems were added.
Card #2 | Nice Seeing You
The new Nice Seeing You Stamp Set has this fun stamp with different people in panels. While it is possible to line up and stamp multiple times, I took the quick and easy way on this card, and just stamped the image multiple times in Black Hybrid Ink, and cut the images out to stack them on a piece of black cardstock. I very simply colored in some of the images with Copic Markers.

On a piece of black cardstock, I stamped and white heat embossed the sentiment. Then I die cut the sentiment using a small circle die. I adhered the sentiment panel using foam tape, and attached the card front to a white card base, made from heavyweight white cardstock.
Card #3 | Simple but Beautiful
I began this card, by stamping the new Tropical Hibiscus Bouquet image in Black Hybrid Ink, onto white card stock. I colored in the image with Prismacolor pencils, and then used a white gel pen to add some additional highlights at the end.

The sentiment was stamped, and white heat embossed, onto black cardstock. I cut the end of the strip at an angle, and adhered it over my image using foam tape. I matted the image with black cardstock, then added it to a white card base, made from heavyweight white cardstock. As a final touch, I added a few gems from the new Sands of Time Gem Mix.
Card #4 | Blessing Beyond Compare
I began this card, by using my Life Changing Blender Brushes to ink blend the background. I used Scattered Straw, Tattered Rose, and Worn Lipstick Distress Oxide Inks to create the gradient. I sprinkled some water droplets over the panel, and allowed it to dry completely.

Once dry, I heavily applied the powder from my Embossing Magic bag, to make sure nothing would stick, then I stamped the images from the new Dandelions Delight Stamp Set, in Versamark Ink, and heat embossed them in white. I stamped the sentiment, again in Versamark, and heat embossed it in gold. Then, I adhered the card front to a card base made from heavyweight white cardstock.
Card #5 | Virgo Girl
This final card began by stamping the image and sentiment from the new Virgo Girl Stamp Set, onto navy cardstock, using Versamark Ink. I then gold heat embossed the image. Using Prismacolor Pencils, I lightly applied some highlights and shadows to the image.

Once the coloring was completed, I used some of my Life Changing Blender Brushes to apply Antique Linen and Worn Lipstick Distress Oxide Inks in a halo around the image. I masked off the image with a bit of scrap paper, and flicked both Glitter Gloss, and Midas Touch, Nuvo Shimmer Inks over the panel.

Once dry, I adhered the card front to a card base, made from heavyweight white card stock. I added gems from the new Sands of Time Gem Mix as a final touch.
Thanks for stopping by!

Use this easy list to find the products I used in my projects. (Contains affiliate links - where I earn a commission from purchases made from my links, at no cost to you. Your support helps me keep this blog going, and continue to create - Thank you! Affiliates and disclosures can be found here.) Please note, when possible, I try to offer multiple sources for the items I use.
If the supply list below is not visible in your browser, please click here to view it.

No comments:
Post a Comment
I love comments! If you have any feedback or questions, please feel free to leave them here!