

Hello!
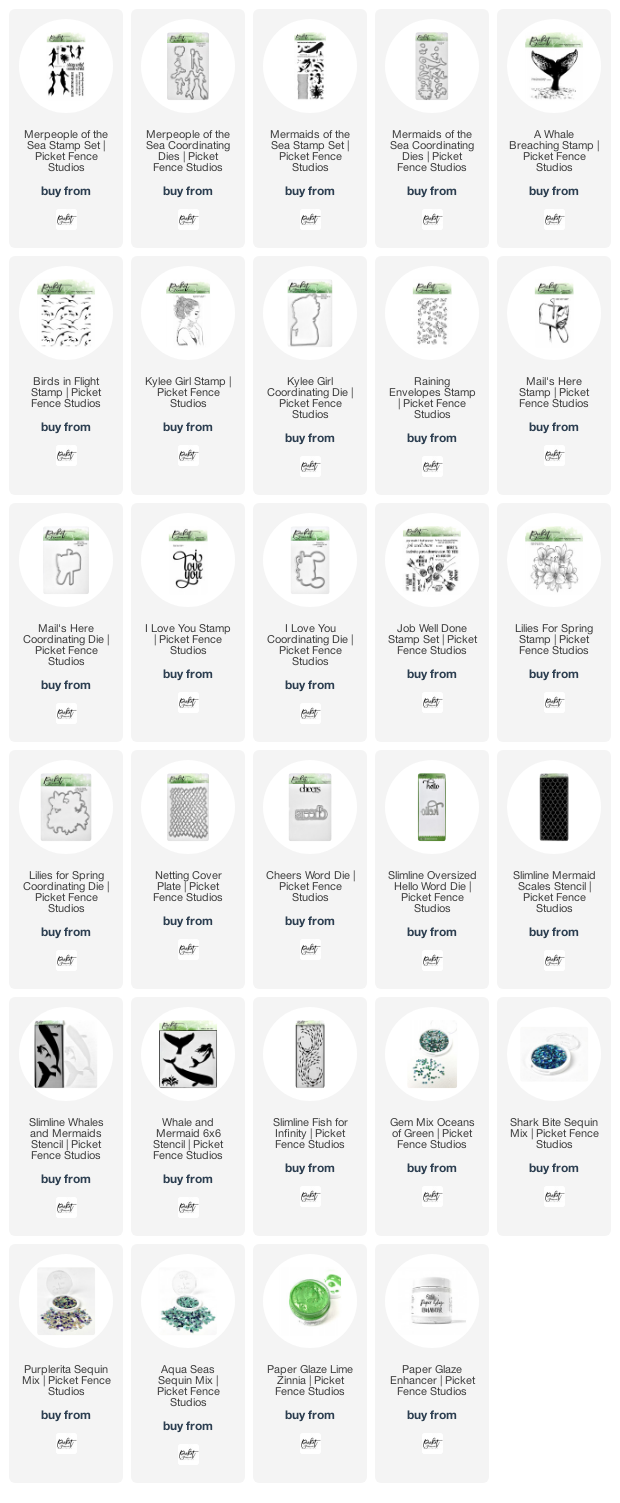
It's the 14th of the month, which means it's time for a new release from Picket Fence Studios. I have multiple cards to share with you today, so, let's take a quick peek of the entire release before we dive into the cards. (All of the supplies used on the individual cards, will be listed at the bottom of the post, for reference.)
For this first card, I started by ink blending Peacock Feathers Distress Oxide Ink from the top of a white card panel down, using a Life Changing Blender Brush. I taped the panel to my worksurface, and laid the new Slimline Whales and Mermaids Stencil down where I wanted it. I placed both Jade Vine and Golden Rose Paper Glazes onto a work surface so that I could pick them up with a Spatula at the same time. I laid the Paper Glaze through the stencil, allowing the colors to mix as I spread them on the paper - which meant that the individual colors could peek through. Then, I carefully peeled up the stencil. Using the tip of the spatula, I carved lines into the the wet Paper Glaze to create the detail in the tailfin.


I tore the kraft panel along the length, to create the layers for the"sand" portion of the card. On the shorter piece, I stamped a sentiment from the Mermaids of the Sea Stamp Set, in Black Hybrid Ink. The sentiment was masked on the front and back to get just the portion I wanted for the card.

To create the water, I waited for the tail to dry, then used a spatula to drag the Jade Vine Paper Glaze across the bottom of the panel. I then used another spatula to drag Mint Hydrangea Paper Glaze across the panel above the Jade. I used the spatula to lightly mix the two colors of wet Paper Glaze where they met. I sprinkled a few of the Spring Fling Sequins across the top of the wet Mint Paper Glaze, and lightly pressed them in using my finger. Then I removed the tape and allowed the panel to dry.

The sentiment is part of the Merpeople of the Sea Stamp Set, and was stamped with Black Hybrid Ink, before the panel was adhered to a white card base.
Card #2 | Dream in Salt Water
This card was began by smearing Mint Hydrangea Paper Glaze all over a panel of white card stock. This panel was set aside to dry while I worked on the other pieces. Using the Netting Cover Plate Die, I die cut two panels of white card stock, and then adhered the die cuts together with little dots of liquid glue.

I ink blended more of the Peacock Feathers Distress Oxide Ink onto a panel of aqua card stock. Then I used one of the stitched rectangle dies from the Slimline Nested Rectangle Dies Set, to die cut the panel. I then stamped the Merpeople of the Sea Stamp Set image onto white card stock, and heat embossed in gold, along with the sentiment, which was heat embossed in white on black card stock. I die cut the merpeople with the Coordinating Dies.

Finally, I adhered everything together on a white card base, and added a few scattered Spring Fling Sequins.
Card #3 | The Sea is Calling
This card started by stamping the Birds in Flight Stamp, repeatedly, across a panel of white card stock. Then, I ink blended down from the top of the panel using Peacock Feathers Distress Oxide Ink. I used one of the stitched rectangle dies from the Slimline Nested Rectangle Dies Set, to die cut the panel, along with die cutting a panel of kraft card stock, and a partial panel of aqua card stock.

I die cut the Slimline Oversized Hello Die, three times, from black card stock. I layered up the die cuts and adhered them using liquid glue. Then, I layered all of my pieces together on a white card base.
Card #4 | My Heart is By the Sea
I began this card by spraying the back of the Mermaid Scales Stencil with Pixie Spray, and adhering it on top of a white card stock panel. I used the new Paper Glaze Enhancer on this card. The Enhancer makes the Glaze super silky, along with making the pearlized finish of the Glaze more matte. It allows for a really smooth application as well.
On a mixing surface, I blended the new Paper Glaze Enhancer with Lime Zinnia Paper Glaze using a Spatula. I spread that over the stencil then added daubs of Jade Vine Paper Glaze mixed with the enhancer to various places on the panel, and drug my spatula down the card front to blend it in with the Lime. To add a little contrast to the finish, I put a few small daubs of Mint Hydrangea Paper Glaze without the Enhancer, so that it retained its pearlized finish. This gave the background it's variegated tones and finish. I peeled off the stencil, and allowed the panel to dry.

I die cut the Netting Cover Plate Die from vellum, along with die cutting a heart from aqua card stock. I stamped images from the Mermaids of the Sea Stamp Set, in Black Hybrid Ink onto the aqua heat, and then stamped the sentiment in Versamark onto black cardstock. I heat embossed the sentiment in white.

Once the background panel was fully dry, I die cut it using the Slimline Nested Rectangle Dies Set. Then, I layered the pieces together using liquid glue and foam tape, and adhered the card front to a white card base. As a final touch, I added a few of the new Oceans of Green Gems to the card.
Card #5 | Lilies & Love
Growing up, my grandmother had a double row of Orange Asiatic Lilies growing in her front flower bed every summer - along with numerous other flowers throughout her yard. I did not inherit her green thumb AT ALL, but I have managed to keep a single Asiatic Lily plant coming back for a few years now. I can see it from my kitchen window and it always reminds me of her flowers. When I saw the Lilies for Spring Stamp Set, I knew I had to color them as the lilies I remembered.

I began by cutting a panel of watercolor paper. I used the Black Hybrid Ink to repeatedly stamp the lilies image on the edges of the panel - turning it slightly between stampings, and allowing more or less of it to hang off the sides to create a pathway down the center where my sentiment would go.
I watercolored the image, using yellows and greens in the center of the flower, and blending out to oranges and red at the tips of the petals. I added a wash of light blue to the background, and let the panel completely dry for hours before coming back to it with a few of my Prismacolor pencils to deepen shadows, and add a little detail.

Then I simply trimmed the panel down, and added it to a white card base.
Thanks for stopping by!

Use this easy list to find the products I used in my projects. (Contains affiliate links - where I earn a commission from purchases made from my links, at no cost to you. Your support helps me keep this blog going, and continue to create - Thank you! Affiliates and disclosures can be found here.)
Please note, when possible, I try to offer multiple sources for the items I use.
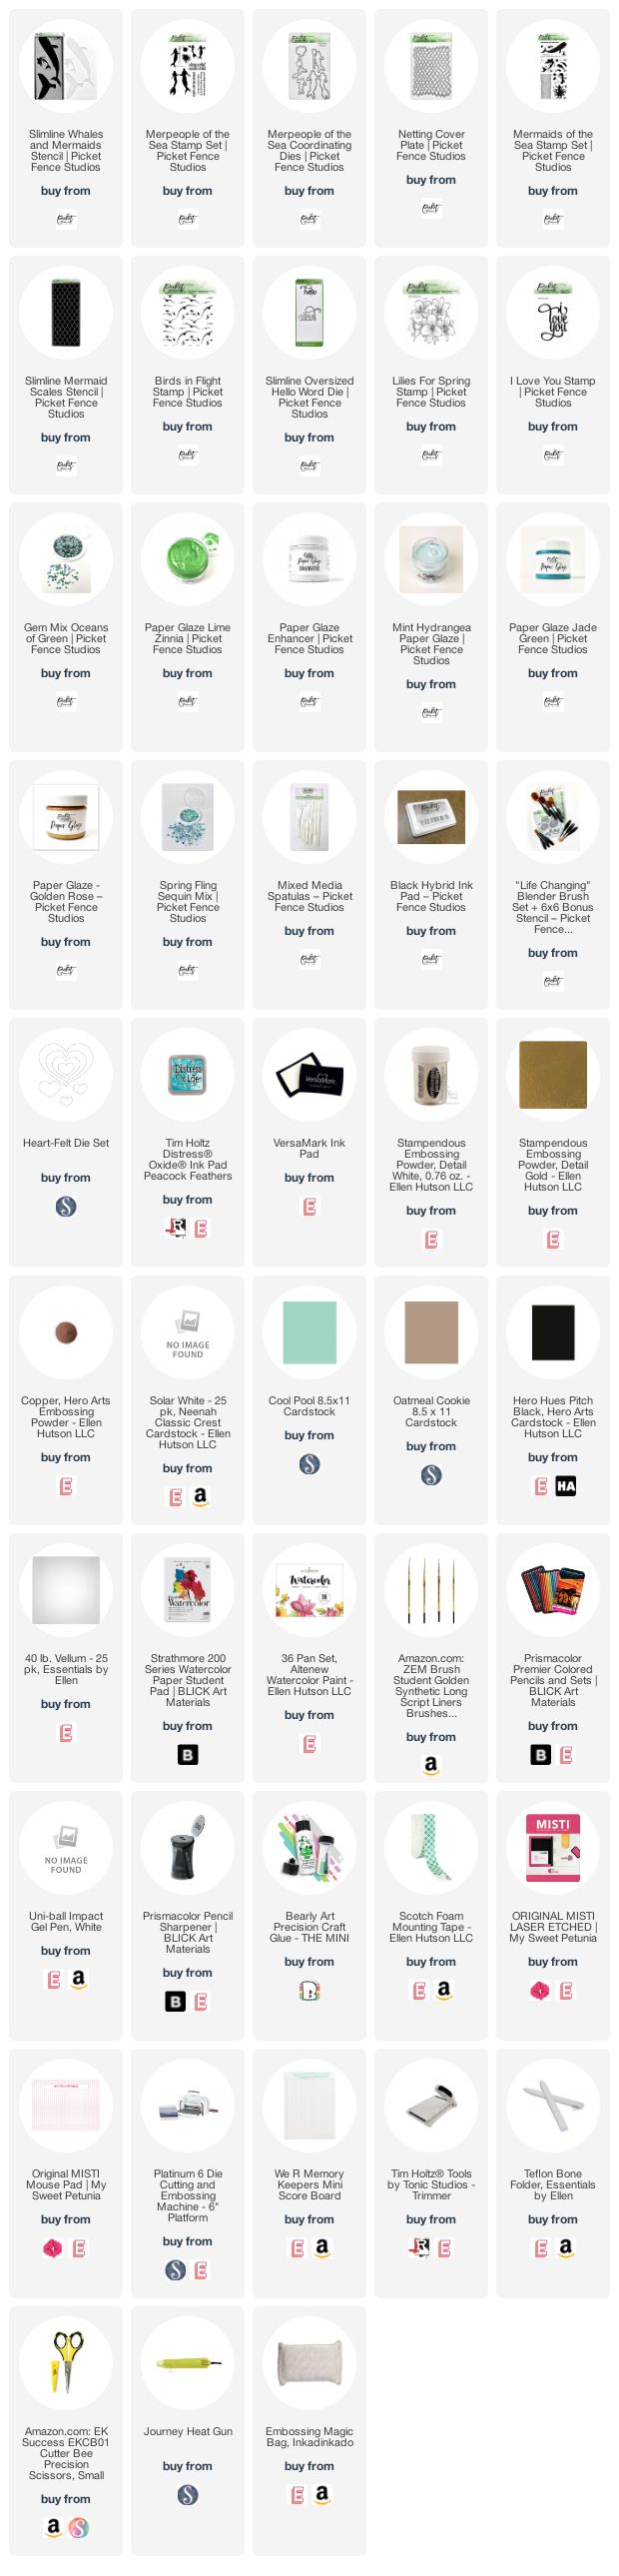
**If a particular item I used was out of stock when I was preparing my post, or the item I used was discontinued, I have provided a link to a similar item - that is available - when a substitution would not affect the card design.
♥ ♥ ♥ ♥ ♥
That's it for today's release. I really like when Nicole has these ocean themed releases, I love the colors I get to use, and really like the resulting cards - even if I'm in a very land-locked state! And if you like using the Paper Glaze, I highly recommend you get the new Paper Glaze Enhancer it makes the Glaze so silky, and I love the fact that you can have different finishes with the same product.
Did you have a favorite from today's cards?
Thanks for stopping by!
Use this easy list to find the products I used in my projects. (Contains affiliate links - where I earn a commission from purchases made from my links, at no cost to you. Your support helps me keep this blog going, and continue to create - Thank you! Affiliates and disclosures can be found here.)
Please note, when possible, I try to offer multiple sources for the items I use.

No comments:
Post a Comment
I love comments! If you have any feedback or questions, please feel free to leave them here!