
Hello!
It's the 14th of the month, which means it's time for a new release from Picket Fence Studios. There are a ton of new products this month, and I have a lot of card samples to share with you, along with instructions on how to recreate them. This will be a long post, so grab a snack and a drink, and lets get started!
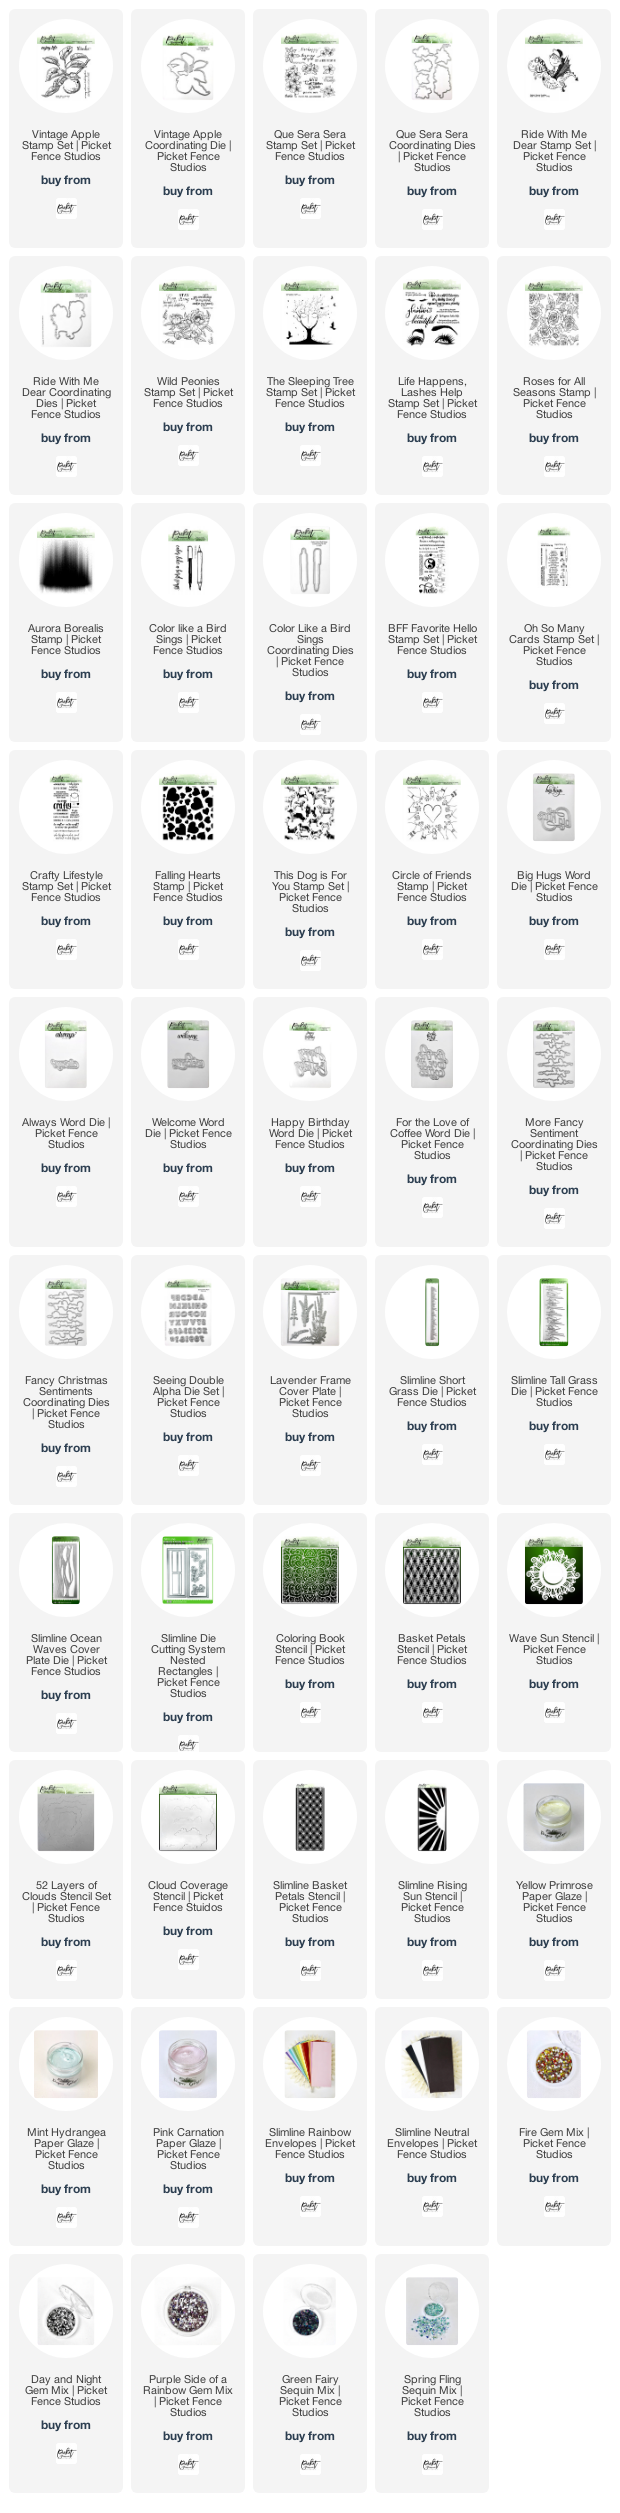
As always, I want to give you a quick peek of the entire release before we dive into the cards. (All of the supplies used on the individual cards, will be listed at the bottom of the post, for reference.)

This first card involved a LOT of ink blending. To create the background, I used the Life Changing Blender Brushes, and multiple colors of Distress Oxide Inks to blend the background. Distress Oxide Ink colors used were: Cracked Pistachio, Peacock Feathers, Scattered Straw, Festive Berries, Blueprint Sketch, Wilted Violet, and Black Soot. I went back and forth between the colors, until the background was how I liked, then I sprinkled the background with water droplets, and a little splatter from a Nuvo Shimmer Pen in Glitter Gloss.
I trimmed the background, before placing it in my MISTI, and stamping The Sleeping Tree Stamp Set images of the tree, and several of the birds, using Black Hybrid Ink.


The panel was then adhered to a white card base, using a liquid adhesive.
Card # 7 | Big Hugs


Card #8 | Just a Note
Card #1 | Have Faith


I masked off a portion of the sentiment stamp from the BFF Favorite Hello Stamp Set, before inking with Versamark Ink. I removed the masking before stamping, and heat embossing the "Have Faith" with white embossing powder. The card front was then attached to a white card base.
Card #2 | Vintage Apple

For this card, I began by stamping the new Vintage Apple Stamp, in Barely There Amalgam Ink for some no line coloring. I colored in the image using Prismacolor Pencils, before die cutting the colored image with the Coordinating Die.
To create the background, I taped the Funky Leaves Stencil over a piece of white card stock, and blended Bundled Sage Distress Oxide Ink through, using a Life Changing Blender Brush. I matted the white panel onto a piece of kraft card stock, and then adhered the Vintage Apple image with foam tape.

The card front was then attached to a white card base, and as a finishing touch, Gin & Tonic Sequins were adhered.
Card # 3 | Beautiful Rainbow

I began this card, using the Rainbow Stamping technique I used in a previous post. To do this, I put the Life Happens, Lashes Help Stamp Set image into my MISTI. I inked multiple areas of the image with Squeezed Lemonade Distress Ink, and then stamped the image. Then I cleaned the stamp, and inked additional areas with Festive Berries Distress Ink, and stamped. Again, I cleaned the stamp, applied Peacock Feathers Distress Ink to the areas still not stamped, and pressed my stamp to the paper. I repeated all of these steps a second time to help blend the edges, and then took a bit of water on a small brush to blend any remaining harsh lines.
While the panel was still in my MISTI, I stamped the sentiment in Black Hybrid Ink. Then, I added some shading to the eyes image, using Prismacolor Pencils, and a White Gel Pen.

I matted the panel onto a piece of black card stock, then onto a white card base. As a final touch, I added a few clear gems from the Day & Night Gem Mix onto the outer eyelashes of the image.
Card # 4 | Imagine

On a piece of white card stock, I stamped the Ride With Me Dear stamp image in Black Hybrid Ink. I colored in the image with Prismacolor Pencils before die cutting the image using the Coordinating Die.
I then used the Slimline Cloud Coverage Stencil on a sheet of white card stock, along with Tumbled Glass Distress Oxide Ink, and a Life Changing Blender Brush, to create the background. I laid my colored image over the inked background to figure out placement, so that I could stamp the sentiment from the stamp set onto the background with Black Hybrid Ink.

I matted the card front onto a blue card stock, and then adhered that to a white card base. The image was adhered to the card with foam tape.
Card # 5 | Stay Strong

The image in the Wild Peonies Stamp Set was such a pretty line art piece, that I wanted to create something super simple using that image. So I stamped the image in Black Hybrid Ink, onto the bottom of a white card front. I stamped the sentiment from the stamp set, onto a piece of cranberry card stock with Versamark Ink, and heat embossed it in gold embossing powder.
I matted the card front onto the same cranberry card stock, and cut a small banner from some gold card stock. I layered the banner and sentiment strip at the top of the card front using foam tape.

The card front was then added a white card base. As a finishing touch, I added a scattering of gems from the Fire Gem Mix.
Card #6 | Silhouette Prayers

To begin this card, I used the Life Changing Blender Brushes, and multiple colors of Distress Oxide Inks to blend the background. The Distress Oxide Ink Colors used were: Blueprint Sketch, Wilted Violet, Scattered Straw, Tattered Rose, Worn Lipstick, Abandoned Coral, and Barn Door. Then, I splattered the background with a Nuvo Shimmer Pen in Midas Touch.
I die cut the Lavender Frame Cover Plate Die from black card stock. The background was trimmed to fit inside of the frame, and adhered with liquid glue. I lined the panel up in my MISTI, and stamped a sentiment from the Que Sera, Sera Stamp Set (that had been cut in half to place the sentiment on two lines), using Black Hybrid Ink.

Card # 7 | Big Hugs

On a piece of gray card stock, I stamped the Roses of All Seasons Stamp, using Versamark Ink. This stamp pattern is repeatable, so I moved my cardstock to the side, and stamped it again, in order to fill the panel. Then, I heat embossed the image using gold embossing powder. Using just a few colors of Prismacolor Pencils, I colored in the images. This panel was then matted with some black card stock.
I die cut the Big Hugs Word Die from black card stock, and lightly painted the die cut with a Nuvo Shimmer Pen in Midas Touch. Once the shimmer layer was dry, I adhered the die cut in the center of the card front with liquid adhesive, and then attached the panel to a white card base.

I waited for the adhesive under the die cut to fully dry, before applying a coat of Nuvo Crystal Drops in Morning Dew to the die cut. The completed card was laid flat for a few hours to dry.
Card #8 | Just a Note

On this final card, I began by taping down a piece of aqua card stock. I layered the new Coloring Book Stencil over the top of that, at a 45° angle. Then, I spread some of the new Mint Hydrangea Paper Glaze through the stencil using one of the Mixed Media Spatulas. Once I had an even layer, I removed the stencil, and made sure to get the stencil and my spatula cleaned up before the glaze dried.
On vellum, I stamped several of the flower images from the Que Sera, Sera Stamp Set, in Versamark Ink, and heat embossed the images in gold embossing powder. I also stamped, and heat embossed, one of the sentiments from the set, onto a strip of teal card stock. The flower images were then die cut using the Coordinating Die Set.

Once the glaze panel had fully dried, I matted the layer onto teal card stock, then layered on the vellum flowers and sentiment strip. To cover the corners that were not stenciled, I cut small strips of the teal card stock, and adhered them before trimming off the excess. The card front was adhered to a white card base, and as a final touch, some sequins from the Spring Fling Sequin Mix were adhered.
♥ ♥ ♥ ♥ ♥
Thanks for stopping by!

Use this easy list to find the products I used in my projects. (Contains affiliate links - where I earn a commission from purchases made from my links, at no cost to you. Your support helps me keep this blog going, and continue to create - Thank you! Affiliates and disclosures can be found here.)
Please note, when possible, I try to offer multiple sources for the items I use.


No comments:
Post a Comment
I love comments! If you have any feedback or questions, please feel free to leave them here!