
Hello!
It's the 14th of the month, which means it's time for a new release from Picket Fence Studios. Once again, I have several cards to share with you featuring a variety of the new products. Several of my cards this month were created using Picket Fence Studios Slimline Die Cutting System. If you having had a chance to check out this system, it can give you the ability to create up to 256 different card fronts, with just this die set!
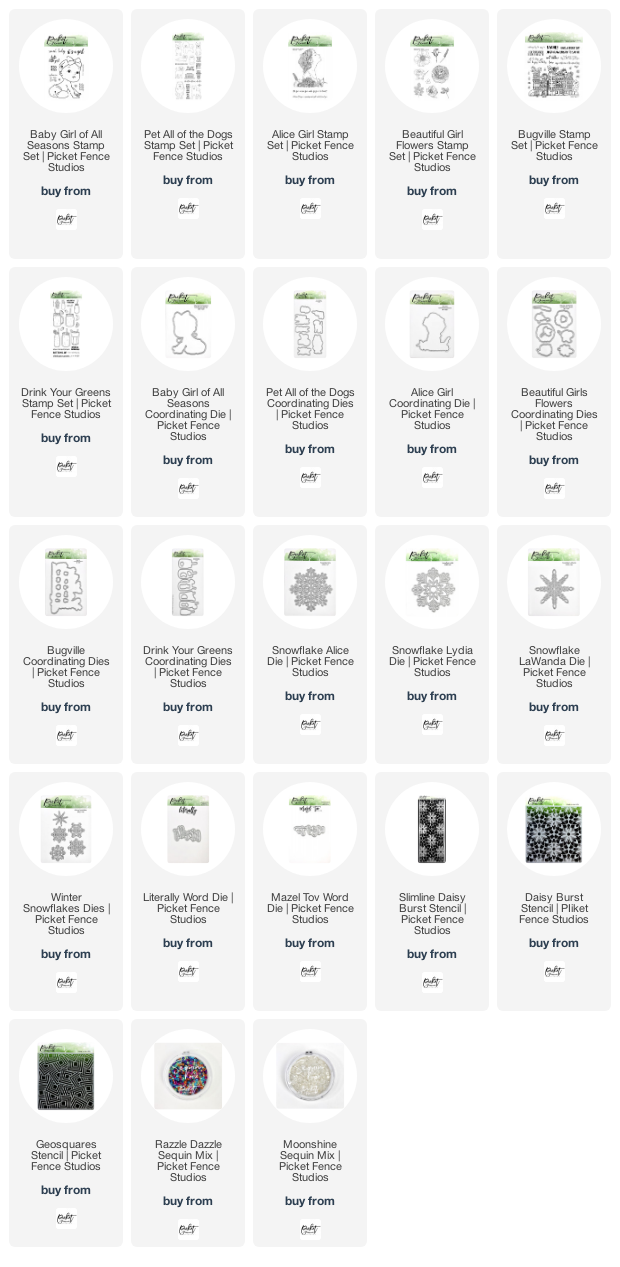
As always, I want to give you a quick peek of the entire release before we dive into the cards. (All of the supplies used on the individual cards, will be listed at the bottom of the post, for reference.)
Card #1 | Sweet Baby Girl
I began this card by creating the background. I layered the Slimline Daisy Burst Stencil over a piece of white card stock. Then, using a Life Changing Blender Brush, I applied Scattered Straw, Tattered Rose, and Worn Lipstick Distress Oxide inks. Once that was completed, I pulled up the stencil, and used the smaller rectangle in the Slim Line Die Cutting System to cut the panel. I also used the stitched circle from the SLDCS to cut a circle in the right side of the card front.


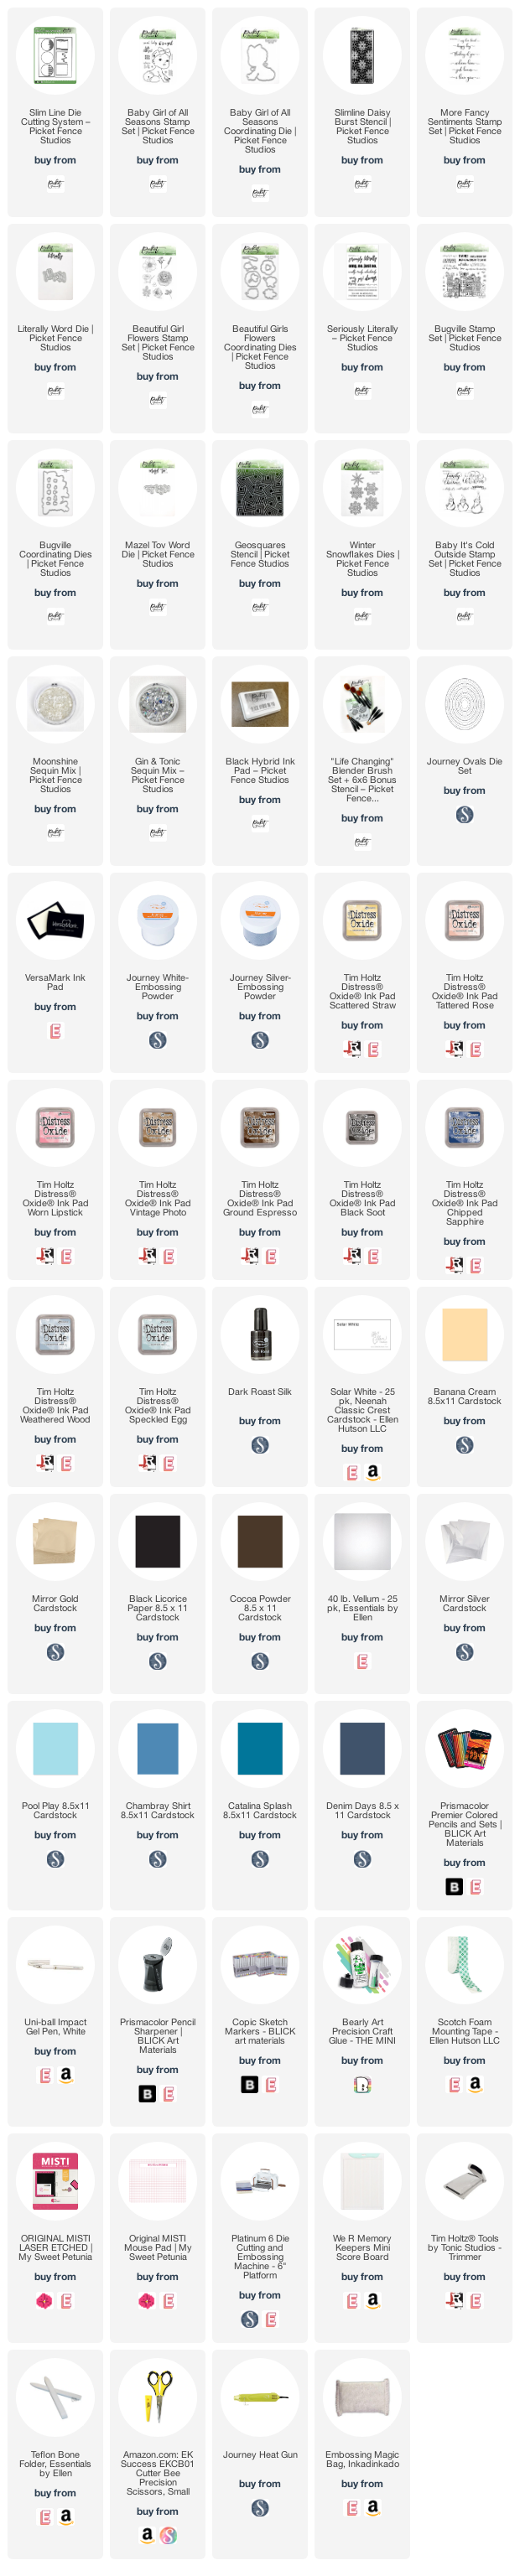
Use this easy list to find the products I used in my projects. (Contains affiliate links - where I earn a commission from purchases made from my links, at no cost to you. Your support helps me keep this blog going, and continue to create - Thank you! Affiliates and disclosures can be found here.)
Please note, when possible, I try to offer multiple sources for the items I use.

I stamped the Baby Girl of All Seasons image in Black Hybrid Ink, onto white card stock, and then colored her in with Prismacolor Pencils. Once I was happy with the coloring, I die cut the image with the coordinating die, and adhered her in the circle, so it appeared as though she were crawling out. I then stamped the sentiments from the More Fancy Sentiments set, and the Baby Girl of All Seasons stamp set, onto the card front. I cut a mat of yellow card stock, and adhered the card front to it, before stamping a few of the small hearts inside the die cut circle. The hearts were colored with a Prismacolor Pencil, and then a few Moonshine Sequins were applied to the card front, before the card front was attached to a white card base.
Card # 2 | Literally Happy for You
I started this card by layering the Daisy Burst Stencil, over white card stock. I blended Tattered Rose Distress Oxide Ink from the top of the panel down, fading it out just below the half way point. On white card stock, I stamped and gold heat embossed the flowers from the Beautiful Girl Flowers Stamp Set, and then colored them in with Prismacolor pencils. Once the coloring was done, I die cut the images using the coordinating dies.
I die cut two ovals, one from white card stock, and one from vellum, and layered the flowers on and between the oval layers. Then, on black card stock, I stamped and white heat embossed a sentiment from the Seriously, Literally Stamp Set. I also die cut the Literally Word Die from Gold Mirror Card Stock. The die cuts were layered together, and adhered to the ovals, which were attached to the card front, then a white card base. A few Moonshine Sequins finished this card.
Card #3 | Buggy
I began by die cutting two panels of white card stock, using the smaller card front die from the Slim Line Die Cutting System. On the first panel, I used a Life Changing Blender Brush to blend Vintage Photo, Ground Espresso, and Black Soot Distress Oxide Inks. I then splattered the panel with water droplets, and a little Dark Roast Silk.

On the second panel, I stamped the houses image from the Bugville Stamp Set. Then I lined up the sentiment below the houses and stamped that. I used the SLDCS to die cut two circles in the panel below the image, and on the circles that were removed, I stamped several of the bug images from the Bugville Stamp Set. I simply colored in the images using Copic Markers, and then die cut the bugs, using the Coordinating Dies. I layered the pieces together with liquid adhesive, and attached the card front to a Cocoa Powder card base, using foam tape.
Card #4 | Mazel Tov
I started this card with my card base, I adhered the Geosquares Stencil to the white card base with a little tape, and ran it through my die cutting machine to emboss the stencil onto the card front. Then, on another piece of white card stock, I stamped the Beautiful Girls Flowers Stamps in Denim Days Ink. I colored in the images with Prismacolor Pencils, before die cutting the images with the Coordinating Dies.

I cut a strip of scrap card stock, and adhered 1/4" strips of Pool Play, Chambray Shirt, Catalina Splash, and Denim Days card stock, in a repeating pattern that was at a slight angle. I trimmed the edges and then matted that panel on a piece of Mirror Silver card stock. Using the Mazel Tov Word Die, I die cut the sentiment from the same silver card stock, and the background from Vellum. I layered all of my pieces together on the embossed card front, and added a few scattered Gin & Tonic Sequins for some fun sparkle.
Card #5 | It's Cold Outside
This card, again, used the SLDCS. I began, by die cutting the Denim Days panel, and the three squares inside. Then, I used Prismacolor Pencils to color in the tree trunks. I stamped and silver heat embossed the sentiment from the Baby It's Cold Outside Stamp Set onto the bottom portion of the panel.

I cut a second panel of white card stock, and blended some Speckled Egg, Weathered Wood, and Chipped Sapphire Distress Oxide Ink onto the panel. I adhered a panel of acetate to the back of the Denim Days panel, and then lined the edges of the die cut squares with foam tape. I filled each window with Moonshine Sequins, and then removed the backing paper from the foam tape to adhere the ink blended panel. Then, I attached my shaker card front to a white card base.
I die cut snowflakes from the Winter Snowflakes Die Set, in white, Denim Days, and Mirror Silver card stocks. The snowflakes were then adhered to the card front around the windows.
♥ ♥ ♥ ♥ ♥
And that's it from me for today's release. My favorite new products this month are the Beautiful Girl Flowers, and the Winter Snowflakes. I think both are just gorgeous, and going to be staples. What is your favorite new product from the release?
Thanks for stopping by!
Use this easy list to find the products I used in my projects. (Contains affiliate links - where I earn a commission from purchases made from my links, at no cost to you. Your support helps me keep this blog going, and continue to create - Thank you! Affiliates and disclosures can be found here.)
Please note, when possible, I try to offer multiple sources for the items I use.
No comments:
Post a Comment
I love comments! If you have any feedback or questions, please feel free to leave them here!