
Hello!
It's the 14th of the month, which means it's time for a new release from Picket Fence Studios. I have several cards to share with you, so this post is a little long. Grab a drink, and maybe a snack, and lets get started!
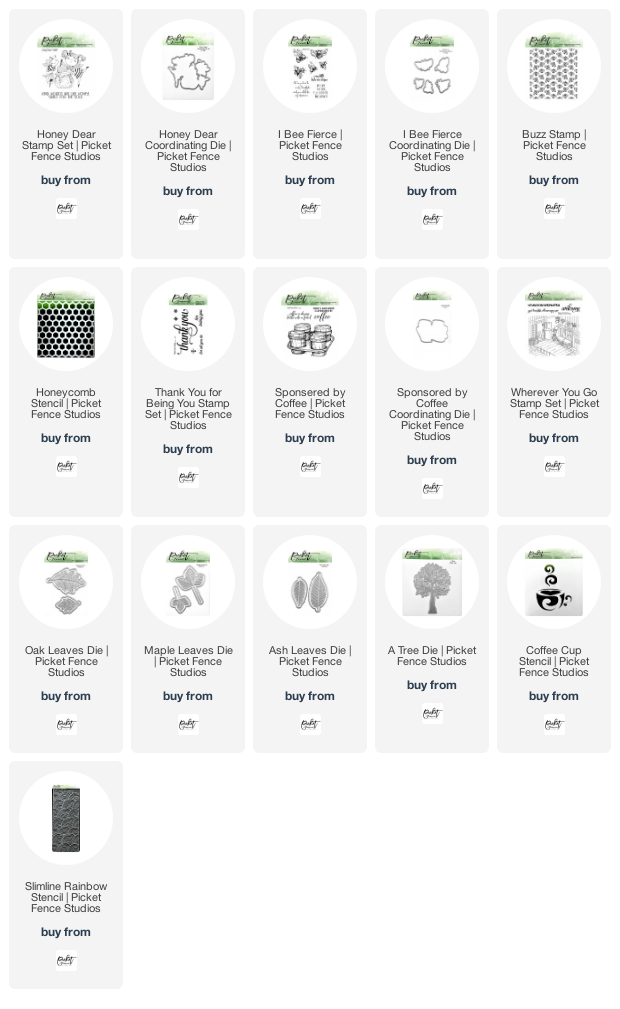
As always, I want to give you a quick peek of the entire release before we dive into the cards. (All of the supplies used on the individual cards, will be listed at the bottom of the post, for reference.)
Full October Release
Card #1 | Like Honey
This card began by stamping the Honey Dear Stamp onto white card stock, in Black Hybrid Ink. I colored in the image with Prismacolor Pencils, and, once finished with the coloring, I die cut the image with the coordinating die.
I stamped the sentiment from the Honey Dear Set in Versamark ink, onto black card stock, and white heat embossed it.
The card front is a panel of yellow card stock, stamped with the Buzz Stamp (this stamp can be stamped to seamlessly repeat - it was stamped four times to create this panel), using a darker yellow ink. An additional white cardstock piece was ink blended with cream ink, using the Honeycomb Stencil, and a Life Changing Blender Brush - and was then die cut into a circle.

The layers were adhered to a white card base, using liquid glue and foam tape. The final touch was a few gold pieces.
♥ ♥ ♥ ♥ ♥
Card #2 | For Being You
I began this card by stamping the bee images from the I Bee Fierce Stamp Set, onto white card stock, using Black Hybrid Ink. I colored in the bees using my Prismacolor Pencils. Then I die cut the images using the coordinating dies. I stamped the Thank You for being You Stamp onto some black card stock, using Versamark Ink, and white heat embossed it, before die cutting it using a circle die with some stitching detail.

On another panel of white card stock, I ink blended Antique Linen and Tea Dye Distress Oxide inks through the Honeycomb Stencil, using the Life Changing Blender Brush. A broader brush was used to quickly apply the lighter color, while a fine brush was used to more carefully place the darker color.

I mixed a combination of Snowdrop White, Daffodil Yellow, and Golden Rose Paper Glazes with some water to make a somewhat runny paint. I carefully applied that to the top of the ink blended panel, and allowed it to run down the card front. Once that panel dried, I attached the layers to a black card base, using liquid glue and foam tape.
♥ ♥ ♥ ♥ ♥
Card #3 | Like The Bee

While that panel was drying, I stamped more of the bees from the I Bee Fierce Stamp set, onto white card stock, using Black Hybrid Ink. I colored them in with Prismacolor pencils, and die cut them using the coordinating dies. I also stamped a sentiment from the stamp set, in Versamark Ink, onto dark brown paper. The sentiment was white heat embossed, and then die cut using a circle die.

Once all of the pieces were dry and ready, I attached them to a white card base, using liquid glue and foam tape. For a final touch, I added a scattering of sequins from the Gin & Tonic Sequin Mix.
♥ ♥ ♥ ♥ ♥
Card #4 | Sponsored by Coffee

Once the image was colored, I stamped the sentiment in Black Hybrid Ink, onto the card front. I added a few small strips of dark brown card stock, then adhered the card front to a dark brown mat.

The card front was then directly adhered to a white card base - super easy!
♥ ♥ ♥ ♥ ♥
Card #5 | October Leaves
I began this final card by making a GIANT mess - and it was super fun! I taped an entire sheet of watercolor paper to my work surface, and then used a combo of yellow, orange, burgundy, green, and brown water colors to paint the surface (using the wet on wet technique). As the panel slightly dried, but was still damp, I loaded up my watercolor brush, and flicked color over the top. I allowed the panel to dry - and cleaned up my messy desk - before moving on to the next step.

When the panel was fully dry (it's important it's fully dry, or your die cuts will have fuzzy edges), I die cut out leaves from the watercolor piece. I cut the Oak Leaves Dies in more of the orange/red tones, the Maple Leaves Dies in the more yellow/orange tones, and the Ash Leaves Dies in the yellow/green tones. Then I cut a few more of the leaves from both Gold Mirror paper, and Vellum.

I adhered the leaves to a panel of woodgrain card stock, using liquid adhesive. I made sure to apply my adhesive at the stem portion of the leaves, so that I had the ability to tuck additional leaves in, as well as part of my sentiment strip. Once the leaves were all attached, I trimmed the overhanging portions from the side of the panel.

♥ ♥ ♥ ♥ ♥
So, I'm curious - which card is your favorite? I really think the Like Honey card (#1) turned out adorable, but I had so much fun making the huge mess with watercolors for the October Leaves card (#5).
I hope you found some inspiration today. Be sure to check out the October Release from Picket Fence Studios.
Thanks for stopping by!

Use this easy list to find the products I used in my projects. (Contains affiliate links - where I earn a commission from purchases made from my links, at no cost to you. Your support helps me keep this blog going, and continue to create - Thank you! Affiliates and disclosures can be found here.)
Please note, when possible, I try to offer multiple sources for the items I use.

No comments:
Post a Comment
I love comments! If you have any feedback or questions, please feel free to leave them here!