
Hello!
It's the 14th of the month, which means it's time for a new release from Picket Fence Studios. I'm excited to share my samples with you. But, first, here is a quick peek of the entire release.
FULL JUNE 2020 PICKET FENCE STUDIOS RELEASE:
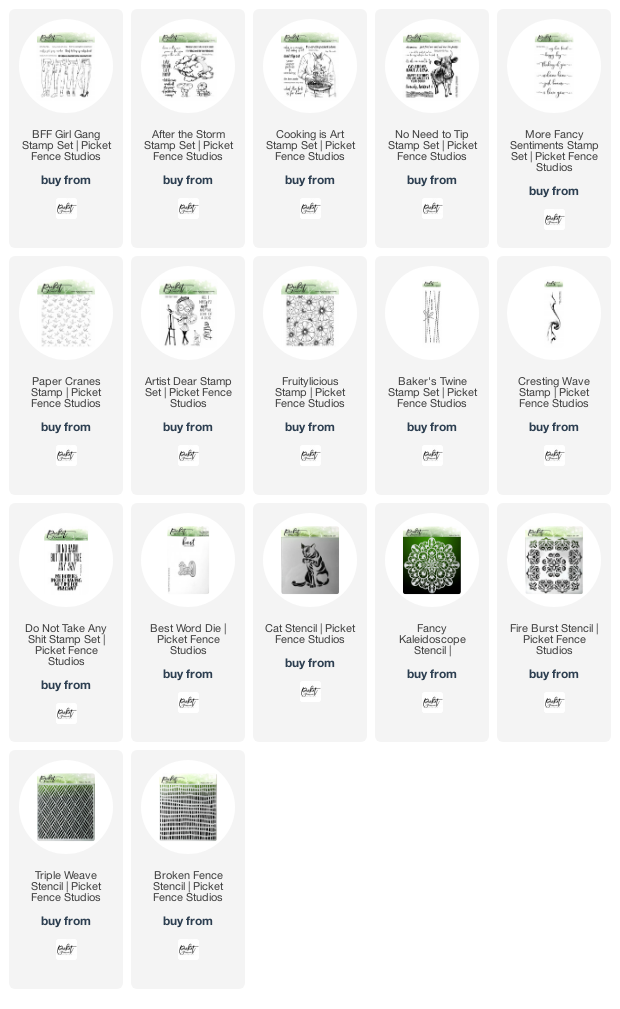
I think there are a few new favorites in this release. The No Need to Tip Stamp Set is hilarious to this (absolutely NOT a cowgirl, but married to a former cattle rancher) Idahoan. The More Fancy Sentiments stamp set was an instant love - not surprising, as I adore the first Fancy Sentiments set. The Fruitylicious stamp is going to be great for summery cards, and the Fancy Kaleidoscope Stencil is GORGEOUS!
As always, I have several cards to share with you, today, using these new products. All of the products used in these cards will be listed at the bottom of this post, for reference.
Card #1 | An Udder Year Older
The very first set I had to play with was the No Need to Tip Stamp Set. I stamped the cow image onto some white card stock, in Pumpkin Bread Ink. Then, I used a little bit of painter's tape to mask off his legs, so I could stamp the Grass Stamp, first in Sweet Pear in the background, then in Lemongrass in the foreground.

I used my Prismacolor Pencils to add shading to the cow, and the ground. Then I used a Life Changing Blending Brush, and Tumbled Glass Distress Ink, to shade the sky. The sentiment was stamped in Black Hybrid Ink, before the card front was adhered to a white card base.
Card #2 | Lime Slices and Happy Days
For this card, I stamped the Fruitylicious Stamp, in Limeade Splash Ink, onto Limeade Splash card stock. I used my MISTI to do the stamping, as this stamp lines up to stamp a repeated pattern, and the MISTI makes that super easy. I used Prismacolor Pencils to color in the image. Then stamped and heat embossed the sentiment from the More Fancy Sentiments Stamp Set, in white.

To create the background, I cut a panel of Summer Days card stock to layer behind the Limes panel. Then I cut a panel of Oatmeal Cookie card stock, and laid the Triple Weave Stencil over the top of that (Pixie Spray is my new favorite for holding down stencils. I get a much cleaner image). I used another Life Changing Blender Brush to apply Vintage Photo Distress Oxide ink through the stencil. Once the stencil was removed, I adhered the layers, and attached them to a white card base. A few Gloss White Nuvo Drops completed the card.
♥ ♥ ♥ ♥ ♥
Card #3 | Lots of Fancy
For this third card, I began by applying the Fancy Kaleidoscope Stencil to a piece of white card stock, using the Pixie Spray to hold it down. I used a Life Changing Blender Brush to apply Weathered Wood Distress Ink through the stencil, making sure to overlap the color on the edge of the stencil. After I peeled the stencil off, I fussy cut the image. Then I added Duck Blue Nuvo drops to different spots on the stenciled image.
While the Nuvo drops dried, I cleaned the stencil and then dry embossed it onto a piece of Tin Pail card stock. I then stamped, and silver heat embossed, the sentiment from the More Fancy Sentiments stamp set, onto vellum. I fussy cut the sentiment. As I was layering the elements together, I realized that the sentiment needed just a little more separation from the background, so I added a strip of Pitch Black card stock. The card front was then attached to a white card base.
♥ ♥ ♥ ♥ ♥
Card #4 | Live, Love, Sautee
This card is so, so, simple - and I actually really like the clean feel to it! I started by stamping the chef image from the Cooking is Art Stamp Set, in Black Hybrid Ink, onto white card stock. I trimmed that panel to size, then layered it over a panel of Candy Apple card stock, and a panel of River Stone card stock.

I stamped, and white heat embossed, the sentiments from the stamp set, onto scraps of the same card stocks. The card front was wrapped with a bit of Licorice Twist Twine, before being adhered to a white card base.
♥ ♥ ♥ ♥ ♥
Card # 5 | Art & A Dog
For this card, I stamped the Artist Dear Stamp, in Black Hybrid Ink, onto white card stock. I colored in the image using Prismacolor Pencils, and drew in the background with the same pencils.

♥ ♥ ♥ ♥ ♥
Card # 6 | Rainbows After a Storm
This final card is another super easy one. I stamped my images from the After the Storm Stamp Set, onto a piece of watercolor paper. I - quite literally - SCRIBBLED lightly onto the image with some Color Splash watercolor pencils, then used a blending brush with water in it, to blend out the scene.

Once the panel was dry, I added a sentiment from the set, that was white heat embossed onto Pitch Black Card Stock. I also added a strip of Gold Foil Paper to one edge. I adhered the completed card front to a white card base.
♥ ♥ ♥ ♥ ♥
Thanks for stopping by!

Use this easy list to find the products I used in my projects. (Contains affiliate links - where I earn a commission from purchases made from my links, at no cost to you. Your support helps me keep this blog going, and continue to create - Thank you! Affiliates and disclosures can be found here.)
Please note, when possible, I try to offer multiple sources for the items I use.

No comments:
Post a Comment
I love comments! If you have any feedback or questions, please feel free to leave them here!