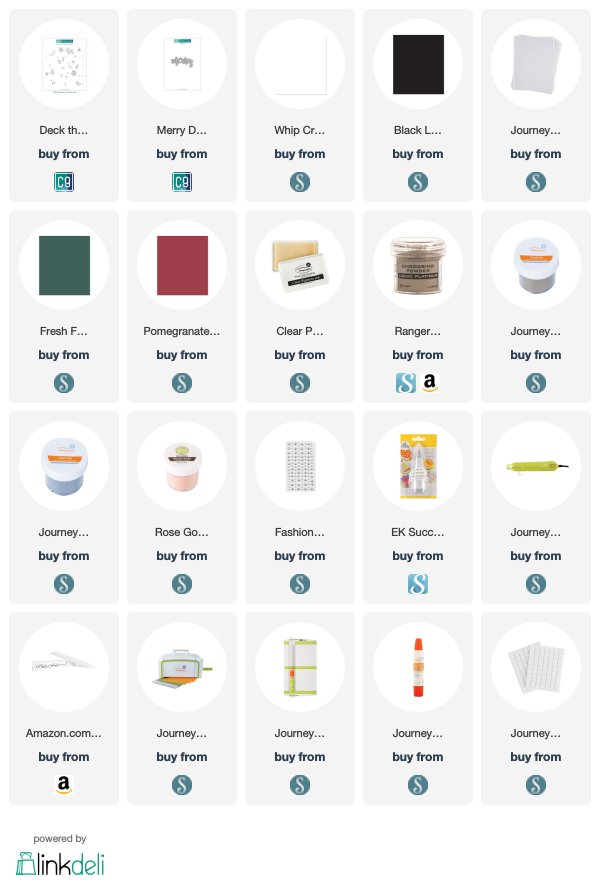
Today's cards feature backgrounds created with the Concord & 9th Deck the Halls Turnabout Stamp. I absolutely love the concept of the Turnabout stamps (there are several different patterns to choose from). They create super fun backgrounds, and you can stamp each turn with a different color - giving you a unique and fun print.

These stamps work best with a stamp tool, and unfortunately, the one I'm currently using is discontinued (I also discovered, while making these cards, that it's broken - ugh!). However, there are other options still on the market - for instance the MISTI, or the Tim Holtz Stamp Platform. Also, be sure to grab the templates for these stamps, that are available for free on the listings. The template will help you in lining everything up correctly.

I started the cards by stamping the Turnabout stamp with Clear Pigment Ink, onto both Fresh Forest, and Pomegranate Splash card stock. I stamped once, then heat embossed the image in gold, then rotated my panel to stamp and heat embossed in Rose Gold, Liquid Platinum, and Silver embossing powders, each in turn.

Once the panels had been fully stamped and filled in, I trimmed them down to size (3.75" x 5"). I wrapped each panel with a 1.5" wide strip of vellum, and added a die cut Merry, also from Concord & 9th. I dotted the wide strokes on the letters with Fashion Silver pieces (Nuvo drops would also be a great way to add this detail, if you prefer). The card panels were added to top folding A2 sized Whip Cream card bases.

These cards are so striking with all that mixed metallic embossing. When they hit the light they really shine.
Thanks for stopping by!

Supplies Used:
Use this easy list to find the products I used in my projects. (Contains affiliate links - where I earn a commission from purchases made from my links, at no cost to you. Your support helps me keep this blog going, and continue to create - Thank you! Affiliates and disclosures can be found here.)