Showing posts with label Charming Thank You Die Set. Show all posts

Friday, January 25, 2019

Charming Thank You

Hey there! 

It's been a while.  Those who have been following along for a bit, know that I had moved my mother into my home the beginning of December.  It's been an adventure.  Mom is super agreeable and easy going, but it is sure an adjustment - for both of us! I love my mom to pieces, and it's tough to watch her deal with the effects of aging.  I keep thinking I'm getting my bearings, only to have something else shift.  So, while I'm starting to get into the craft room a little more, I'm not sure quite how long it's going to take to get back to, or find a new, "normal".   I so appreciate you sticking with me through this. 


Today's card features one of my favorite dies that FSJ once offered as a hostess benefit.  Right now, you can find this Charming Thank You die set (along with a whole bunch of returning favorites - did you miss out on the Market Tote die set during it's original run?) on the Spellbinders shop.  I love this scripty die, and was thrilled to pull it out for another use.  (Links to all of the products used are at the bottom of the post.)


I die cut the sentiment three times from Pale Rose card stock, and then stacked the die cuts using the Ranger multi medium matte.  I added a coat of the Tonic Nuvo Aqua Shimmer Pen (LOVE!), for some fun sparkle.  I cut a piece of woodgrain card stock for my card front, and wrapped that with a strip of vellum.  A strip of Tin Pail Card stock, topped with a trimmed-down piece of sparkle washi tape, helped to "ground" the die cut.  Some scattered Nuvo Crystal Drops finished the card front, which I mounted, using foam tape, onto a Whip cream card base. 


Isn't that just the perfect pale pink and gray combo?!

Thanks for stopping by!


Supplies Used:
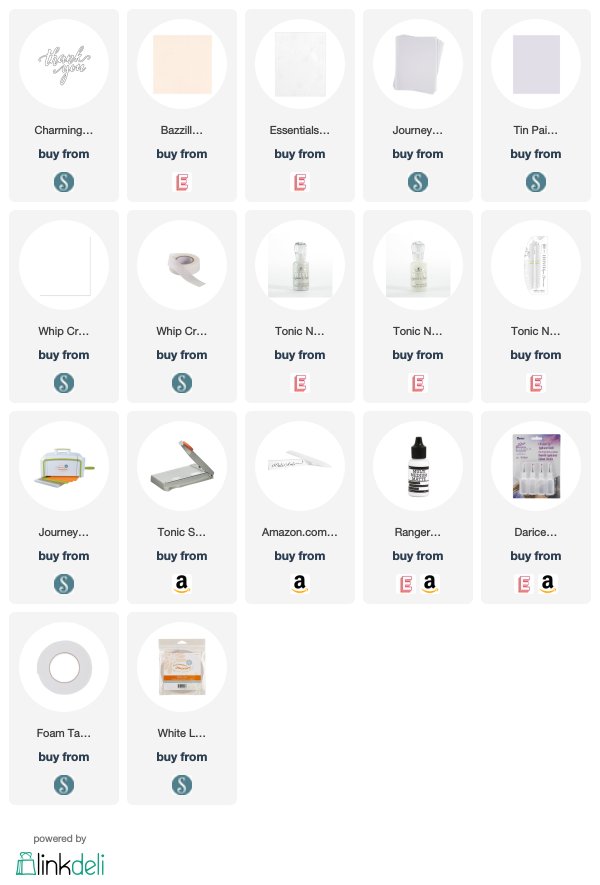
Use this easy list to find the products I used in my projects. (Contains affiliate links - where I earn a commission from purchases made from my links, at no cost to you. Your support helps me keep this blog going, and continue to create - Thank you! Affiliates and disclosures can be found here.) 
Monday, May 21, 2018

Mixed Media Leafy Thank You Card

I love mixed media, really I do.  But I often have issues with the whole messy, and "ugly till it's finished" aspect of mixed media.  I want it to be pretty (immediately) and clean!  One easy way to accomplish this, is to add a mixed media element to your card, that keeps the messy aspect contained.   

Add a artsy mixed media element, while still creating a clean and simple card by using die cuts.  Created using Fun Stampers Journey dies, inks, and paper.

For today's card, I started with a piece of Whip Cream card stock, that I die cut the Summer Branch die out of.  Then I sprayed that die cut with Lemon Grass, Cool Pool, and Blue Lagoon Splashes, and splattered it with Turbo Teal Silk.  I dried that piece, and made a card base from Whip Cream card stock.

Add a artsy mixed media element, while still creating a clean and simple card by using die cuts.  Created using Fun Stampers Journey dies, inks, and paper.

I used the Cool Pool PanPastel on the card base, under the area that I planned on adhering my branch.  Then I adhered the branch onto the card base, and trimmed the excess "stem" that hung over the edge of the card.  I splattered some Sparkle Silk over the card front, and then added the die cut Thank You sentiment.

Add a artsy mixed media element, while still creating a clean and simple card by using die cuts.  Created using Fun Stampers Journey dies, inks, and paper.


Thanks for stopping by!


Much love,                                                                             


Fun Stampers Journey Supplies Used:

Inks: Blue Lagoon Color Splash IP-0084, Cool Pool Color Splash IP-0076, Lemon Grass Color Splash IP-0078, Turbo Teal Silk IP-0119, Sparkle Silk IP-0126, Confectionary Days PanPastels JM-0079

Papers: Whip Cream 8.5" x 11" Card Stock CS-0040, Mirror Silver CS-0137

Tools: Summer Branch Die DI-0162, Charming Thank You Die Set DI-0445 (Hostess Benefit), Journey Platinum Machine TO-0090,  Journey Blooms Paper Trimmer TO-0039, Crease Tool TO-0040, Detail Pro Shears (4.5") TO-0063

Adhesives: Journey Craft Glue AD-0111

Wednesday, May 9, 2018

Gilded Gift Boxes & Tags

I love having small thank you gifts around for when someone does something extraordinary for me.  Things like rescue my runaway dog, and bring him home, for instance...

The classic wrapped gift basket gets glammed up with the addition of some gold embossing, and a fun golden gift tag.  Created with Fun Stampers Journey dies.

I recently found these absolutely yummy candles at the dollar store of all places!  They're gorgeous black and gold, and white and gold, glass containers, and the candles smell incredible.  They were perfect for something small for a gift.  I just needed to package them.

The classic wrapped gift basket gets glammed up with the addition of some gold embossing, and a fun golden gift tag.  Created with Fun Stampers Journey dies.The classic wrapped gift basket gets glammed up with the addition of some gold embossing, and a fun golden gift tag.  Created with Fun Stampers Journey dies.

I used the Basket Makery die to cut out two baskets (you do not need to cut the handle, so cut your card stock to 8.5" x 8" to fit just over the basket area).  Then I used the Graduated Dots Background Stamp to stamp each flap with clear pigment ink.  (Mask off the other flaps and bottom of the box with Post it notes to keep the stamp from overlapping.)  I applied gold embossing powder and heat set it, before assembling the baskets.

The classic wrapped gift basket gets glammed up with the addition of some gold embossing, and a fun golden gift tag.  Created with Fun Stampers Journey dies.

I also die cut two Bread Tags, one of each color.  These also were stamped and heat embossed.  Then I added the Charming Thank You Die Set die cuts, that were cut from Mirror Gold paper.  I set a large clear block on the tags to allow them to dry flat, while I added some kraft color shred, and the candles to the baskets, and put them inside some cello bags.   I tied the cello bags shut tight with some twine (or you could use a rubber band), and then added my bread tag and a bow.

The classic wrapped gift basket gets glammed up with the addition of some gold embossing, and a fun golden gift tag.  Created with Fun Stampers Journey dies.

The baskets are super pretty!  Now I've got a couple more things stashed for my dog's next adventure.

Thanks for stopping by!


Much love,                                                                             


Fun Stampers Journey Supplies Used:

Stamps: Graduated Dots Background Stamp SS-0117

Inks: Clear Pigment Ink IP-0102, Journey Gold Embossing Powder IP-0101

Papers: Whip Cream 8.5" x 11" Card Stock CS-0040, Black Licorice 8.5" x 11" Card Stock CS-0003, Mirror Gold CS-0136

Embellishments: Oatmeal Cookie Organza Ribbon AC-0246, Special Day Organza Ribbon AC-0316, Journey Twine Natural AC-0005

Tools: Basket Makery Die SR-0016, Bread Tag Die DI-0133, Charming Thank You Die Set DI-0445 (Hostess Benefit), Journey Platinum Machine TO-0090,  Journey Blooms Paper Trimmer TO-0039, Crease Tool TO-0040, Detail Pro Shears (4.5") TO-0063, Heat Gun TO-0083

Adhesives: White Liner AD-0001, Journey Craft Glue AD-0111