Hello!
Welcome back to another Feature Friday - only on a Monday this time! Today, I'm sharing another project using the Weekender Handbag Bundle.
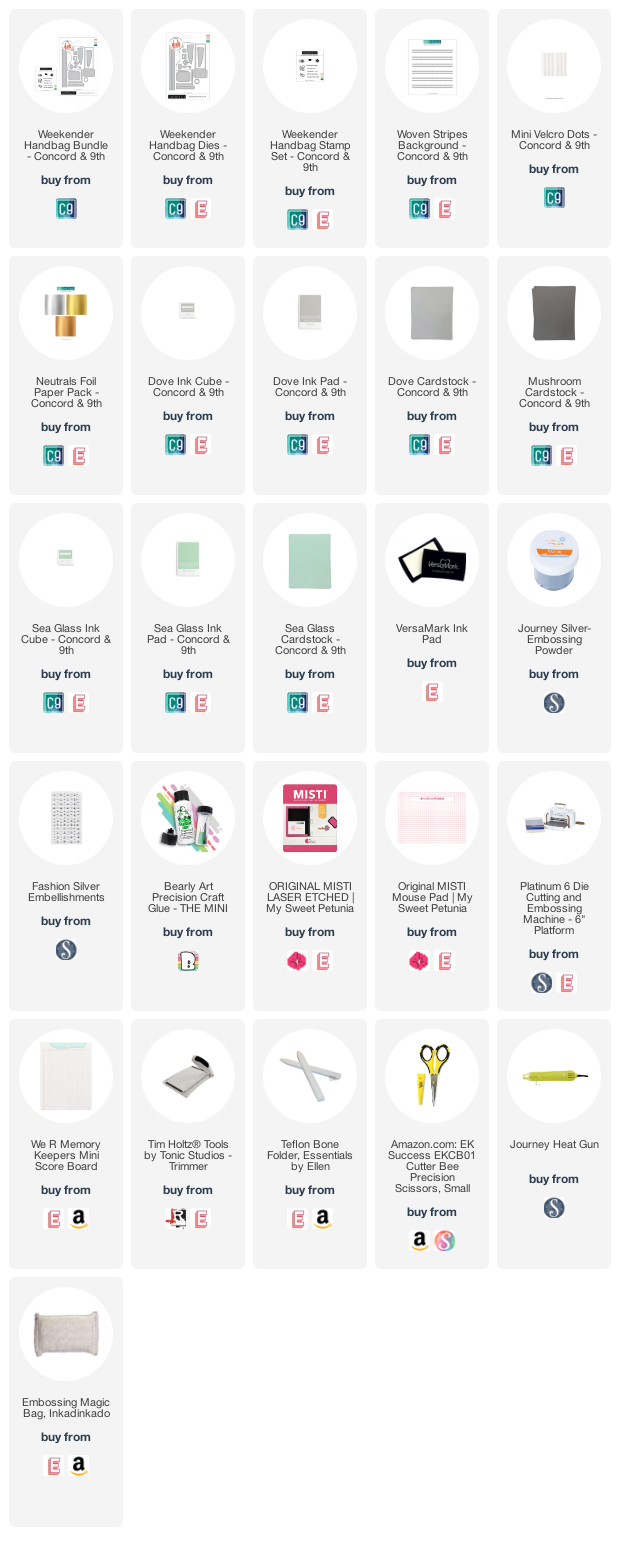
Using the Weekender Handbag Dies, I die cut all of my "fabric" purse parts from Dove, and Mushroom Card Stocks, including cutting a second set of straps from the Mushroom card stock. Then, I die cut a second set of purse bodies from Sea Glass Card Stock. Finally, I cut the hardware pieces out of silver foil card stock, from the Neutrals Foil Paper Pack. I die cut doubles of all of the hardware pieces, so that I could adhere them front and back - that way the visible portions of the rings would all be the silver foil.

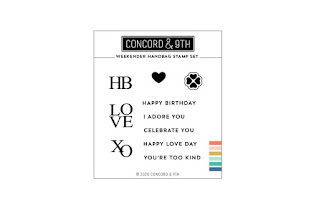
Using Dove Ink, I stamped the Dove Card Stock pieces with the Woven Stripes Background Stamp - once angling to the left, and once to the right. Then, I used Sea Glass Ink, to stamp the Sea Glass card stock panels with a stamp from the Weekender Handbag Stamp Set. I also stamped a strip of the silver foil with one of the sentiment stamps, using Versamark Ink, and then heat embossed it in silver. (Tip: Be very generous when you coat foil card stock with a powder tool to eliminate static, and only lightly press the card stock with the stamp. Too much pressure can cause the stamp to slip on the slick surface of the foil making your embossed image misshapen.)

Finally, I adhered everything together with liquid adhesive. I put the Dove card stock pieces together first, and then added the liner. For the Sea Glass liner inside the purse, I trimmed off the side flaps - to eliminate some bulk where the sides folded. I then adhered the first piece inside the Dove purse, and used a pair of shears to trim the top edge flush. I adhered the bottom of the second piece inside the purse, then trimmed the top while holding the Dove and Sea Glass pieces together. I did this so that I could adhere the Mushroom closure strap between the layers. Then I finished assembling as normally.
As a final touch to the purse, I added some Fashion Silver pieces to the places where rivets would be used to reinforce a fabric purse, as well as to the bottom for little feet.
If you are hopping with us today, your next stop will be Sue.
For reference, here are all the stops in our hop today.
Sara (You are here!)
Thanks for stopping by!

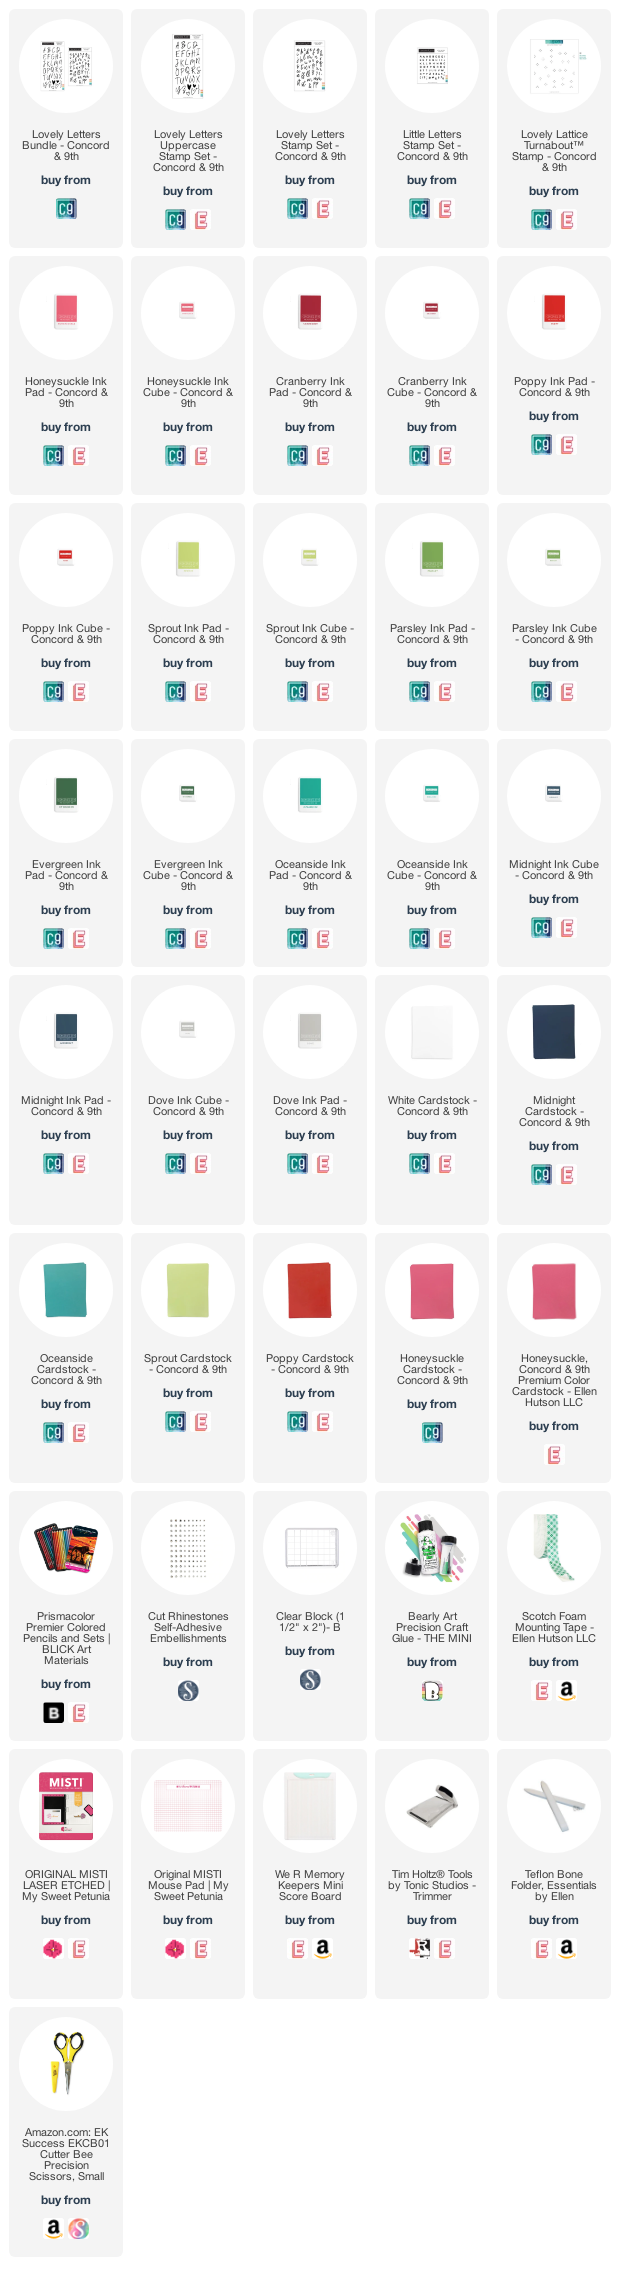
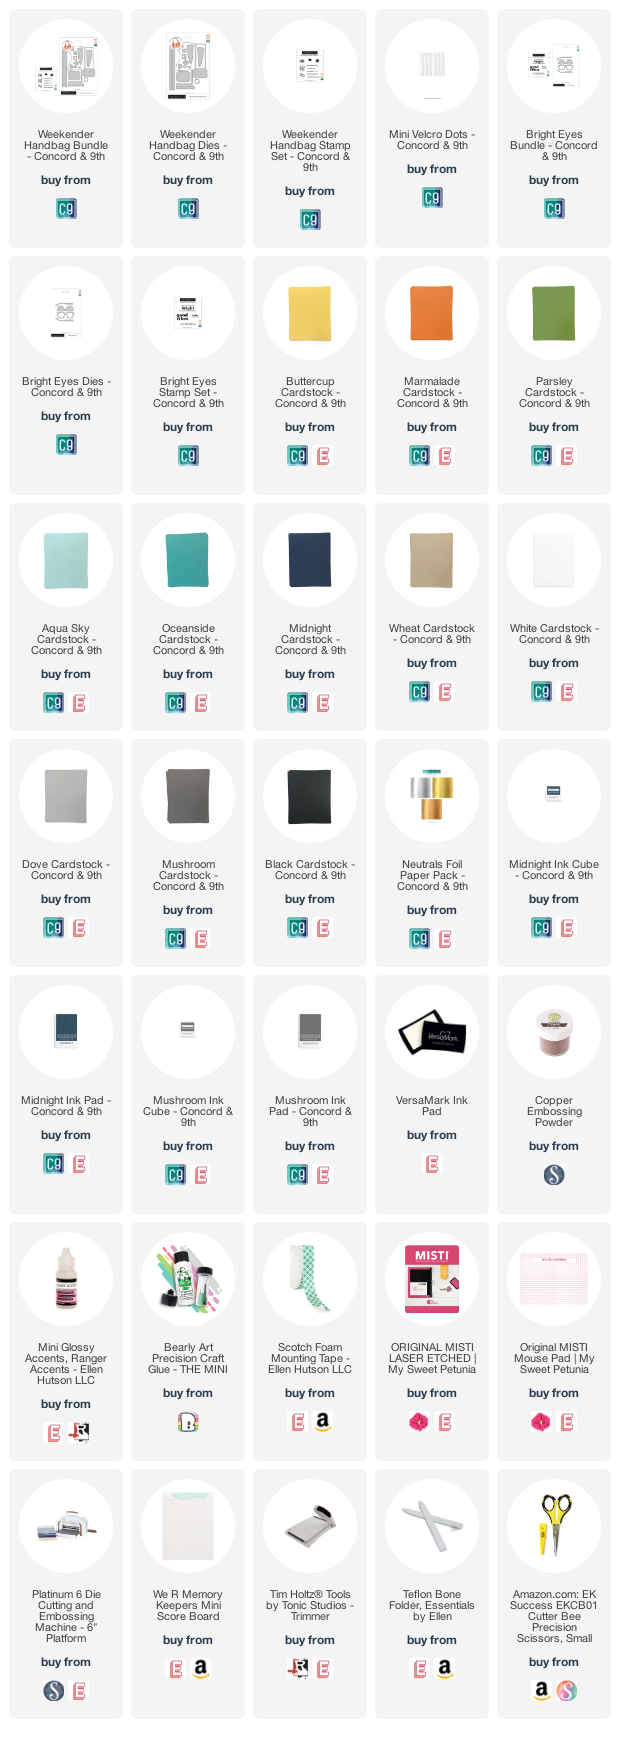
Use this easy list to find the products I used in my projects. (Contains affiliate links - where I earn a commission from purchases made from my links, at no cost to you. Your support helps me keep this blog going, and continue to create - Thank you! Affiliates and disclosures can be found here.)
Please note, when possible, I try to offer multiple sources for the items I use.