
Today I'm sharing two fun cards, that might seem a bit fall-ish, due to the colors, but would really be perfect for any time of year. The images I have used are from Picket Fence Studios. I really enjoyed working with this A Little Nuts stamp set and the coordinating dies. The images are adorable, and super easy to color, and the sentiments are really cute. As always, the full supply list, will be at the bottom of this post.

I began this first card, by blending Twisted Citron Distress Oxide ink, onto an A2 piece of Sweet Sentiments Premium Coloring Paper (My friend, Becky, recommended this, and it was so amazing to ink blend on!). I blended the ink about 1/3 of the way down - fading it out as I went. Then, I stamped the branch image from the A Little Nuts Stamp Set where the ink began fading out. I set that aside to dry, while I stamped the squirrel image onto another piece of paper and colored her in with Copics. Once I had her blended up, I used a black pen to fill in her eyes, and a white gel pen to emphasize the light reflection on her eyes. I then colored in the branch with a very light touch with my Copics.
Copic Colors Used:
0, E0000, E53, E15, E08, E18, E47, G99

I die cut the squirrel, using the coordinating A Little Nuts die set, and also trimmed down the card front slightly. I adhered the squirrel to the card front, by gluing the head and back of the tail to the card, and adding a foam square behind the base of the tail and her bottom. Then, I used my MISTI to line up the sentiment and stamp it next to the squirrel. I would not normally suggest adhering your image before stamping the sentiment, but the MISTI makes it easy to restamp if it did not come out right the first time.
I used a scrap of printer paper that was on my desk to mask off the colored images and sentiment, and sprinkled on some Gold Silk dots over the ink blending. If you hold the paper up off of the project by 1/2"-1", the silk will form round dots, instead of possibly cutting the dots in half right along the edge. Once the silk dried, I attached the card front to a white card base, using foam squares.

For the second card today, I again ink blended my background using Distress Oxide inks. I used Spiced Marmalade, Scattered Straw, and Twisted Citron - working back and forth to get a good blend between the colors. Then I used a large blending brush to splatter some water on the ink. I allowed that to dry while I stamped and colored in (using the same Copic colors, and pens, as before) another of the squirrel images from the A Little Nuts Stamp Set. I die cut the squirrel, along with a circle of Oatmeal Cookie card stock, and a circle of Corrugated card stock. Then I lined up where my image would be on the Oatmeal Cookie circle, so that I could stamp and heat emboss my sentiment.

I hope you enjoyed today's cards. Have a fantastic weekend. Do you have you Halloween costume ready, and candy bought?
Thanks for stopping by!

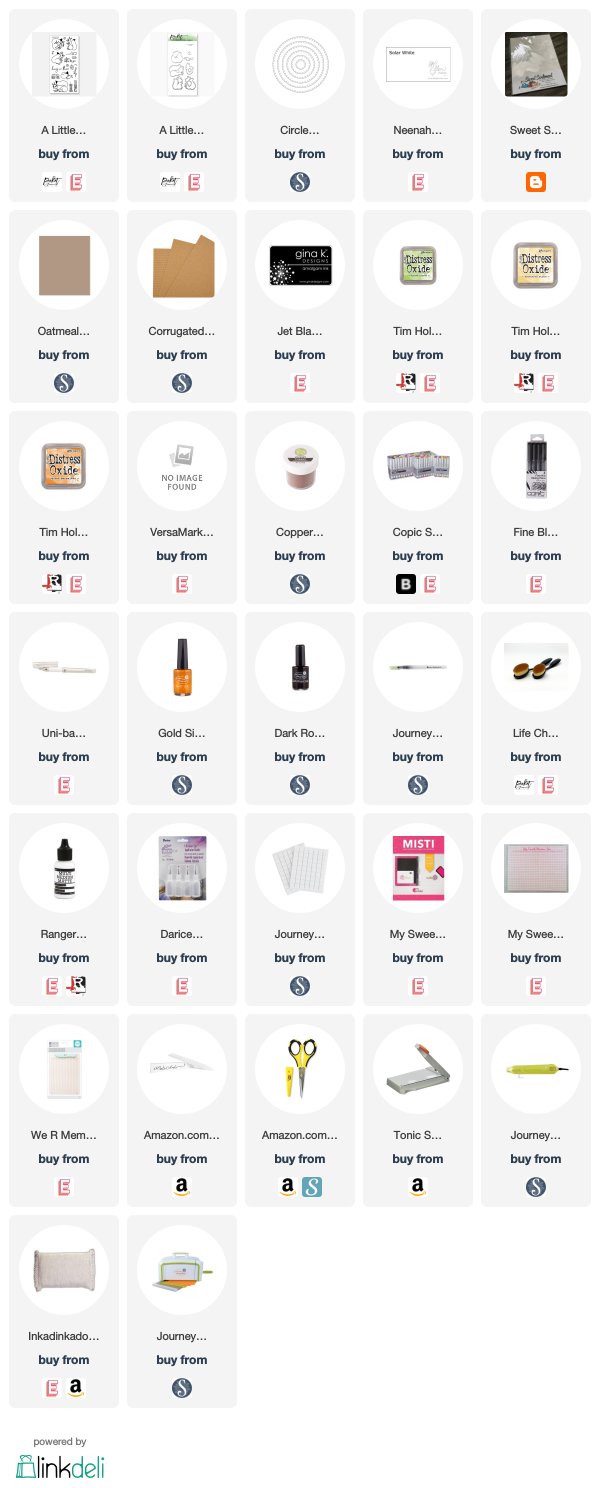
Supplies Used:
Use this easy list to find the products I used in my projects. (Contains affiliate links - where I earn a commission from purchases made from my links, at no cost to you. Your support helps me keep this blog going, and continue to create - Thank you! Affiliates and disclosures can be found here.) Please note, when possible, I try to offer multiple sources for the items I use. Products with two or more logos - underneath, or on the side, give you options of where to purchase, in case the item has sold out at one shop. To visit the first store, click on the photo of the item. To visit the second (or greater) source, click the logo for the second shop - you will still be taken directly to the product.

No comments:
Post a Comment
I love comments! If you have any feedback or questions, please feel free to leave them here!